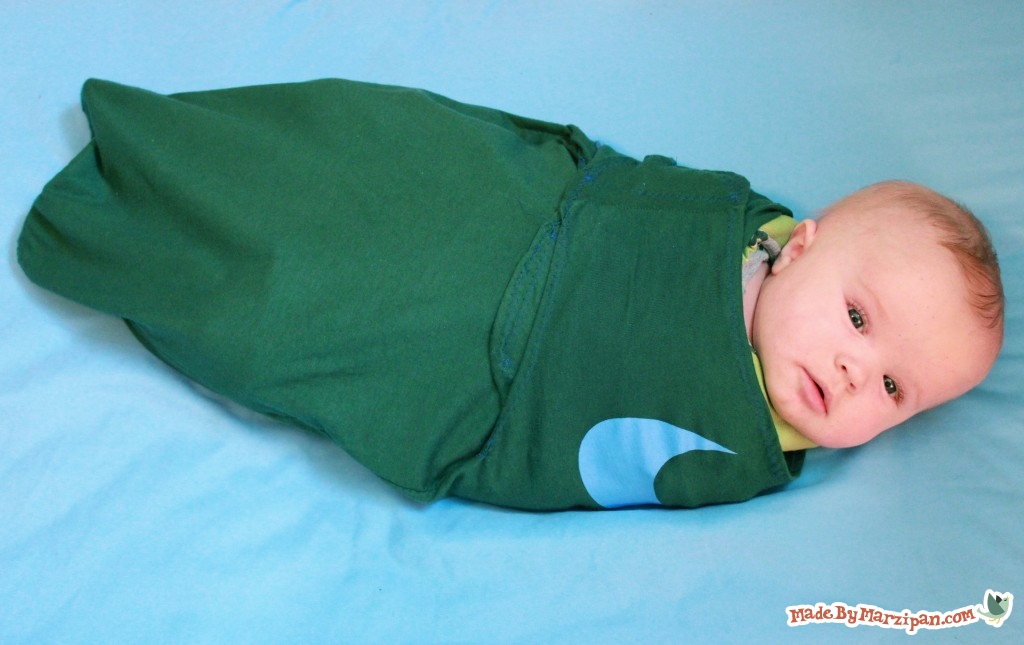
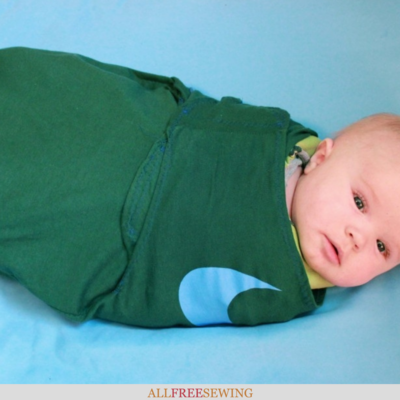
DIY T-Shirt Swaddler
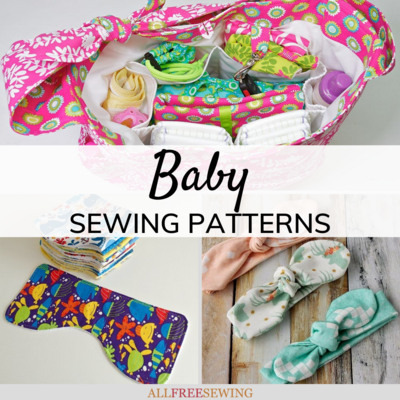
 When it comes to free sewing patterns for babies, nothing is more usable than a swaddler. If you love to refashion with T-shirts, create the DIY T-Shirt Swaddler.
It's a great way to be thrifty while still providing an essential design for your baby (or make it as a gift for a baby shower). No need to throw out those old shirts when they can be repurposed into this nifty DIY swaddler.
It's so functional and costs practically nothing to make. Watch Maureen Wilson create this project from start to finish in the video tutorial found at the bottom of this page.
Sign Up For More Free Patterns
Materials:
- Large or XL adult T-shirt
- Felt, 1/4 yard, pre-washed
- Velcro, about 10 inches
Instructions:
- You’ll need an adult-sized T-shirt that is at least a size large. You’ll be cutting a rounded T-shape, with the arms forming the top of the T. Begin by laying the T-shirt face down. Then cut off the collar and shoulder portion of the T-shirt, so that the top edge is straight. The top edge should measure 24 inches across for the Small, and 27 inches for the Large.
- Use a small plate as a template to cut rounded flaps from the arm portion of the T-shirt. (You will want the flap on the left side to be about 2.5 inches longer than the one on the right side, so that you can wrap it around baby and tuck it beneath his arm. So your T-shape will be slightly lopsided, with a longer flap on the left.)
- Now we’ll mark some measurements.
-Top to bottom length: Small = 20 inches, Large = 23
-Center (beneath arm flaps): Small = 13 inches, Large = 16
-Bottom: Small = 6 inches, Large = 9 inches
- Mark these points, then cut the shirt. It will look like a rounded T, with the bottom being narrow for baby’s feet.
- Separate the layers. Cut the backside of the T-shirt right below the flaps, making an upward arc. This will be the portion that covers baby’s tummy.
- Now flip the two pieces over so right sides are together, and pin. Sew the pocket to the main piece with a zig-zag stitch.
- Turn right side out. Next finish the raw edges with a zig-zag stitch. (The fabric won’t fray, but it will curl in the wash, so it’s best to finish it.) Fold the edges inward 1/4 inch and sew with a zig-zag stitch. (You can pin first if you want, but I’m keeping this project fuss-free.)
- Now we’re going to make the Velcro tabs that will secure the swaddler. Cut two rectangles from the excess T shirt fabric that are 3 x 7 inches. Fold in half so that they are 3 x 3.5 inches.
- Pin a piece of 2.5 inch hook velcro 1/4 inch away from the fold. Unfold the fabric and sew the Velcro with a zig-zag stitch.
- Then, fold the fabric so right sides are together (Velcro will be inside). Sew around the 3 sides with a zig-zag stitch, leaving the bottom open for turning. Do this with both tab pieces. Turn tabs right side out.
- You’ll need some felt for the following steps. Be sure that you’ve pre-washed the felt, as it can shrink in the wash. Cut a half-circle of felt to fit the right flap piece.
- Lay the tabs down on the inside of the flap, and place the felt on top of it. Pin together. Sew around the edge of the felt with a zig-zag stitch.
- Next we’ll sew the coordinating piece of felt that the Velcro tabs will adhere to. Fold the swaddler so the left arm panel is lying on top of the right one. Then pin a large circle of felt in the curve of the underarm area, and sew in place with a zig zag stitch. (Be careful that you are only sewing through one layer of T-shirt fabric, you don’t want to sew the tummy panel shut.)
- For extra security, we’re going to add another Velcro portion to the tummy panel. Sew a half-circle of felt to the center of the arc. Be sure that you are only sewing through one layer of the t-shirt.
- Add a 3-inch piece of hook Velcro on the inside of the left flap, close to the joint of the T.
- To swaddle baby, tuck feet into the pocket panel. Lay baby’s arms flat at his sides, then wrap the left flap over his tummy and tuck beneath his arm. Wrap the right flap over the top, and attach the tabs to the felt.
Watch the video right below!
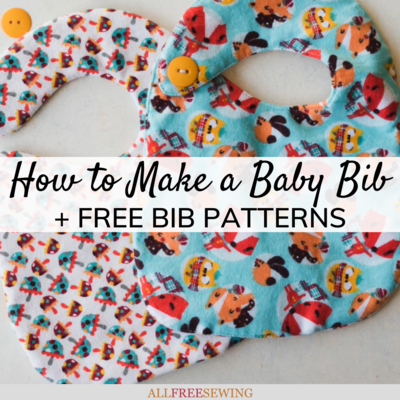
Read NextUltimate Baby Bib Tutorial
Your Recently Viewed Projects
Thanks for your comment. Don't forget to share!
Report Inappropriate Comment
Are you sure you would like to report this comment? It will be flagged for our moderators to take action.
Thank you for taking the time to improve the content on our site.