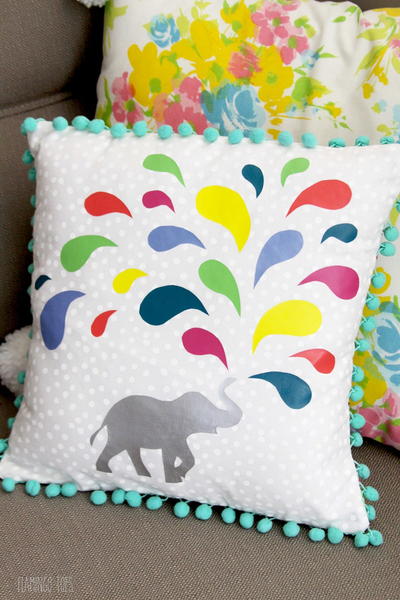
One Hour DIY Clover Pillow
 Learn how to make a pillow insanely quickly when you check out this gorgeous piece of DIY home décor.
The One Hour DIY Pillow is a surprisingly easy way to learn how to make a pillowcase for just about any pillow or pillow form you have around the house.
Whether you are making a brand new pillow or looking to find a way to refashion or recycle an old pillow, this easy pillow pattern will not disappoint. Just look below for the full printable instructions on how to make a pillow in just nine easy steps.
Project Type: Make a Project
Time to complete: Under an Hour
Sewn by: Machine

If you're looking for the instructions on how to handsew the clover above, check out the full tutorial for the Felt Clover Easy Sewing Projects.
Materials:
- Felt
- Scissors
- Needle for Hand Sewing
- Fabric (measure to fit pillow)
- Sewing Machine
- Iron
- Straight Pins
Note: Measurements may differ depending on the pillow form you are using.
Instructions:
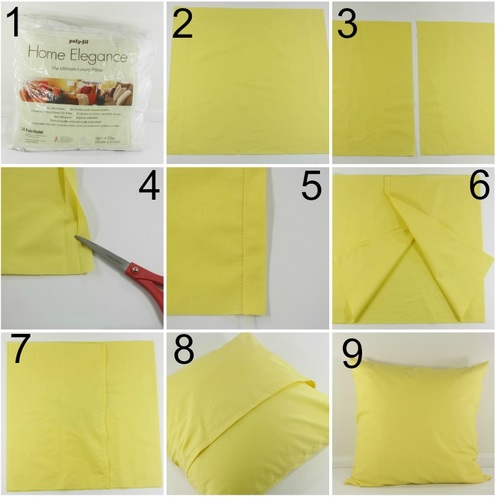
1. Select your pillow form and measures 20×20 inches.
2. Cut the front pillowcase to 21×21″ (note: if you are adding the Felt Clover Easy Seiwng Projects or other embellishment from the above tutorial now is the time to do that).
3. Cut 2 backside pillowcase pieces to 21×15″ each.
4. Fold the inner long edges of each backside pillowcase 1/2″ in and press, then fold again 1/2″ and press.
5. Sew the fold down on both pillowcase sides.
6. Place the inner pillowcase sides with right sides down onto the front pillowcase side which is right side up.
7. Pin and sew along all 4 sides and sew over each backside overlap twice to reinforce those (seam allowance = 3/8″).
8. Insert your pillow form into the envelope pillowcase (insert into the bottom envelope layer first).
9. Admire your finished pillow!
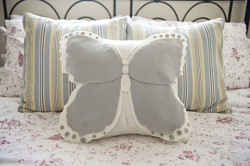
Read Next9 Step Felt Butterfly Pillow Cover