This project was submitted by one of our readers, just like you.
Stuffed Easter Bunny Sewing Tutorial

From the Blogger: "Stuffed Easter Bunny Tutorial: This cute panel from Moda makes it quick and easy to make a stuffed Easter bunny. Click through for the full tutorial and for some fun tips and additions to the bunny! I have Easter fever. I can't stop making Easter projects. Maybe because this fabric is so inspiring and makes it so easy! I can't promise this is my last project for Easter, so don't ask me to! Here is a stuffed Easter bunny sewing tutorial so you can make everyone you know an adorable Easter bunny!"
Project TypeMake a Project
Time to CompleteIn an evening
Sewn byMachine

Materials List
- Spring fun bunny panel
- Polyfit
- Ribbons
How to Make Your Easter Bunny
Instructions:
-
Cut out the two sides of the bunny and the four ear pieces. I chose not to do the clothes that go along but it does come with that option. Then cut 2″ strips of ribbon. Pin them in place well away from the edge of the fabric. Place them as frequently or randomly as you want. You can use 1/2″, 1″, or even 2″ thick ribbon.
-
Pin the rabbit together right sides facing. Leave a spot open for turning the piece out. I left the head open so that the seam would be covered when I attached the ears. You will sew the ears separately in this step, then do the same, and sew around the rounded edge, leaving the bottom open for turning out. Before you sew the ears, now is the time when you can add some interfacing or even make the ears crinkly.
-
Snip the curved edges so that they will curve better when the piece is turned out. Then turn it out and remove all your pins. Press around the entire bunny to make sure all the seams are good. Then press the opening in the head under by 1/4″ so that it lines up with the rest of the bunny. Stuff the bunny with polyfil. If you have made your ears crinkly or added interfacing, they are ready to pin in place. If not, now is the time to stuff them or simply press the bottom edge under and pin in place. You can use your sewing machine or hand sew the ears in place. I chose to stuff one ear and leave the other flat.
-
Add more embellishments if you so choose. You could add some buttons on the ears or velcro to the hands so the bunny can hug things.

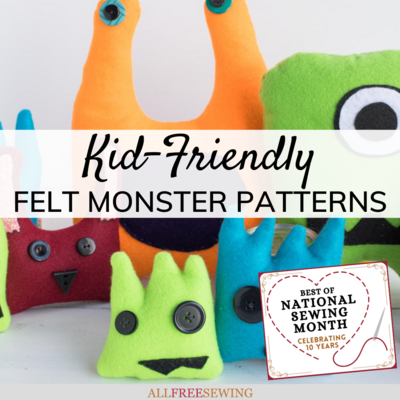
Read NextKid-Friendly Felt Monster Patterns