How to Make a Boy's Bow Tie
Learn how to make a bow tie for a boy with this easy-to-follow tutorial.

Dress up your little man with this super cute project idea. Learn how to make a self-tie bow tie with these instructions. You'll learn how to sew a bow tie quickly and easily and that's just as quick and easy to wear.
Once you know how to make a boy's bow tie, you'll be able to customize his style. He'll look handsome for all special events. You can watch the how to make a bow tie YouTube tutorial for this project that's right before the written tutorial, too.
Whether you have a little man or know a family with young boys, learning how to make a boy's bow tie will come in handy. There are so many tutorials on DIY bow ties for adults, that this is much needed for the younger men in your life since the measurements are much smaller.
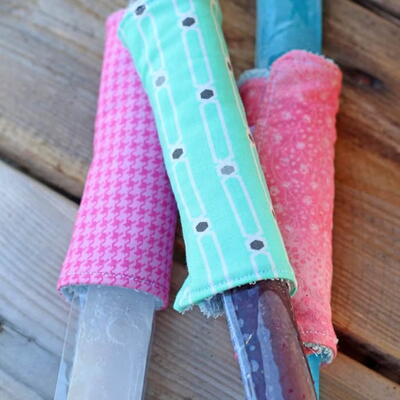
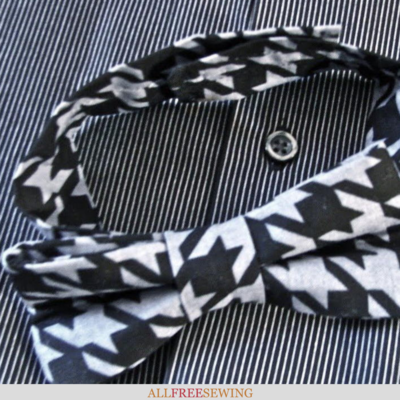
Plus, you won't find a simpler boy's bow tie tutorial than this. Not only are the instructions clear but you can always watch the video to confirm all the steps. Make this essential accessory in elegant black for important events or use a fun pattern (like the houndstooth fabric used here) that your boy will love.
He may even want to wear it to school! With pre-tied bow ties, there should be no complaints in the house, either!
Sign Up For More Free Patterns
Project TypeMake a Project
Time to CompleteUnder an hour
Sewn byMachine

Materials List
- 1/4-yd cotton fabric
- 1/8-yd medium weight interfacing
- 4 inches of Velcro
- Sewing machine & thread
- Sewing machine & thread
- Iron
How to Make a Boys Bow Tie
If you're a visual learner, check out the video tutorial from Maureen below:
Boys Bow Tie Tutorial:
-
Start by measuring the circumference of your child's neck. Then add 1 inch to the measurement for seams and 3 inches for growth.
-
Cut a rectangle of fabric to that length, and make it 3 inches wide. Also cut two rectangles of fabric and one of interfacing, 3 x 10 inches, and a small rectangle that's 2-1/2 x 4 inches. You will have five pieces all together.
-
If you're using iron-on interfacing, iron it to the back of one of the 3 × 10 rectangles. Then, stack the matching rectangles right sides together, with the interfacing on the bottom. Pin in place.
-
Sew around the edges with a 1/4-inch seam, leaving one short end open for turning.
-
Remove the pins and trim the corners for crisp seams. Be careful not to snip your stitches. Turn right side out, and use the eraser end of a pencil to poke out the corners from the inside.
-
Press the rectangle, folding in the open edge 1/2-inch. Topstitch shut with a 1/8-inch seam.
-
Now fold the two ends of the rectangle inward to touch in the center. Press. Flip the rectangle over so the middle fold is now face-down.
-
Then fold in half again, lengthwise. The middle fold line should now show on the outside. Pin in place.
-
Sew a line about 1-1/2-inches long across the middle, about 1/2-inch in from the folded edge. You may need to switch to a heavy duty needle.
-
Now find the smallest rectangle and fold it in half lengthwise, right sides together. Sew along the long side with a 1/4-inch seam. Turn right side out. Center the seam and press.
-
Wrap this strip around the center of the bow. The raw ends should meet in the back. Sew the ends of the strip together close to the bow. Then snip off the excess fabric. Serge or zig-zag stitch over the raw ends.
-
Finally, make the neckband. Fold the longest rectangle in half lengthwise. Sew down the long side with a 1/4-inch seam. Turn right side out, center the seam, and press.
-
Fold in the ends 1/2-inch and press. Topstitch ends shut with a 1/8-inch seam.
-
Pin 3 inches of rough Velcro to the outside of the strap. Add 1 inch of fuzzy Velcro to the opposite end of the strap, on the back (the side with the seam). Sew in place. Remove the pins and snip any stray threads.
-
Weave the strap through the back of the bow, making sure the seam is on the back. Now the bow tie is ready to wear! Adjust the Velcro straps to fit your boy comfortably.
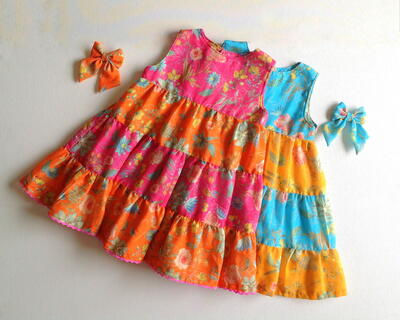
Read NextFree Tiered Dress Pattern For Girls
Your Recently Viewed Projects
Thanks for your comment. Don't forget to share!
Weberme
May 03, 2016
This bow tie video is really great. Very easy to understand and Chellie is right she did a great job. I have made bow ties before but have used the bow tie kit and what a pain that is. I always get it turned backwards and have to take apart and redo. And I love the velcro idea. The only thing I would change was the middle being sewed by machine. You could tuck the end a little on the ends and use a piece of heat bond and iron down end and you will have a smooth end. Thanks for the video.
Chellie
Sep 01, 2011
I've watched alot of the tutorials on this site and others as well. I was extremely impressed with this tutorial for ease and understanding. The person presenting made this pleasant and very understandable. Whomever presented, keep doing so!!! You've found your niche!
Report Inappropriate Comment
Are you sure you would like to report this comment? It will be flagged for our moderators to take action.
Thank you for taking the time to improve the content on our site.