This project was submitted by one of our readers, just like you.
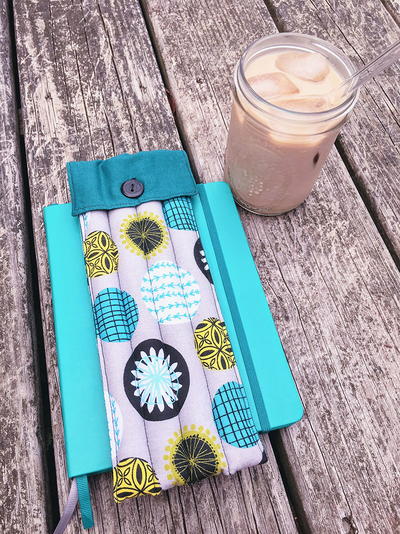
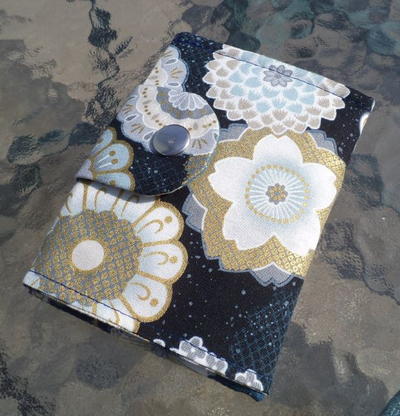
Padded Case for Reusable Straws

Padded Case for Reusable Straws
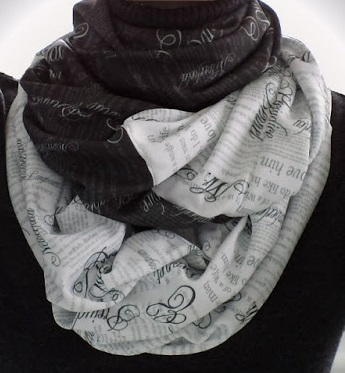
"In this post, I'll show you how to make a padded carry case with dividers to hold reusable glass straws. Everyone has been trying to get away from un-recyclable, disposable plastics lately, and glass straws are an eco-friendly solution to using plastic straws. I wanted to make sure that my glass straws were well-protected when carrying them in my purse, so I made this cute case out of a couple of fat quarters and some fusible foam."
Project TypeMake a Project
Time to CompleteIn an evening
Sewn byBoth Hand and Machine

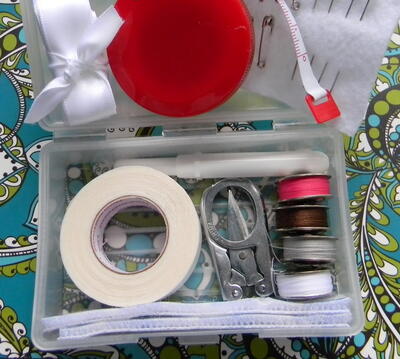
Materials List
- 2 Fat quarters
- Fusible foam
- Fusible interfacing
- 2-holed button
Instructions
-
Following the instructions on your fusible interfacing, adhere it to one of the flaps, leaving 1/4" on all sides.
-
Right sides together, sew one of the flaps onto the outer fabric with a 1/4" seam. Do the same for the second flap and the lining fabric. Press the seams toward the flap.
-
Following the instructions on your fusible foam, adhere it to the lining fabric, leaving a 1/4" on all sides. Make sure you get foam that only fuses on one side, otherwise it will stick to your iron while you're doing this step.
-
Place the lining fabric on top of the outer fabric, right sides together. Sew all the way around this long rectangle with a scant 1/4" seam, leaving an opening of about 1 1/2" at the top so you can turn it right side out. Turn it right side out. Use a point turner for poking out corners to make them nice and crisp.
-
Iron it to flatten everything out. Fold in the fabric at the top so that it's even with the rest of the case.
-
Fold up the case so that the lining and outer fabric are doubled. Make sure the flap can move freely. Top stitch 1/8" from the edge. Go up from the bottom, across the top (closing the open flap), and down the other side.
-
Your case should be about 4" wide now. The foam will cause a small amount of shrinkage in terms of width. Make markings at 1" intervals across the width of the case. Make sure there are enough markings that you can follow them while sewing.
-
Sew up the length of the case along the lines you made. Don't sew into the top flap; only sew on the lining and outer fabrics.
-
Use the buttonhole attachment for your sewing machine to add a button hole 2" in from the side of the flap and approximately 1/4" in from the edge. You can adjust this placement if you want.
-
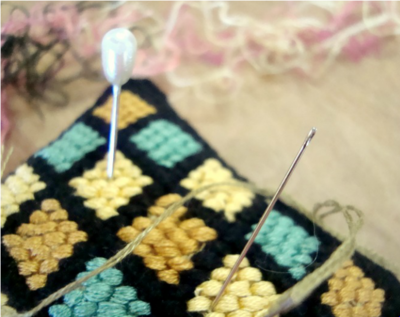
Hand-sew a two-holed button along the middle divider line, making sure that your stitches follow the line of stitching that is already there. Don't sew into the compartments for the straws.