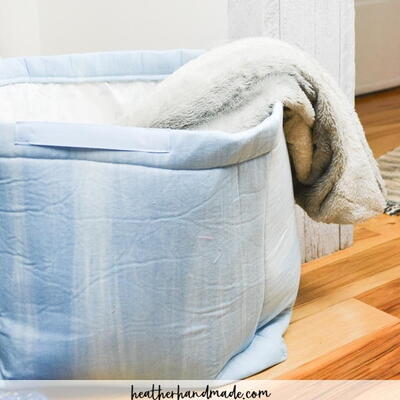
DIY Fleece Bean Bag Chair Tutorial
Give your home decor a cozy, relaxed Bohemian update with this free bean bag sewing pattern.

Do you want to give your home decor a relaxed boho update without having to spend hours at the sewing machine or hundreds of dollars at the store? This DIY Fleece Bean Bag Chair Tutorial is just what any aspiring home decor expert needs to turn any old room into a homey haven. Prop this Poly-Fil DIY bean bag chair in your living room for extra-cuddly movie seating, or bring it to a college dorm so that your room can be the most stylish in your building! Wherever you put this ultra-soft piece, you're sure to have people fighting to sit on it.
Project TypeMake a Project
Time to CompleteUnder an hour
Sewn byBoth Hand and Machine

Materials List
- Poly-fil Bean Bag Filler (2-1/2 lb. bag)
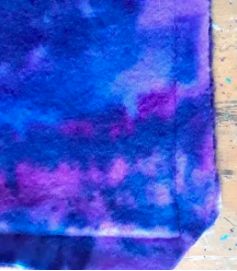
- 1-1/2 Yards no-pill fleece
- Black thread
- Sewing machine
- Straight pins
- Hand sewing needle
- A buddy (to help pour filler into the bean bag)
- Vacuum (for cleanup)
Instructions
-
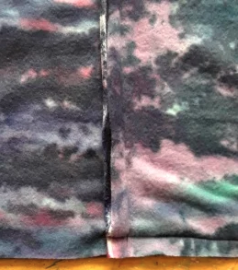
Fold the fleece with selvages touching. Load the sewing machine with black thread. Stitch along the top and down the selvage side, 1/2″ from the edge.
-
Fold the open end, so the middle touches the seam. This is the twist. Straight stitch 1/2″ from the edge, leaving a 6″ gap for filling. Turn the casing inside out, shaping the corners with your fingers.
-
Sit a bag of filler on a table, with one bag corner over the table edge. Have one person hold the casing open under that bag corner. Have another person cut the bag corner and control how the filler is flowing. The bag will shift as it empties, so it’s important to keep it flowing into the casing and not onto the floor. Repeat this step with a second bag of filler, too.
-
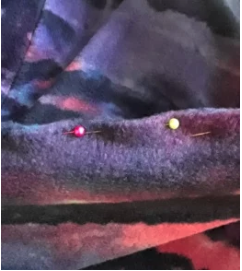
Close up the gap with straight pins. Thread a hand sewing needle with black thread. Line up the two ends and double knot them together. Using an invisible stitch, close up the gap. Knot off into the seam. Run the needle under the seam a few inches and pull up to hide the last knot. Cut away excess thread.
-
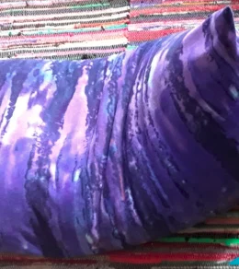
To use the chair, face the long seam towards the back/floor. The bottom is the second straight seam. The top is twisted to form a point.

Read NextEmbroidered Word Art