Travel Earring Organizer
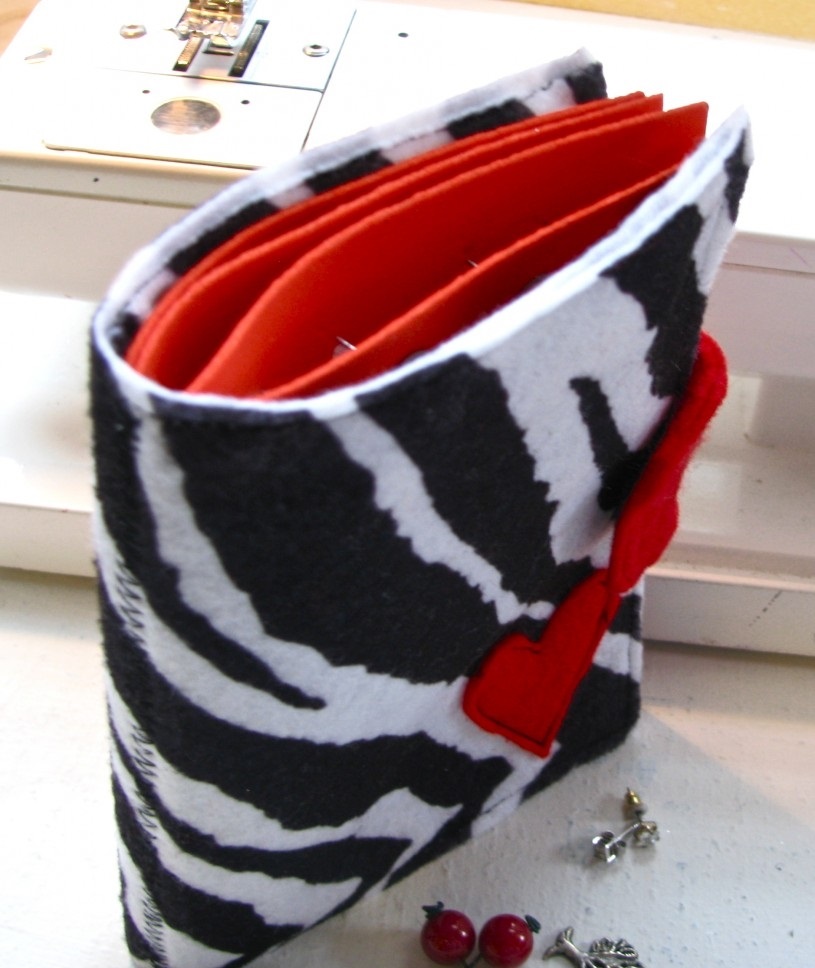
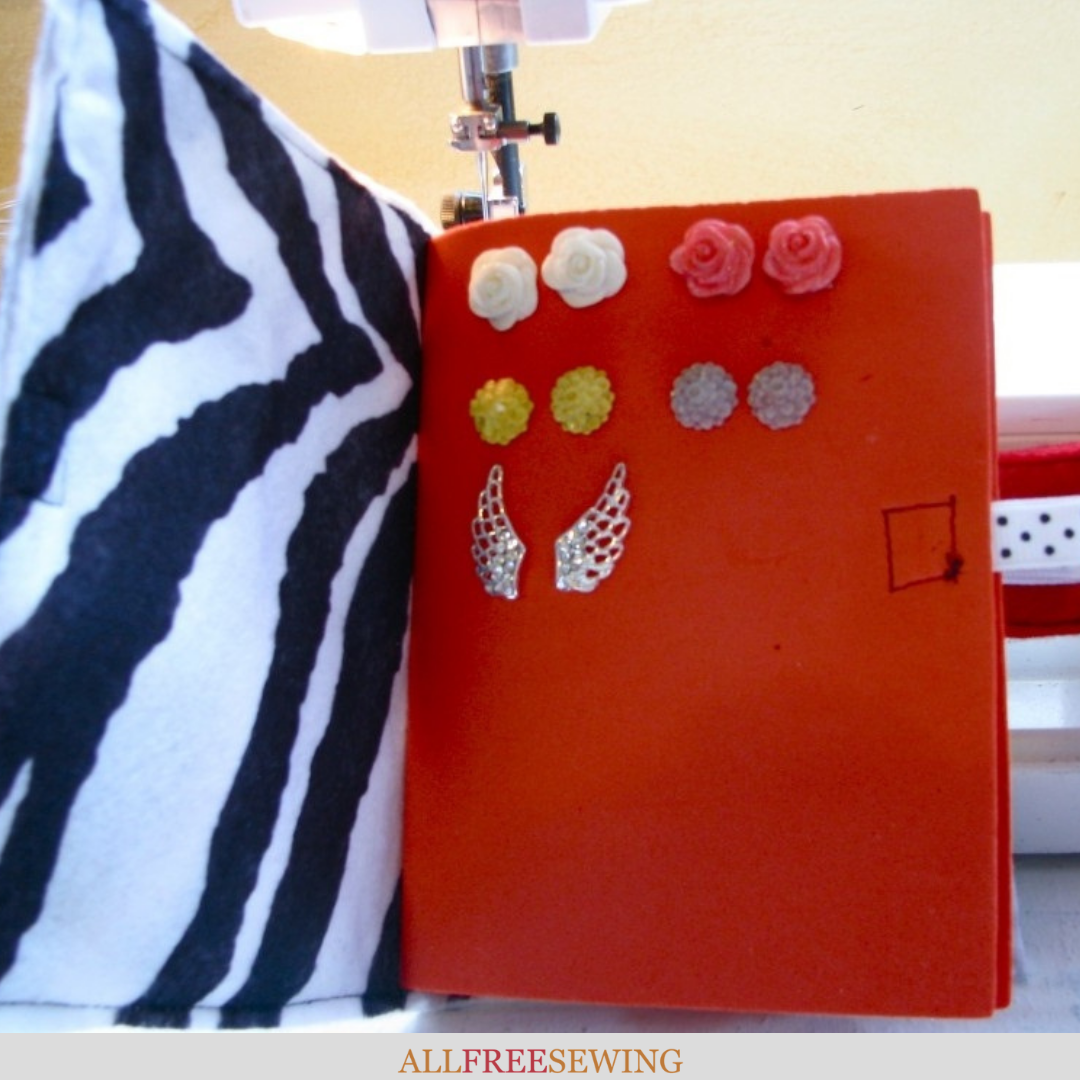 The travel earring organizer is the perfect accessory for weekends away. Easily find the pair of earrings you're looking for and ditch the plastic bag you usually throw them in.
We love how much customization you can put into this little earring book. From the outside and inside fabric colors and patterns to the embellishments or applique that can be added to make it your own, it's as fun to make as it is to use.
This handy travel earring holder is both cute and useful. Follow along with the step-by-step directions to make your own. You can also watch Maureen Wilson create the organizer in the video tutorial found at the bottom of the page.
Sign Up For More Free Patterns >>>
Materials:
- 2 foam sheets (5.5 x 8.5 inches)
- Craft felt (9×12 inches)
- 6 inches sew-on Velcro
- 6 inches of ribbon
Instructions:
- Start by cutting the main piece of felt in half width-wise. These will become your book covers.
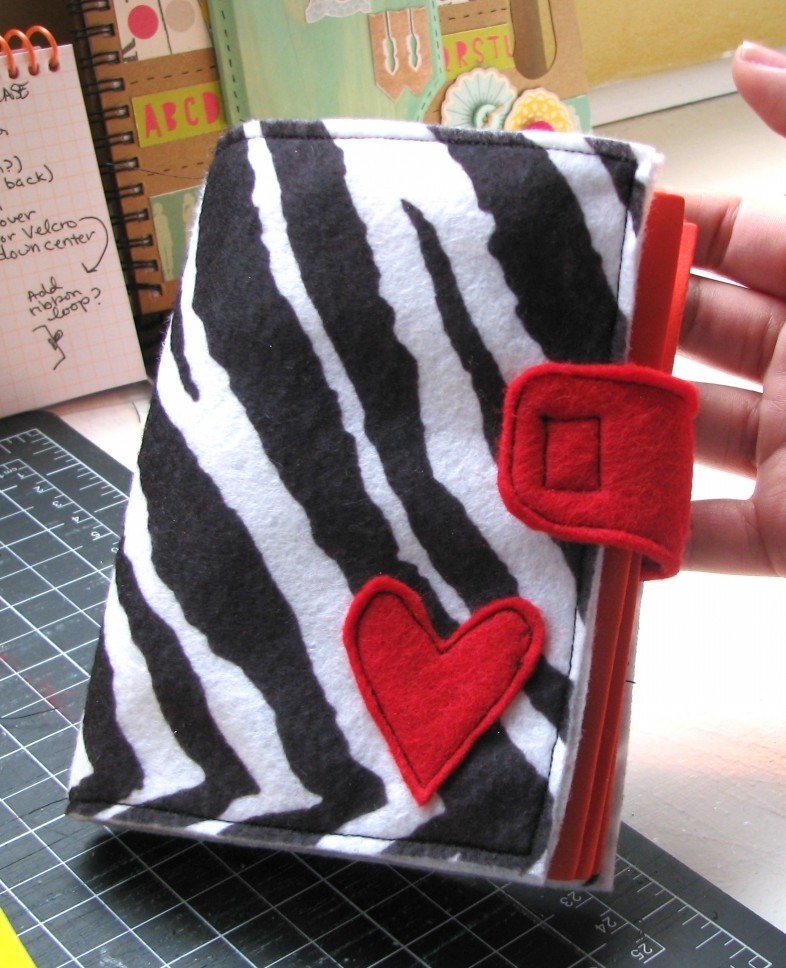
- If you’d like to decorate your cover, you can cut a shape out of the other piece of felt. Pin the shape to the right half of one of your cover pieces. Topstitch in place.
- Next we’ll make the tab closure. Cut a strip that’s 1.5 inches wide by 6 inches long from your second piece of felt. Fold in half, and topstitch the pieces together. I decided to curve the corners of my tab.
- Trim around your stitches as needed.
- Now we’ll put the cover together. Put one piece of cut felt face down, and put the other cover on top. Match up the edges. Slide the tab between the two pieces, in the middle of the left-hand side. Pin in place.
- Continue pinning around the edges of the cover. Then topstitch together with a 1/8 inch seam. Remove the pins.
- Sew a piece of Velcro to the inside of the tab.
- Fold the booklet shut, then add the coordinating piece of Velcro to the front cover. Sew it close to the edge; the book will be bulky when you add the earrings, so you want the closure to have a lot of give.
- Now we’ll create the foam pages. Fold the foam in half width-wise to create a crease. Add fuzzy Velcro to the interior left hand side.
- Cut a segment of ribbon to about 3 inches. Fold it in half to create a loop. Tuck it beneath the rough Velcro, and sew on the left-hand side of the foam. This creates a handle to tug on so the foam won’t rip when you open the pages.
- Repeat those steps to create a second page that’s identical to the first.
- Now we’ll add the pages to the booklet. Open the cover. Lay one foam page on the inside. It should be open, with the ribbon loop on the left.
- Lay the second page on top of the first, but with the ribbon loop on the right. The Velcro tabs should match up and close.
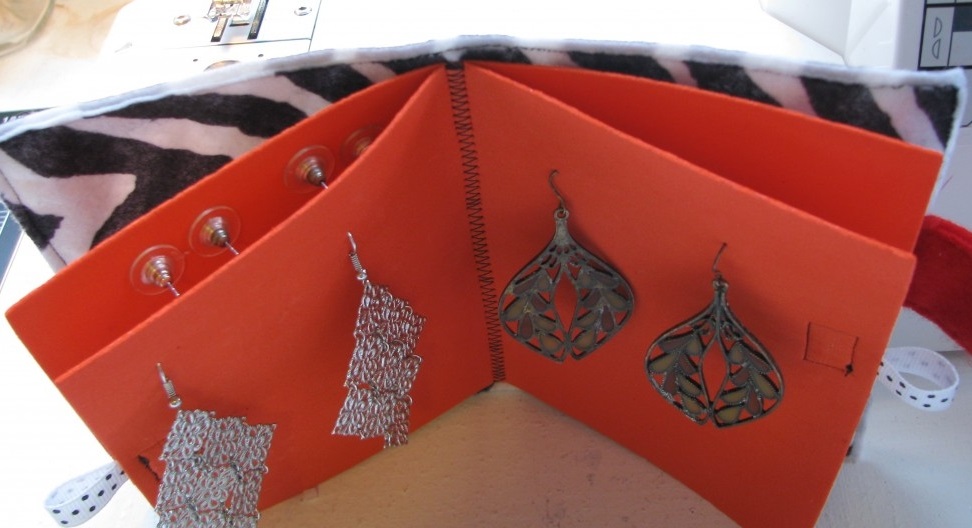
- Use a zig-zag stitch to sew a seam down the center of the pages. Use the fold crease as a guide.
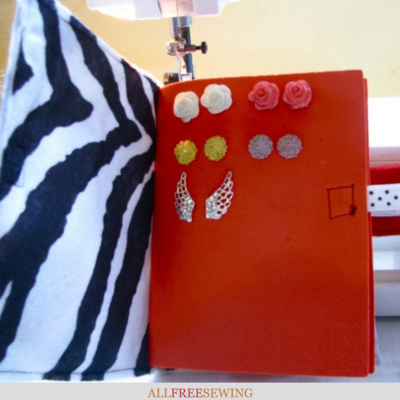
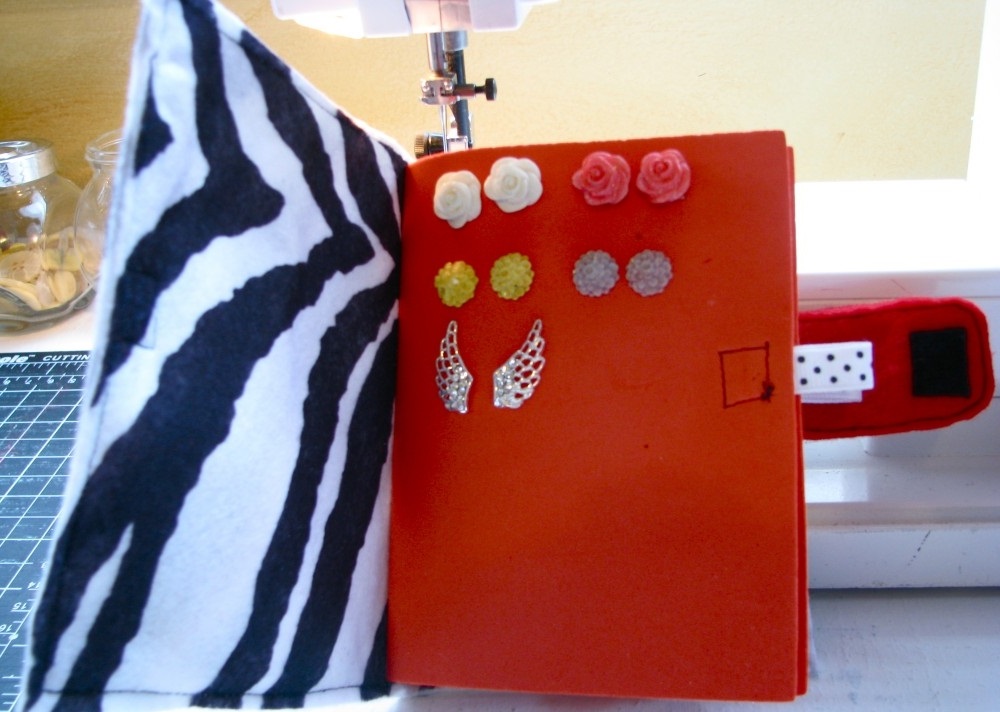
- To use your earring case, pull on a ribbon loop to undo the Velcro. Poke an earring through the foam, and secure with an earring back on the other side. Earrings will slide through easily.
- It works nicely to add post earrings to the front side of a page set, and dangling earrings to the backside of a page set, because the backings won’t interfere with each other.
Watch the video here:
Read NextHexi Fabric Flower Pattern
Your Recently Viewed Projects
Report Inappropriate Comment
Are you sure you would like to report this comment? It will be flagged for our moderators to take action.
Thank you for taking the time to improve the content on our site.

