Necktie Refashion Into Necklace or Wallet
Looking for sewing projects with old ties? You get two awesome patterns to choose from here!

Do you have a slew of old neckties that you or your husband never wear? Perhaps they're the wrong fit but have a brilliant pattern, or they're made of a luxurious satin you'd never want to go to waste.
Don't throw your old neckties out! Give them a second chance at life with this clever, sleek, and high-fashion tutorial, Necktie Refashion Into Necklace or Wallet.
You've never been so well accessorized than after you follow this user-friendly upcycling clothes tutorial. Sew a statement necklace that will have your fellow vintage fashionistas green with envy.
If you have old neckties, you can make projects. Without wasting a single scrap of fabric, you can also sew a small DIY wallet that looks just as elegant as any store-bought piece.
If you're ready to begin your 1950s vogue accessory collection, then what are you waiting for? Read the sewing tutorial below, made by Maureen Wilson of MadeByMarzipan.com, and you'll be able to give any outfit a sophisticated edge. These are two of the coolest recycled necktie projects ever.
Sign Up For More Free Patterns >>>

This tutorial was written by Maureen from Made by Marzipan. To see more of her work, check out her designer profile here:Maureen Wilson
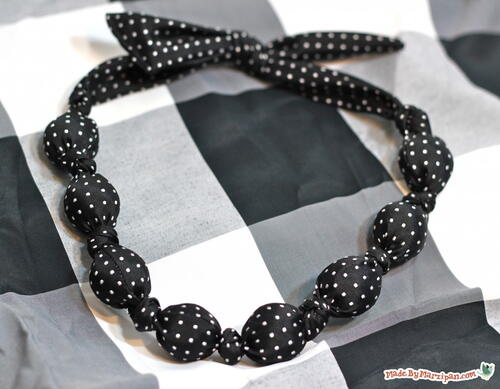
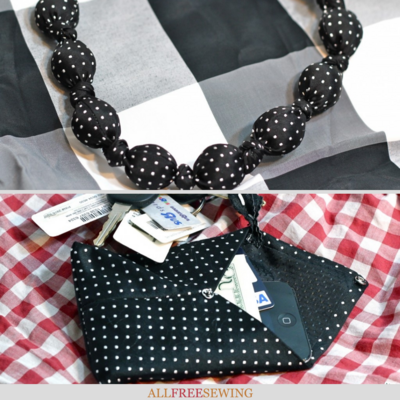
Necktie Necklace
Bold, flashy, and oh-so-elegant, statement necklaces are oftentimes the part of an outfit that brings everything together. However, large pieces of jewelry can be expensive to buy and difficult to find, especially if you're looking for a vintage-inspired piece. Enter: the Necktie Necklace. This gorgeous piece is made from something you already own, so it won't cost you any extra money to make. Playful yet sleek, this 1950s-inspired accessory is something you'll want to wear to every dinner party!
Materials:
- Old Necktie
- Wooden Beads (8, 1-inch round)
- Sewing machine & thread or needle
Instructions:
-
Start by removing the wide end of the tie. I cut off about 8 inches. Make sure that it's tall enough to fold the pointed flap down over your phone, plus another 1/4 inch for a bottom seam. Set aside.
-
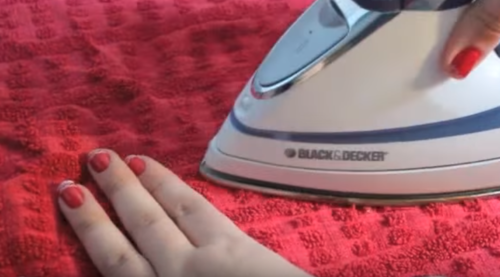
Take the tie apart and remove the inner lining. Press your tie to remove wrinkles. If your tie is silk, use extra caution, especially if you haven't had practice ironing silk before. It's safest to put a pressing cloth or dishtowel over the tie and then to iron it with steam.
-
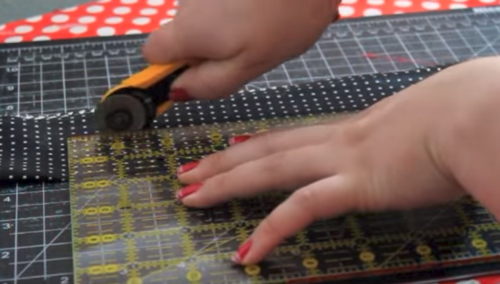
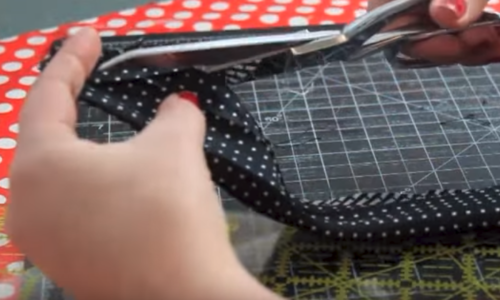
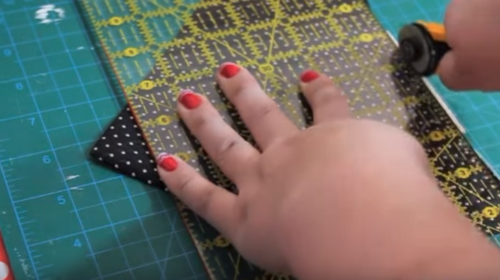
Now we'll cut the tie into a rectangle. Measure the narrowest part of the tie, then trim off the wider portions to that measurement. My tie's narrowest section is 3 inches, so I'm folding my tie in half and cutting 1.5 inches in. This should give you a rectangle with even sides.
-
With the tie folded in half, trim the ends at an angle to form a point.
-
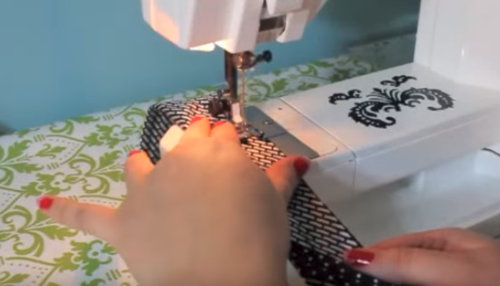
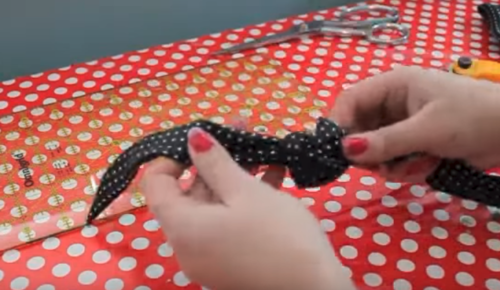
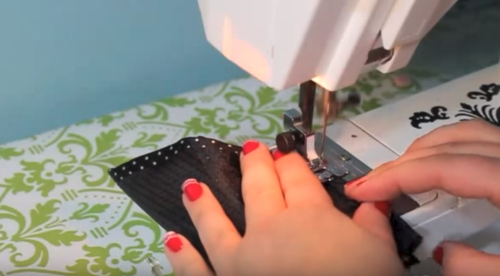
Fold the tie in half lengthwise, with right sides together. Sew one short end shut, and sew the long side with a 1/4 inch seam. I found it's easiest to leave a 3 inch hole for turning in the MIDDLE of the long side. Because it's a narrow tube, this makes turning right side out much easier. Leave the other short end open so you can insert the beads.
-
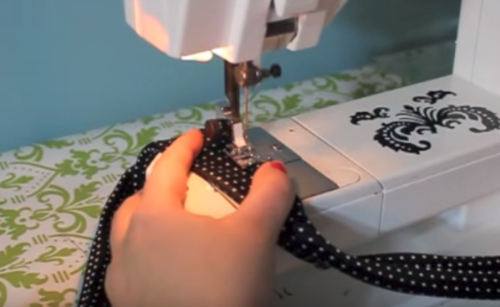
Turn right side out through the middle hole. Then sew the hole shut with a 1/8 inch topstitch. If you're hand sewing, use a blind stitch or ladder stitch.
-
Make a knot in the tie, about 10 inches from the sewn end. This will keep your beads in place.
-
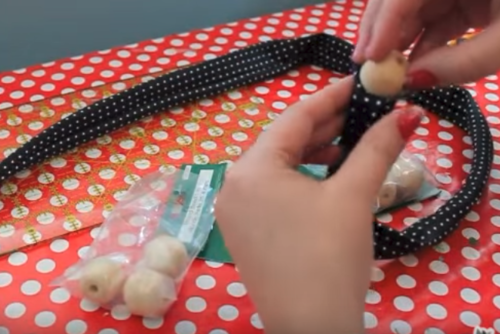
Now it's time to add the beads. I'm using 8 1-inch wooden beads. They cost about $1 per package, but you can experiment and buy whatever is on sale at your craft store, because they won't show.
-
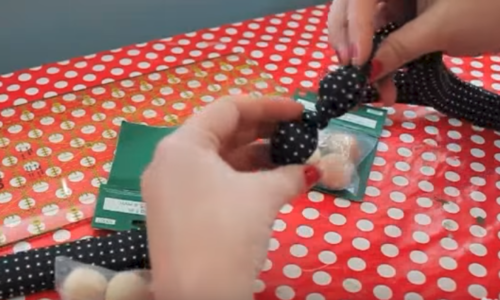
Insert a bead in the tube, and slide it down to the knot. Tie a knot to keep the bead in place, and continue adding beads. Try to keep the front free of seams.
-
Stop when you have about 10 inches of tie left after the last knot. Fold in the raw edges of the tie and topstitch with a 1/8 inch seam. To wear, tie a loose knot at the back of your neck.
Necktie Wallet
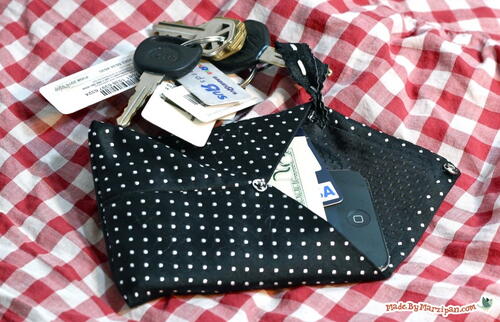
Serving both a practical and a fashionable purpose, wallets are the lesser known key to successful accessorization. This Necktie Wallet is just the thing to subtly bring out your fashion prowess, giving your money-carrying technique a chic update. Sew one of these budget-friendly pieces for your husband or for your mother, and they'll be equally impressed! It's one of the coolest sewing projects with old ties you can choose.
Worried about waste? This DIY wallet pattern uses the portion of the tie you cut off in the necklace tutorial, so you won't be letting a single scrap go unused. The best part? This wallet sewing pattern even features a ribbon loop so you can attach it to your keychain.
Materials
- Old Necktie
- Snap
- Ribbon (5 inches)
- Sewing machine & thread or needle
Instructions:
-
Begin by ironing the tie. Protect it with a cloth and use steam.
-
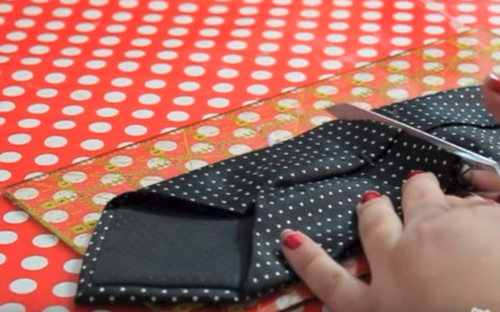
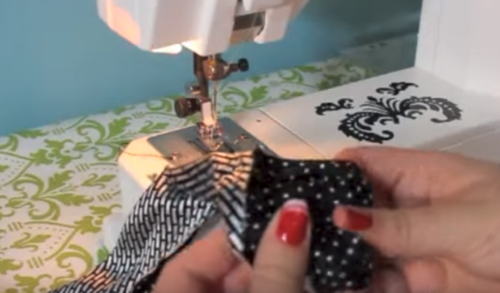
Trim the bottom edge so that it's straight. Fold tie right sides together, and sew along the short side with a 1/4 inch seam. Rotate the fabric so that the seam is now in the middle.
-
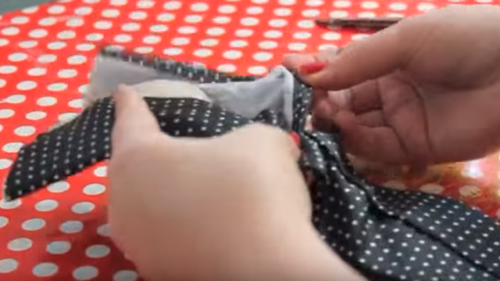
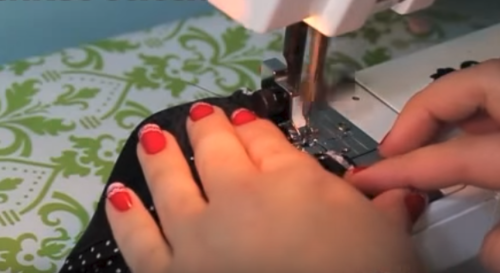
Next sew along the bottom. Use a zig-zag stitch to encase the raw edge. If you're hand-sewing, use a blanket stitch to minimize fraying. Turn right side out.
-
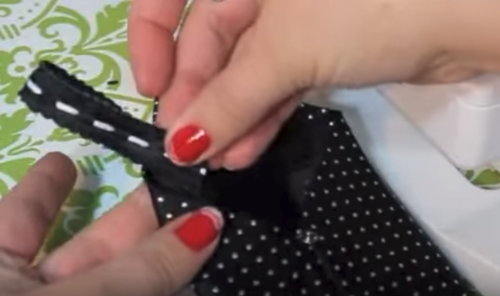
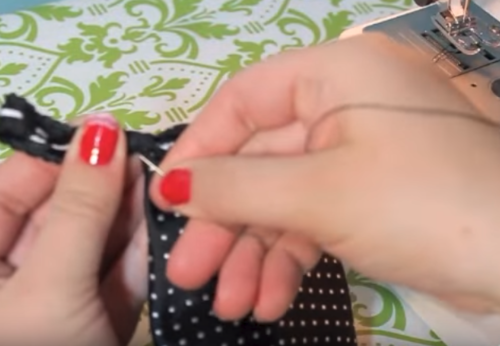
Now we'll add a snap. Hand sew one piece on the interior of the point. Sew the other snap piece where the fabrics meet. Make sure that when you fold the flap down, the two pieces match up.
-
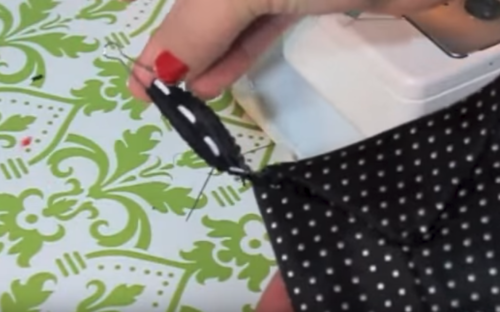
Finally, we'll add the ribbon loop. Cut 5 inches of ribbon and fold in half to make a loop. You can save yourself step 6 by folding this ribbon loop in half lengthwise, making it very skinny. Place in the left corner of your wallet. Sew in place with a zig-zag stitch.
-
Because I didn't think to fold my ribbon in half lengthwise before sewing, I'm doing it now, but sewing a couple of stitches to pinch the ribbon together. This makes the wallet close more securely.
-
If you'd like, you can add a lanyard hook to make it easier to take the wallet on and off your keychain.

Necktie Refashion Video Tutorials
If you are a visual learner, then you will appreciate that these tutorials are also in video form. Check it out below and follow along:
Read NextHow to Make Slippers From Jeans
Your Recently Viewed Projects
Thanks for your comment. Don't forget to share!
Member 5121029
Aug 16, 2017
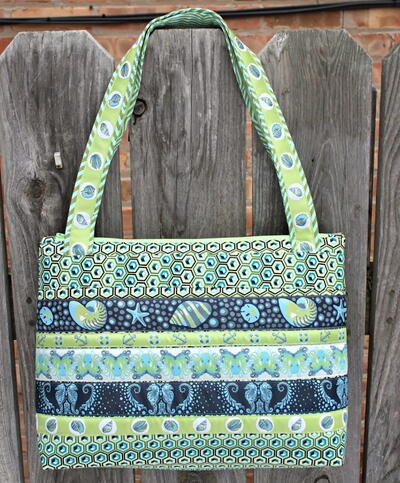
I once used some old neckties to create a tote bag - or half of one anyway. The other side is a scarf I had. The handles are neckties, too. And it's completely reversible. since I lined it carefully.
janet8488 5577587
Mar 10, 2013
Such a super idea! I have ties I saved from my 89 year old Dad and have wanted to use them for something special. This will be a way to use some of them. Thanks for helping a daughter out!
PennyPinchersPurse s
Sep 19, 2012
What a COOL idea! I may have a few ties in my stash that I can use! Thank you! :0) (Hmmm ...When I had to wear a tie with my school uniform, they never SAID, "Thou shalt not wear thine school tie as a necklace"!) Where WERE you?! Lol!
Report Inappropriate Comment
Are you sure you would like to report this comment? It will be flagged for our moderators to take action.
Thank you for taking the time to improve the content on our site.