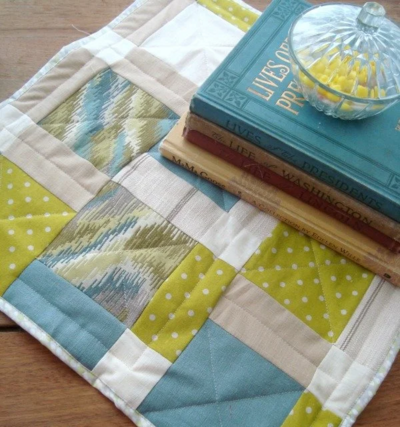
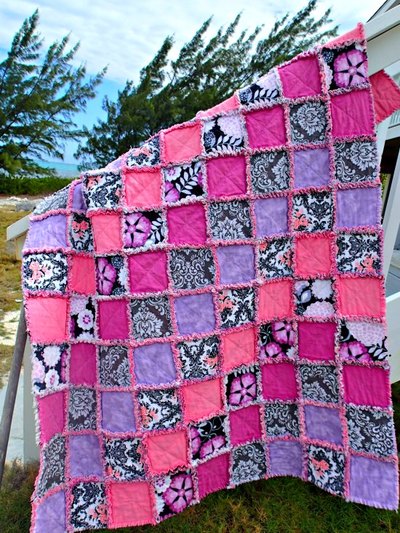
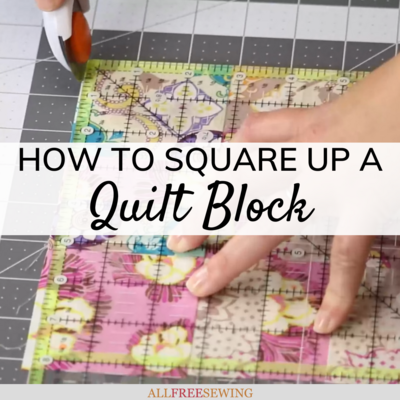
How to Square Up a Quilt Block
Squaring up quilt blocks is simple with this video tutorial!

If you're a beginner or casual sewist, then sewing a quilt is not an easy talent to master. However, this squaring up a DIY quilt block video tutorial will make sewing the perfect quilt that much easier.
Learn How to Square Up a Quilt Block by following along with Carolina while she walks you through it while providing helpful tips and tricks along the way.
It can be extremely frustrating getting through all your DIY quilt blocks to find that you've somehow rectangled some or all of them and now they don't match up.
Avoid the trouble and added stress by reviewing this tutorial first!
Sign Up For More Free Patterns >>>
Materials List
- Quilt blocks
- Square ruler (equal or bigger than your squares)
- Rotary cutter
- Glow line tape
Project Type: Learn a Technique
Time to Complete: Under an hour
Sewn By: None
Squaring Up a Quilt Block Video Tutorial:
This how-to video can keep you from having to feel this kind of frustration with its easy to follow steps and super helpful tips. No matter if you are a master quilter or just starting the hobby, this quilting video will help you improve your quilting skills!
How to Square Up a Quilt Block:
- Measure your quilt blocks to see how large you want them to be when they are square.

- Mark off your ruler with the glow line tape on the appropriate measurement lines. Two sides with tape can be the edges of the ruler.
Note: Trim the edges of the tape off with scissors or a rotary cutter.

- Line up your ruler on top of your block. Align the lines on your ruler with the center seams on your block as reference points to make sure the spacing is even.

- Use your rotary cutter to cut one side of your block, and then the other.

- Rotate your quilt block 90 degrees and repeat the process with the last two sides. Repeat this process with all your other blocks. Sew your blocks together to make your quilt!
Note: You should be able to line up both the center seams and outer edges.


Want More?
How to Use a Rotary Cutter and Mat >>
Do you prefer to quilt with a pattern or without?
Let us know in the comments!
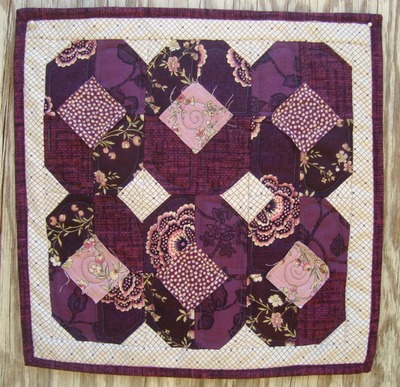
Read NextQuilted Doll Quilt Pattern
Your Recently Viewed Projects
Thanks for your comment. Don't forget to share!
Weberme
Apr 23, 2017
I am so glad to see this video and tutorial on squaring up a quilt block because I am very new to quilting and had a hard time making my blocks squared right with ruler and the do not measure right. I love the tape idea to keep me from second guessing and messing it up. I will redo and use this technique. Anyone else do this?
Report Inappropriate Comment
Are you sure you would like to report this comment? It will be flagged for our moderators to take action.
Thank you for taking the time to improve the content on our site.