This project was submitted by one of our readers, just like you.
Crinkly Bunny Lovey Tutorial
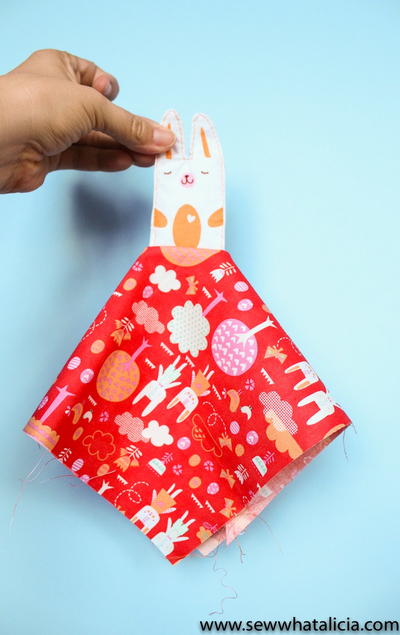
From the Blogger: "Crinkly Bunny Lovey Tutorial. This is a great tutorial for making a crinkly bunny. This lovey is fun, soft, and precious. You know when you buy a baby toy and it makes that fun crinkly noise? I wanted to play around with creating that sensation so I came up with this fun tutorial! This crinkly bunny lovey tutorial is the last of the fun tutorials with this spring bunny fun fabric and it is may be my favorite! Here is a crinkly bunny lovey tutorial!"
Project TypeMake a Project
Time to CompleteIn an evening
Sewn byMachine

Materials List
- 12" square minky
- 12" square spring fun bunny
- 12" square fusible fleece (optional)
- Small rabbit from spring fun bunny panel
- Cereal bag
How to Make Your Lovey
Instructions:
-
Cut out the small bunny from the spring bunny fun panel. Then cut a piece of the cereal bag to the same size.
-
Fold the bunny in half and place the cereal bag on top. Pin in place and then sew around 3/4 of the bunny. Leave the side open to turn the piece. Notch the curves and trim the corners. Then turn the piece out. Pin the open edge closed and top-stitch around the bunny.
-
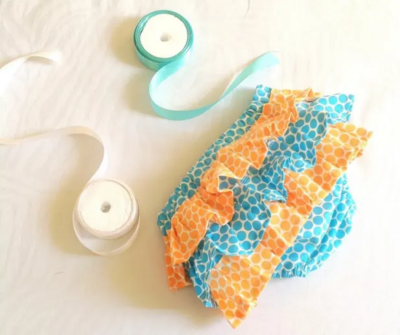
Now take your 12″ square and cut it in half diagonally.
-
Fold one of the triangles in half to find the middle. Place the bunny in the middle and then pin the two triangles together right sides facing. Sew along the long edge.
-
Iron the fusible fleece square onto the red bunny portion. (DO NOT iron the minky because the iron will ruin it!) Now line the minky up right side down with the bunny square. Sew around the majority of the square leaving an opening to turn the piece out.
-
Now top-stitch around the entire outside edge of the lovey. The fleece will make it a little stiffer but it will add some nice softness when baby puts it to their face or rests their head on it. Leave the fleece out if you want it to be more pliable.

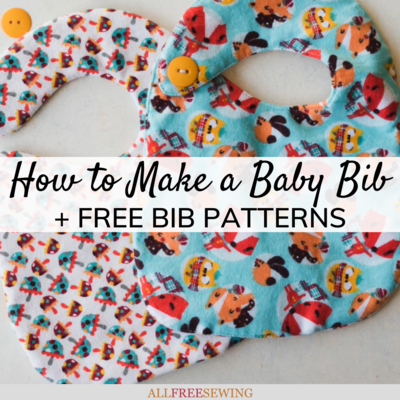
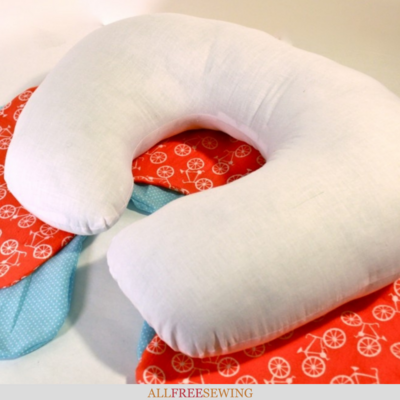
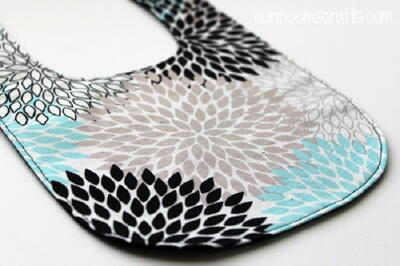
Read NextUltimate Baby Bib Tutorial
Your Recently Viewed Projects
Thanks for your comment. Don't forget to share!
CScarnegie
Mar 30, 2017
How cute! I would just LOVE to make one of these little guys for a special baby in my life... now I just need to find a special baby!
Report Inappropriate Comment
Are you sure you would like to report this comment? It will be flagged for our moderators to take action.
Thank you for taking the time to improve the content on our site.