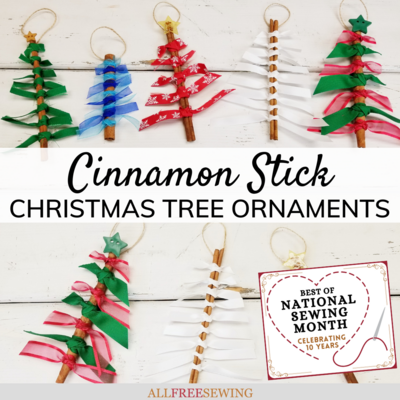
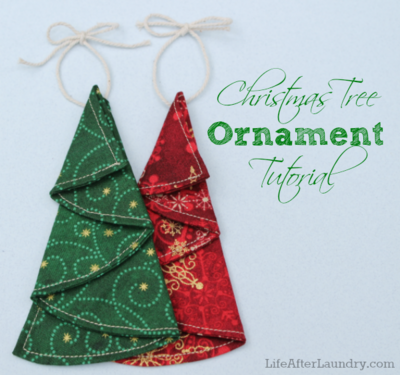
Cinnamon Stick Christmas Tree Ornaments Tutorial
Create Christmas tree ornaments made with ribbon. Our tutorial shows you how to make one in under 5 minutes!

With only a few materials and five minutes, you can create a fun rustic homemade ornament. This Cinnamon Stick Christmas Tree Ornaments Tutorial shows you how easily you or your children can design your own ornaments using ribbon and cinnamon sticks.
You might even have everything in your home already. It's a great no-sew project for kids to do after school or on winter break. Plus, there are so many ways to customize this craft that your family will want to keep making these DIY cinnamon stick ornaments until you run out of supplies.
The benefit of using cinnamon sticks for these DIY ornaments is that it will provide your home with a slight but pleasant and festive scent throughout the holidays. Who doesn't love the smell of fresh cinnamon?
If you don't have cinnamon sticks, straight sticks from outside will work. If you don't have ribbon, scrap fabric strips or even yarn will work. That's why this stick Christmas tree ornament is so great.
And, because it doesn't require sewing, anyone can make them. They can be as rustic or as elegant as you want to make them. Get creative and see what you come up with.
Sign Up For More Free Patterns

Cinnamon Stick Christmas Tree Ornaments
Skill Level: Beginner
Project Type: Make a Project
Time to Complete: Under an hour
Sewn By: No-Sew
Materials List:
• Ribbon (or scrap fabric strips or yarn)
• 6-inch cinnamon sticks (or 6-inch sticks - straighter the better)
• Twine or yarn
• Fabric scissors
• Craft glue
• Optional: Star buttons
How to Make Cinnamon Stick Christmas Tree Ornaments:
- Gather your materials.

- Find a straight cinnamon stick (or twig) to use as your base.
- Lay down a long length of ribbon and place the cinnamon stick in the center of the ribbon near the top of the stick, leaving about half an inch at the end.
Note: You can cut strips of ribbon (or fabric/yarn) beforehand or cut it after wrapping. Either way, leave at least 2-1/2-inches on either side of the stick after you tie it.
- Tie the ribbon around the stick. Flip the stick over and tie another knot. This will not only secure it in place but help keep the ribbon from pointing too far up or down. Cut the ribbon, leaving at least 2-1/2-inches on either side.
- Repeat Steps 3 and 4 but move the stick a few centimeters from the previous ribbon.
- Repeat Steps 3 and 4 (moving the stick a few centimeters from the previous ribbon) until the stick is full. You will also want to leave a "trunk" at the bottom (about 1/2 inch). Adjust the ribbon pieces as needed.
- Carefully cut the ribbon pieces at an angle from the bottom to the top of the stick, making the ribbon on each side shorter as you go up, resembling the Christmas tree shape. Do this for both sides, keeping the ribbon branches symmetrical.
- Adjust the ribbon pieces again as needed to make your DIY cinnamon stick ornament look the way you want.
- Cut a piece of twine (or ribbon/yarn) and glue it to the back top of the ornament. Let dry.

- Optional: Glue a star button (or angel if you have one) to the top to mimic a real Christmas tree. Let dry.
That's it! Admire your work and hang your ornament!


Want More?
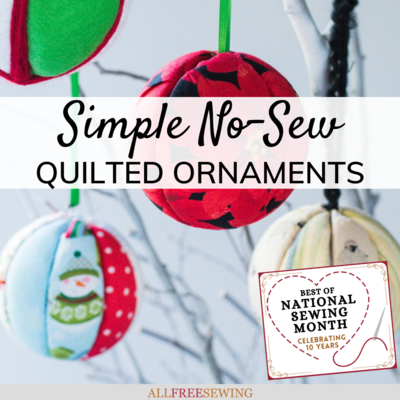
10 Festive No-Sew Christmas Ornaments >>
How many Christmas trees do you put up in your home?
Let us know in the comment section!