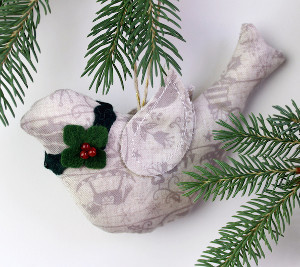
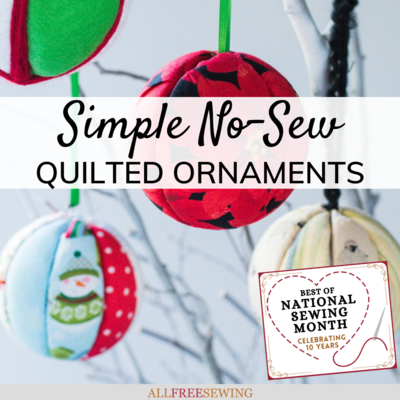
Simple No-Sew Quilted Ornaments (with Printable Templates)
Learn how to make handmade quilted Christmas ornaments that are no-sew!

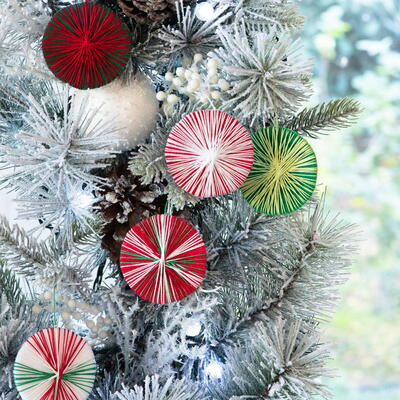
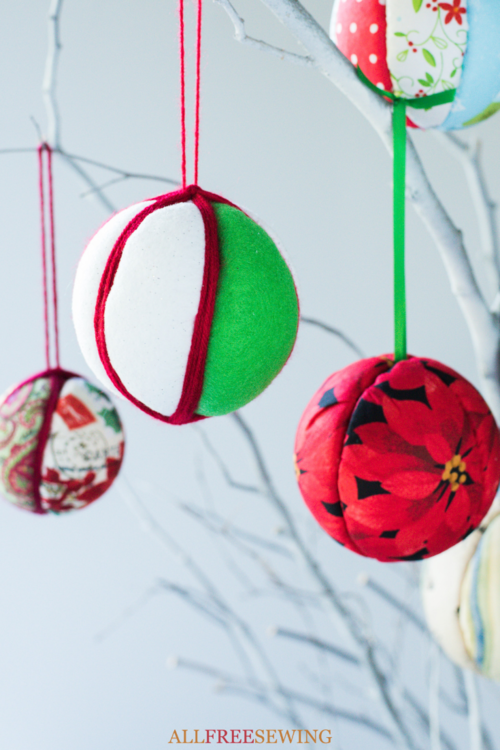
Quilting is an impressive skill to have, though sometimes it's fun to fake it. With these Simple No-Sew Quilted Ornaments (with Printable Templates), you can create a pretty faux-quilted ornament that will look spectacular on any Christmas tree.
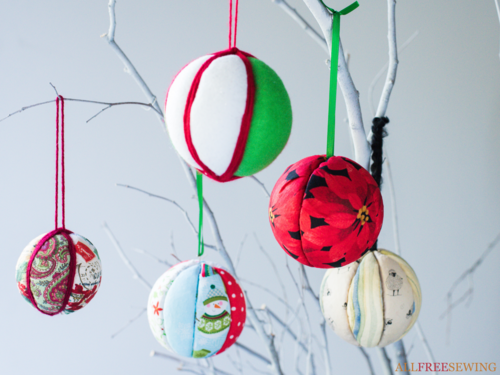
You don't even have to make one of these ornaments for Christmas, either. It's fun to play around with fabric to make "every day" ball ornaments as well.
These DIY ornaments are so easy. The most difficult part is dividing your Styrofoam ball into equal segments and for that we have you covered! We are providing you with printable templates for 4-inch, 3-inch, and even 2-inch balls (if you are feeling extra ambitious).
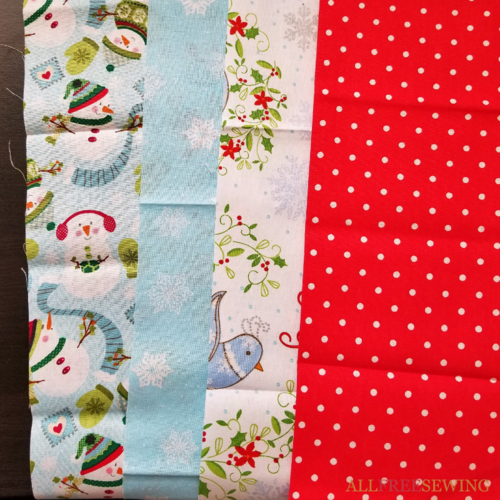
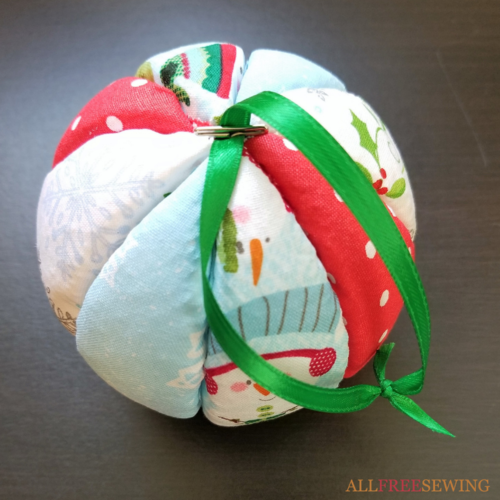
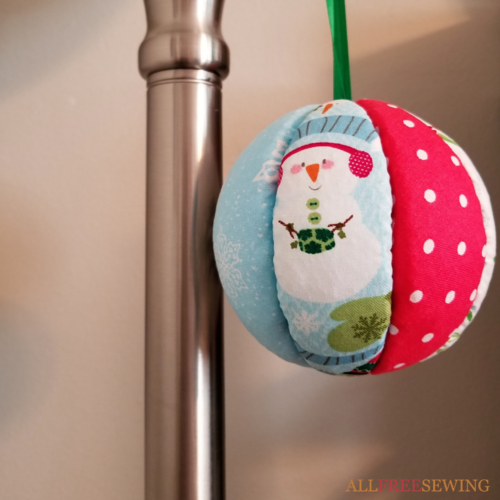
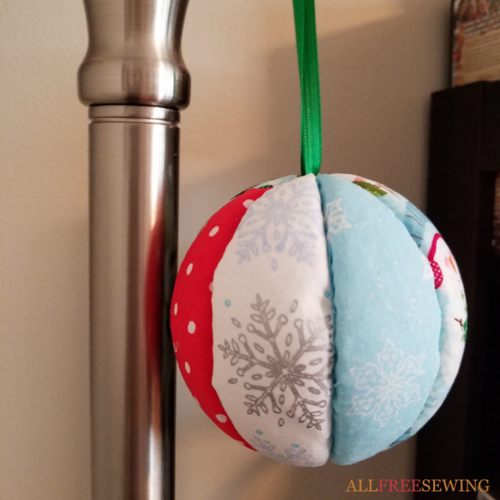
There are even designs that you can choose to up the impression factor. These look good with only one type of fabric repeated in each section but these quilted ball ornaments look even better when you use multiple but complementary fabrics.
Follow along with the tutorial below and see how easy it is to make your own.
The printable Christmas ornament templates make it that much easier and fun. Also, there's a video tutorial at the bottom of the page, so be sure to check that out, too!
Sign Up For More Free Patterns >>>
Project TypeMake a Project
Time to CompleteUnder an hour

Materials List
- Printable Ornament Templates (print the page at "actual size" for the correct measurements)
- FloraCraft Styrofoam balls (4-inch, 3-inch, or 2-inch)
- Fabric (enough to cover the ball), such as Fabric Editions or Art Gallery Fabrics
- Foam cutting tool, such as FloraCraft Make It Fun Foam Tools (you can also use a butter knife)
- Scissors
- Thin marker or pen for drawing on Styrofoam
- Straight pins for assembly
- Decorations: ribbon, jewelry strings, etc. (optional)
- Ribbon, yarn, or other hanging material
- Straight pins or glue for hanging
If you're dreaming of a white Christmas, you probably have an ideal image of your home for the most wonderful time of the year. Make that Christmas wish come true with these easy Christmas sewing projects:47+ Free Christmas Sewing Ideas
No-Sew Quilted Ornament Pattern:
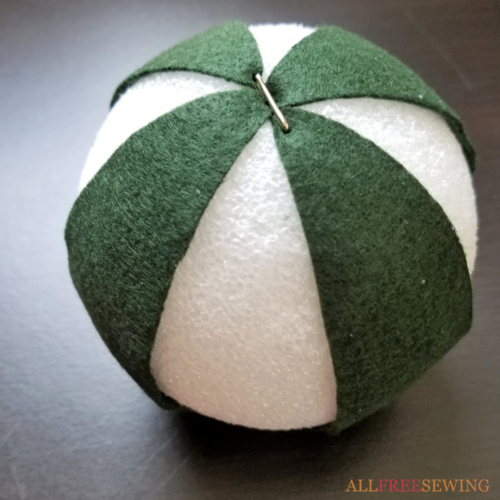
This tutorial uses the 4-inch Styrofoam ball but the steps are the same for any size.
CLICK ON ANY IMAGE TO ENLARGE.
Click Here to Print the Ornament Templates
-
Print out the templates for the pattern size and style you would like to create*. Gather your other materials, and determine the fabric combination you will be using.
*See the next step for printing and assembling the template. -
Cut and use the template pieces to cover the ball evenly. To make it easier, cut one piece of the printed template and trace the piece to create half the number needed on a more flexible material, such as newspaper or fabric. Use straight pins to hold the pieces in place around the ball. For example, this template has 8 segments, so 4 pieces of felt were cut and placed evenly around the Styrofoam (see image below).
-
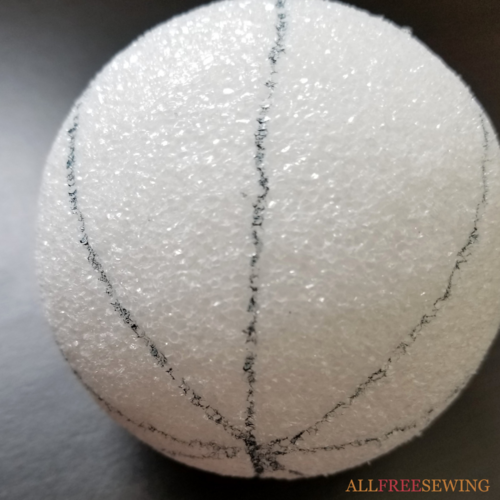
Use a marker/pen to draw the template on the ball.
-
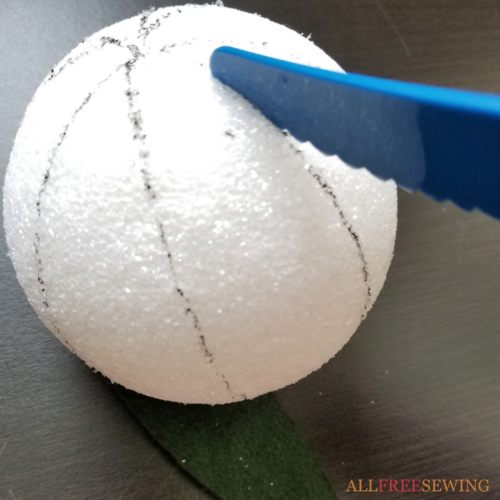
Using your foam tool (or butter knife), cut along the lines on the ball, pushing in about 1/2-inch into the Styrofoam.
Note: Depending on the type of Styrofoam you are using, this can be messy, so make sure you are in an area that can be easily cleaned. -
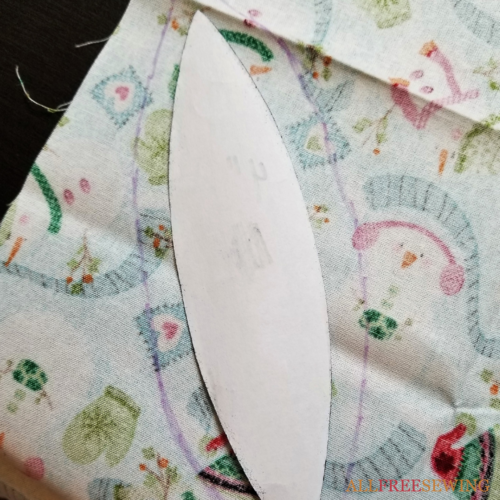
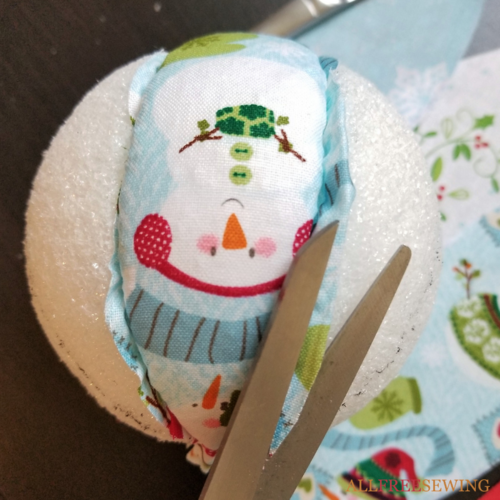
Use the template pieces to cut out the fabric. The easiest way to do this is to place the template onto a piece of fabric (make sure the design of the fabric is where you want it) and trace around, leaving roughly 1/2-inch to 1-inch all the way around. This will be the extra that's being punched into the ball.
Alternatively, you can cut large strips and trim more of the excess after punching. -
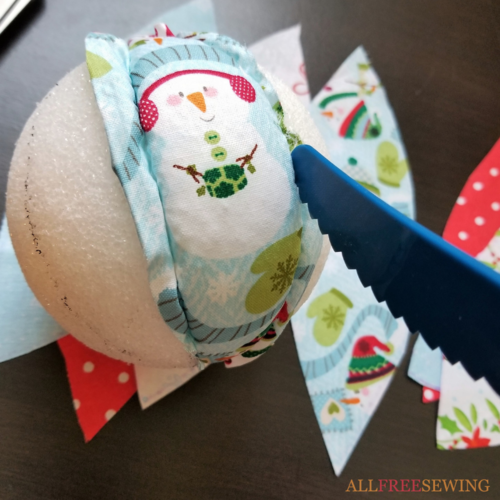
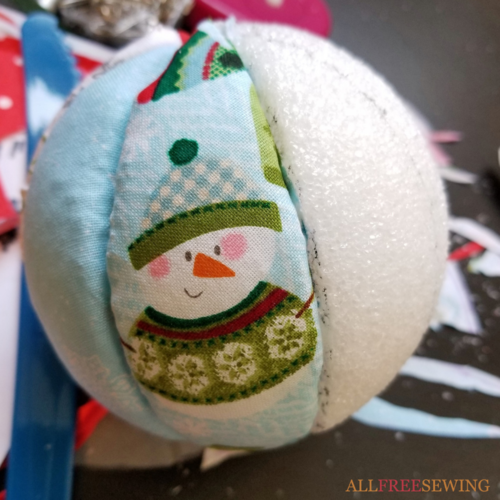
Align one piece of cut fabric with a section of the ball. Using the cut lines, punch the fabric into the spaces. In order to make the fabric look smooth and even, you will want to punch down in various places as you go, rather than down one side and then the other.
-
Once the section is covered in fabric with it pushed in as much as needed to secure, use the scissors to cut any excess fabric. Then, go back and punch in any remaining fabric around the section.
-
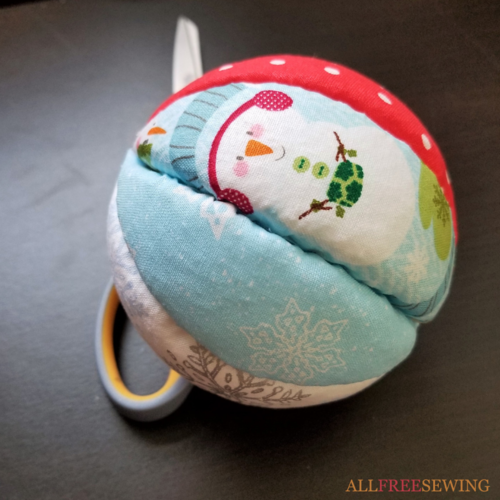
Repeat Steps 6 and 7 with the fabric of choice around the remaining sections of the ball.
-
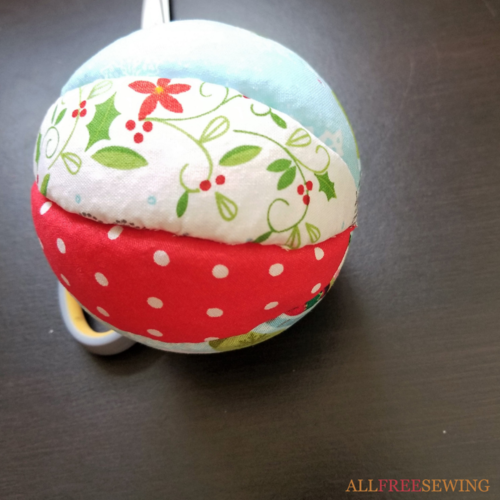
Once your ball is covered, it's time to add decorations if desired. This is an optional step. Ideas: Cover the "seams" with ribbon, straight pins, or jewelry strings.
-
Cut a piece of ribbon or yarn as a hanger. Tie the ends. Use a straight pin to adhere the ribbon hanger to the top of the ornament. You can use glue if desired.
-
Find a place to hang your new ornament!


Quilted Ornaments Video Tutorial:
Visual learner? Then check out Krista's Facebook Live of the ornament tutorial:
Want More?
10 Festive No-Sew Christmas Ornaments >>
How many generations of ornaments do you have on your tree?
Answer below to let us know!
Featured in our National Sewing Month collection!
Read NextFabric Star Christmas Tree Ornament
Your Recently Viewed Projects
Thanks for your comment. Don't forget to share!
KLC
Nov 01, 2022
The printable template link has been updated. This is one of my favorite holiday projects and we hope you enjoy them, too. - Krista at AllFreeSewing
Sigo
Oct 05, 2018
These kind or ornaments are really fun to make and great for those who have small kids or pets, as they do not break if they fall off of the tree. I made ornaments like these years ago and a friend of mine saw them and wanted some for her tree. I made her a set of 6 and she said to me that up until this day, she still hangs them on her tree. I have 3 generations of ornaments on my tree.
fmrikhoff 1270365
Sep 30, 2018
At least 5 generations are represented on my tree! #NationalSewingMonth
ycnan58 1373642
Sep 26, 2018
I cant wait to try these ornaments, i think it would be fun to do with my grandchildren
Report Inappropriate Comment
Are you sure you would like to report this comment? It will be flagged for our moderators to take action.
Thank you for taking the time to improve the content on our site.