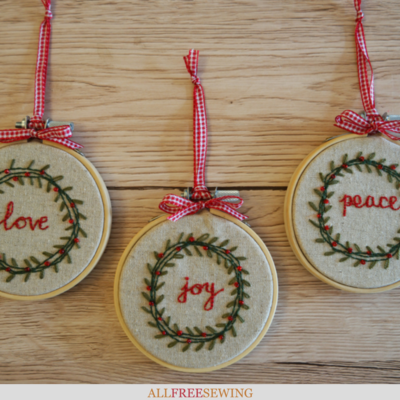
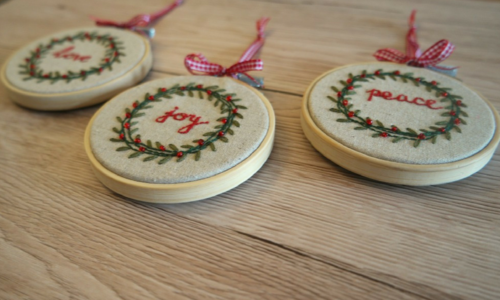
Vintage Christmas Wreath Beaded & Embroidered Ornaments
These gorgeous Christmas hand embroidery patterns will turn your house into a home this winter.

Sometimes in the busyness leading up to Christmas, it can be hard to find time to sew unless you're super organized. It's much easier to have a little project that you can pick up and work on by hand for a few minutes.
Unless you've been living under a rock for the past couple of years, it won't have escaped your notice that embroidery displayed in embroidery hoops and hand lettering are both a thing at the moment.
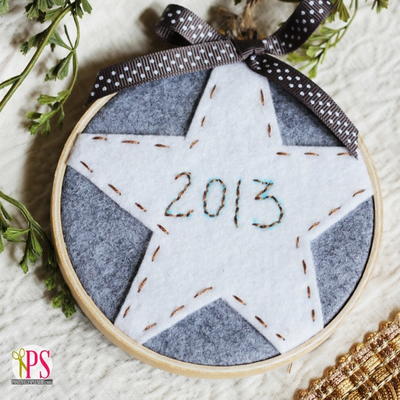
This Vintage Christmas Wreath Beaded and Embroidered Ornaments project combines lettering, embroidery and hand sewing, so its perfect if you want a nice little thing to work on that's not over-ambitious.
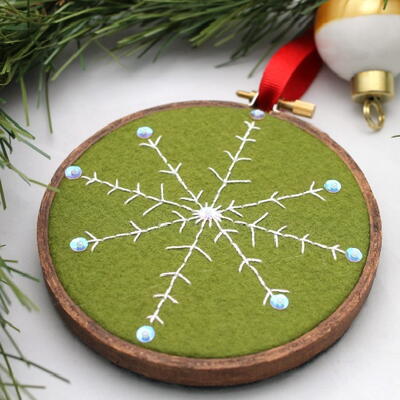
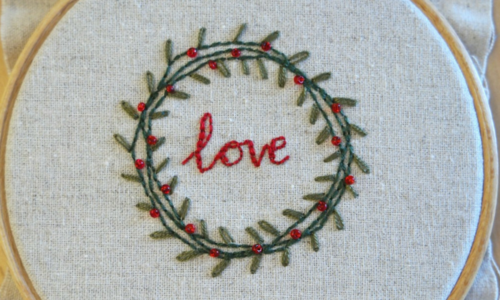
The hoops measure 3 inches (about 8 cm) across. I used 3 colors of embroidery thread and red seed beads, and they are worked on a cotton linen blend.
If you don’t have the beads and you don’t want to buy some, you could sew some French knots in red or white instead.
Sign Up For More Free Patterns >>>
Project TypeMake a Project
Time to CompleteUnder an hour
Sewn byHand

Materials List
- Pencil and paper to draw the designs (or you can download the ones I made here)
- Fabric to sew the designs onto. I used 3 squares of a cotton linen blend. Each square was 5 inches x 5 inches (about 12 cm x 12 cm).
- Embroidery thread in red and 2 shades of green
- Red seed beads (50-60)
- Needle
- Sewing thread
- 3 inch (8 cm) embroidery hoop for displaying the finished embroidery
- Felt for finishing the back of the embroidery
- An embroidery hoop for working the embroidery
- Ribbon
The designer of this ornament, Anna Wilson, also created this Vintage Style Dress Tutorial Without a Pattern for last year's National Sewing Month. Be sure to take a look if you missed it:
How to Make a Dress Without a Pattern
Christmas Embroidery Hoops Sewing Patterns
Three embroidery stitches are used for this pattern: backstitch, lazy daisies, and French knots. They are all worked using 2 strands of embroidery thread. Find the tutorials for these three hand stitches after this section. First, you will learn how to design the ornament, then the stitches, and, finally, putting it all together.
CLICK ON ANY IMAGE TO ENLARGE.
How to Make the Ornament Design
I’m going to show you how to draw them yourself, but if you don’t want to faff about with this, you can download the designs I used here.
-
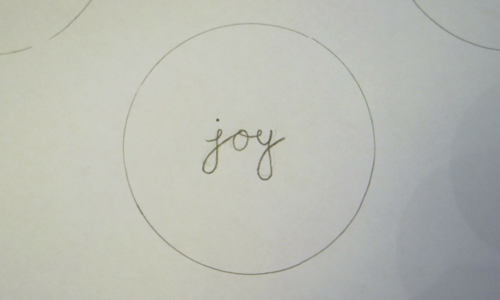
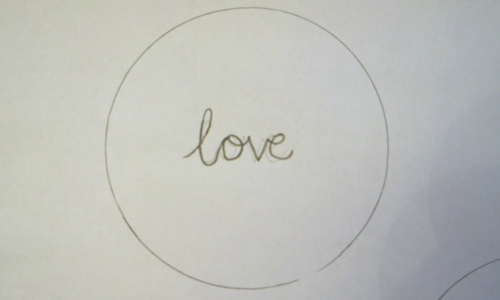
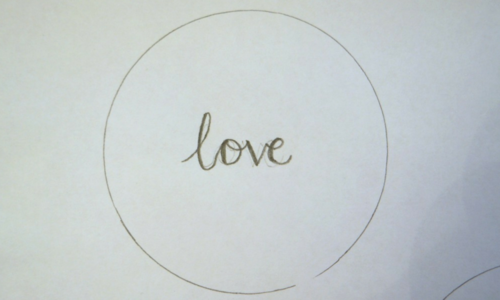
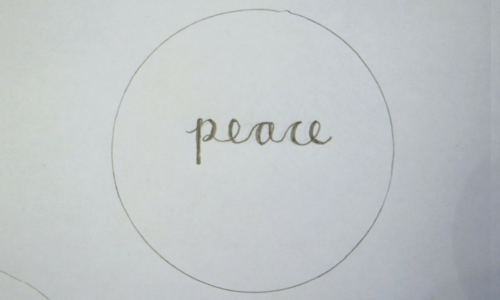
Draw round the inside of the embroidery hoop. This will ensure that your design will fit inside the hoop!
-
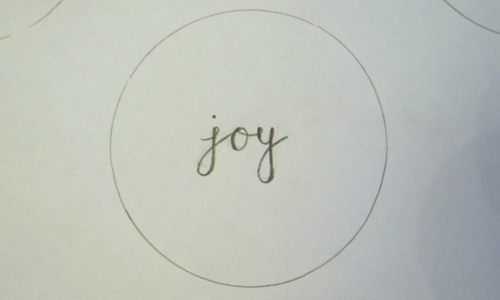
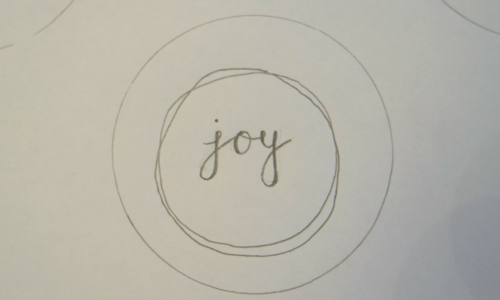
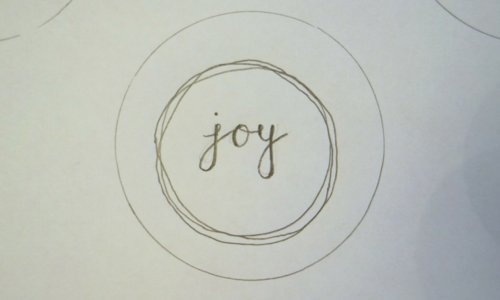
In a cursive style of handwriting, write the word "joy." On the downstrokes, add extra lines and color in the spaces.
-
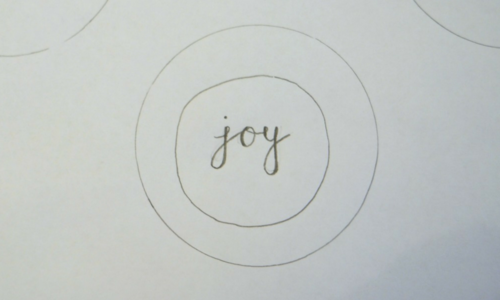
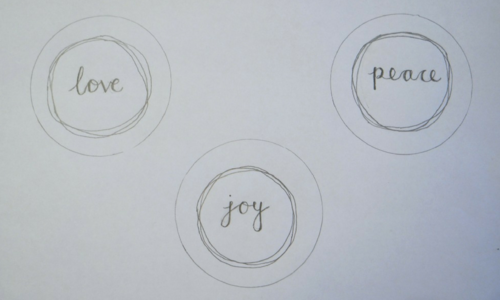
Around the letters, draw 3 rough circles. If you don’t like them, don’t worry, just erase it and have another go.
-
Add some leaves. Don’t make them too small and be sure to space them out. It will look nicer and be easier to sew. Please note that my designs don’t have the leaves on! I decided that I’d rather just sew them and not be constrained by what I’d drawn.
-
Repeat for the words "love" and "peace." If you wanted to, you could just write the words and use the garland you’ve already drawn. I redrew them because I wanted each hoop to look slightly different.
-
Now transfer them to the fabric. You could either use dressmakers’ carbon paper, or you could trace them. If you want to trace them, it’s easiest to do this if you use a lightbox. You can make a lightbox yourself using a plastic box and your phone.

Backstitch Tutorial
-
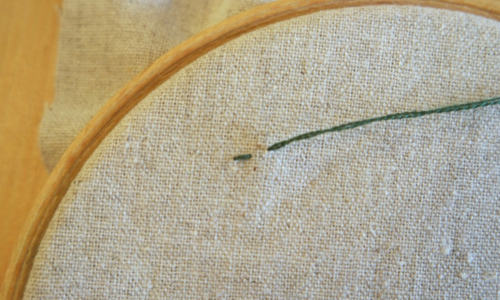
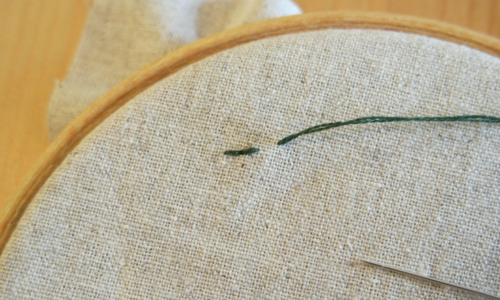
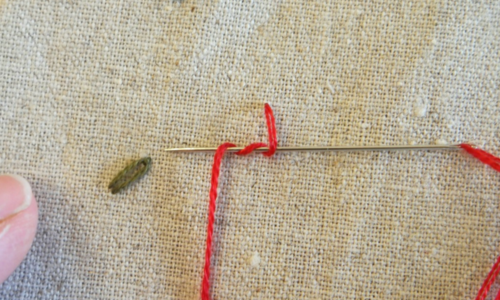
Bring the thread through to the right side at the start of where you want to begin sewing. Make a stitch by passing the needle through to the back. Now bring the needle through to the right side again.
-
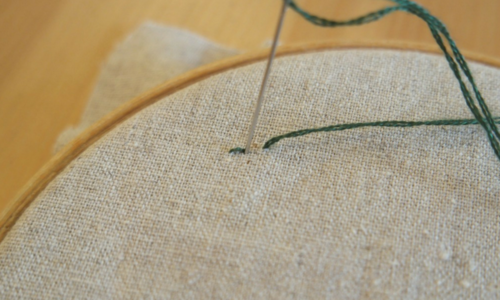
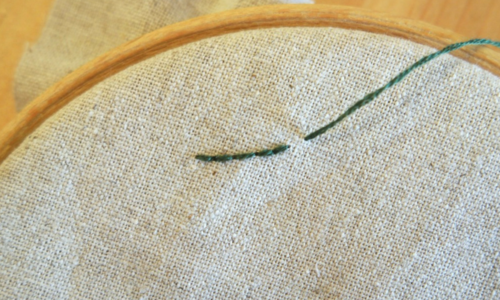
Make another stitch by passing the needle through from front to back at the end of the previous stitch.
-
Now bring the needle back up on the right side, and make another stitch by sewing back to the end of the previous stitch.
You’ll need to use small stitches for sewing curves, and longer ones where the lines of the design are straighter.
Lazy Daisy Stitch Tutorial
-
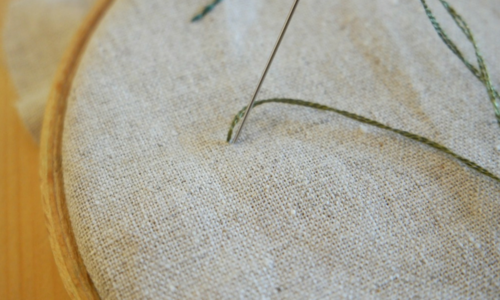
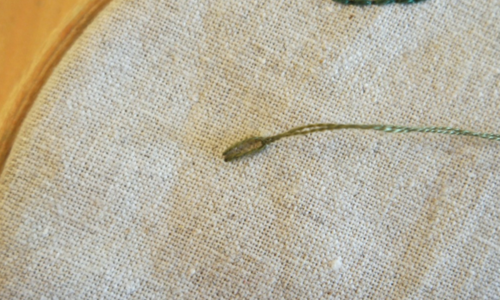
Bring the needle through to the right side of the fabric. Make a loop by passing the needle back through to the back, next to where the loop starts. This will be the bottom of the stitch.
-
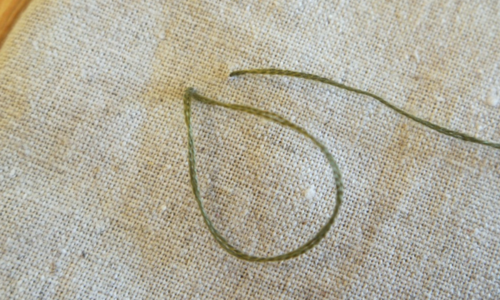
Bring the needle back up to where you want the other end of the stitch to be.
-
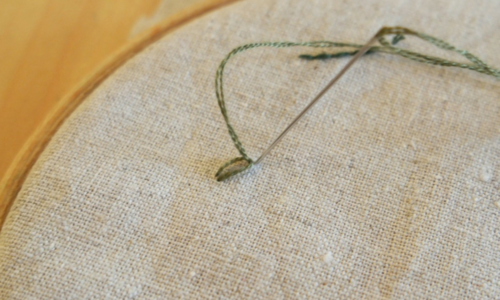
Catch the loop and pull it taut.
-
Now sew over the loop.
French Knot Tutorial
-
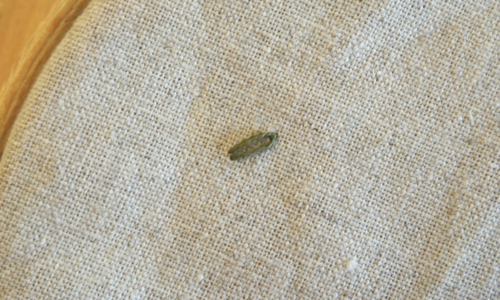
Bring the needle through to the right side. With the needle close to where the base of the knot will be, wrap the thread around the needle a couple of times.
-
Pull it taut. Pass the needle through to the back, not in the same space though or you’ll lose your knot!
-
Hold the knot with your thumb while you pull the thread through.

How to Embroider the Ornament
-
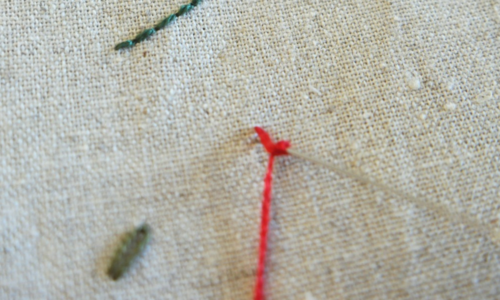
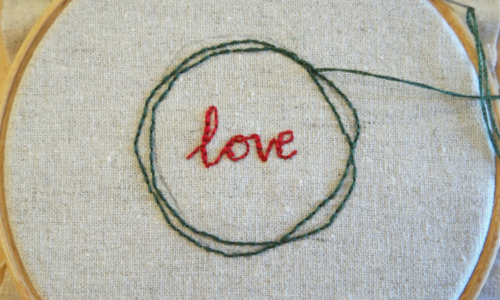
The letters are worked in backstitch. I wrote each word without lifting the pencil off the page, so it’s possible to sew each word all in one go! Just start at one end and keep going, just as if you were writing.
-
For the thicker downstrokes, go back and add an extra line of stitching.
-
For the dot of the "j" in joy, sew a French knot.
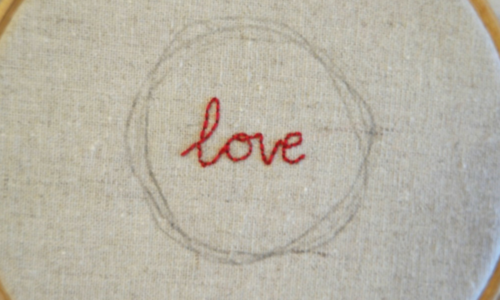
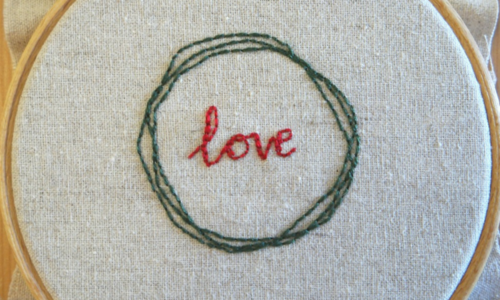
The garland is also sewn using the backstitch. Choose a point where all three lines intersect and start there. Go round once, following one of the lines. When you get back to where you started, go round again following another of the lines. Keep going until you have completed the garland. -
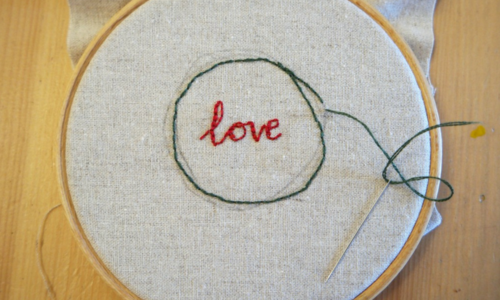
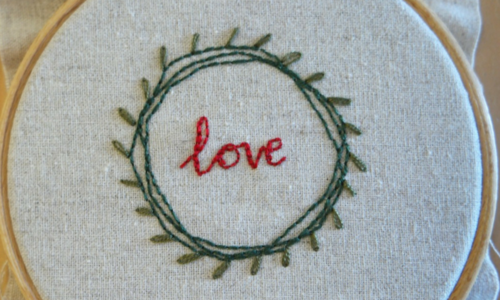
The leaves of the garland are worked in lazy daisies. Starting on the outside of the garland, sew lazy daisies at an angle so that they are all pointing in the same direction. Spread them out and don’t make them too small!
-
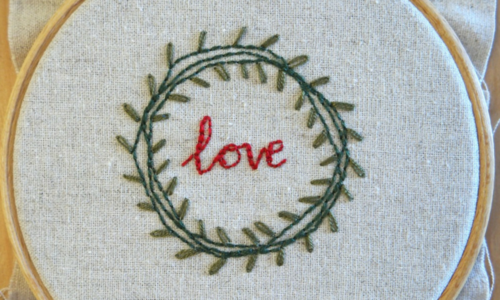
When you’ve sewn leaves around the outside of the garland, sew some more on the inside. Don’t worry if you have to miss some leaves out for the letters.
-
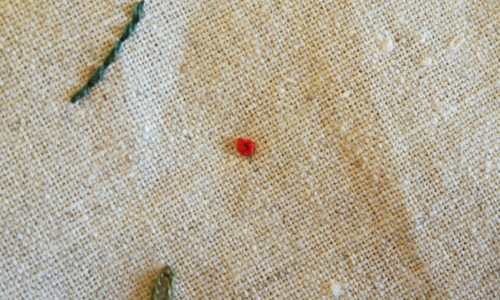
Once the embroidery is completed, sew seed beads to the garland.

How to Finish the Embroidered Ornaments
-
Pop the embroidery hoop you’ll be using to display the embroidery over the top of it and draw around it. Trim the fabric down to a couple of centimeters away from the circle you drew.
-
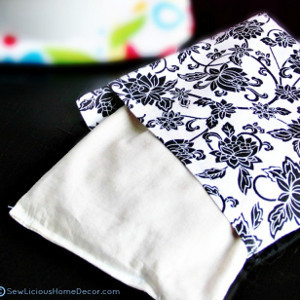
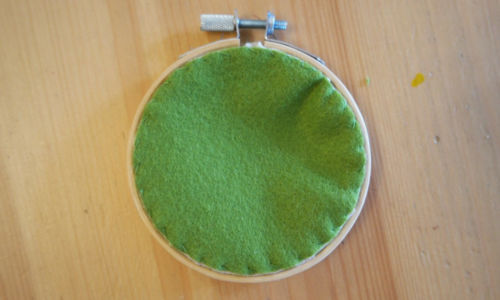
Using the inside part of the hoop, draw round it onto a piece of felt and cut it out.
-
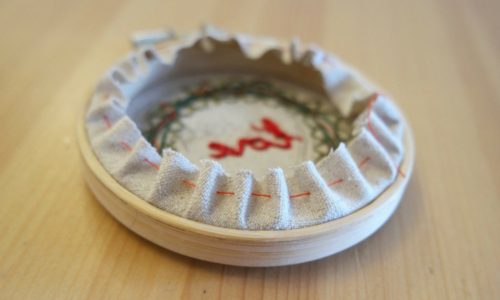
Put the embroidery into the hoop for display. Sew a running stitch around the excess fabric at the back and pull it tight.
-
Sew the felt to the back of the embroidery.
-
Tie a piece of ribbon for hanging.
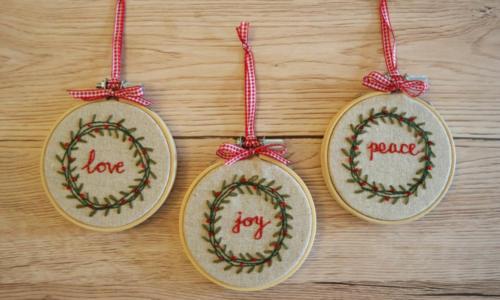
Which festive words will you use for your ornaments?