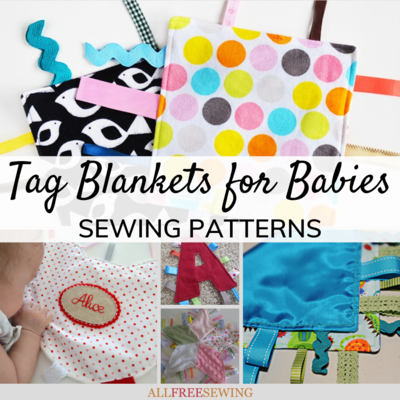
How to Make a Tag Blanket
Make a DIY baby tag blanket with this stepped out tutorial.

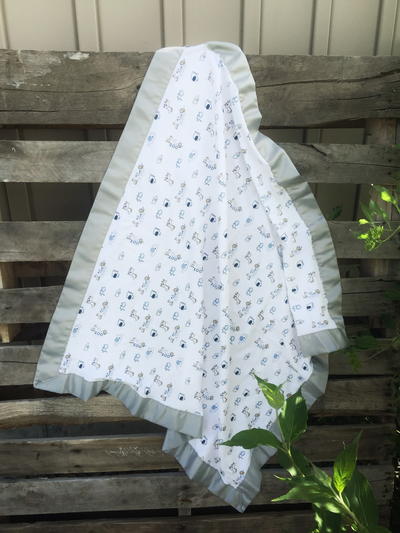
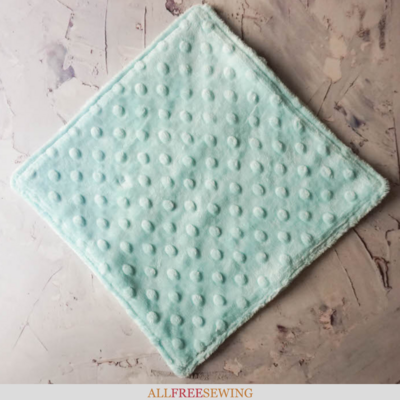
Help your baby explore the world around them with this DIY Minky tag blanket for babies.
If you have an upcoming baby shower or are looking for a perfectly easy sewing project for your new grandbaby, then you'll love this DIY lovey tag blanket tutorial.
This beginner-friendly sewing project is designed to act as a comfort object for little ones, and our guest blogger Domenica Tootell is here to show you how to sew a taggie blanket with step-by-step instructions.
The little one in your life will love this sewing project!
Sign Up For More Free Patterns >>>
From Domenica: "Ribbon tag loveys were one of the very first things I sewed for my babies when they were born. These make great little loveys (or comforters) for any baby and they double as a great sensory toy, too.
They’re simple to make and a perfect project for a beginning sewist or an experienced sewist wanting to whip up a great baby gift. Just be sure to always use them under adult supervision."
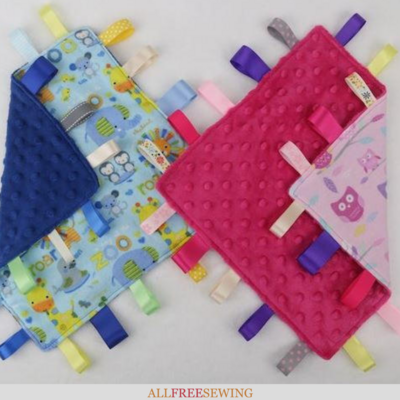
What is a Taggie Blanket?
A tag or taggie blanket is similar to a lovey in that it's a small, portable blanket that's perfect for newborns up to toddler age. Although you can add a "crinkle" aspect, most parents appreciate the silent nature of these blankets.
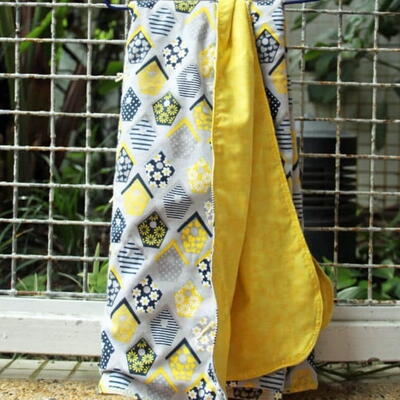
The blankets themselves are usually small squares (around 12" x 12") but can be made any size desired. They are usually made of soft fabric, such as Minky, fleece, or flannel. The fun element of these blankets is the addition of ribbon "tags" that are set around all sides of the blanket.
This type of baby blanket comes with a lot of benefits. With the softness, bumps, and ribbon tags, babies and small children find it stimulating, entertaining, and comforting. It's a popular baby shower gift!
Tag Blanket Materials Needed:
* 1 12" x 12" (30-1/2 cm x 30-1/2 cm) piece of Minky or cuddle fleece
* 1 12" x 12" (30-1/2 cm x 30-1/2 cm) piece of coordinating flannelette or other soft fabric
* 20 4-1/2" (11-1/2 cm) strips of ribbon of varying sizes and colours (mine range from 1/2" to 1" wide)
* Matching thread color

Sewing Tools Needed:
* Sewing machine
* Walking foot (optional but highly recommended)
* Pins
* Scissors (or rotary cutter and cutting mat)
* Ruler
* Chopstick (optional)
How to Make a Tag Blanket:
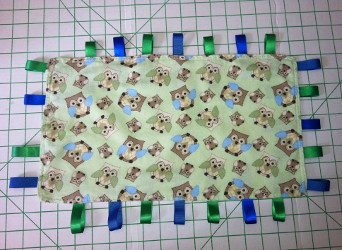
- Lay the flannelette piece of fabric right side up. Arrange the strips of ribbon around the flannelette piece of fabric. 5 strips on each side should work nicely.

- Once you are happy with the placement of the ribbon strips, fold the ribbon in half and pin in place around the edge of the fabric square.

- Use a basting stitch (longest stitch your sewing machine can do) to hold the ribbon in place. I like to sew approximately 1/8" from the edge of the fabric.

This is what your ribbon tag lovey should look like so far.


- Place the Minky square of fabric right side down on top of the flannelette piece of fabric.

- Use lots of pins to hold the two pieces of fabric together. This will also reduce the amount of shifting while sewing the two sides together. You can find many other tips for sewing with Minky fabric here.
Ensure you leave a 3-1/2" opening for turning the ribbon tag lovey right side out. I tend to mark my opening with double pins to stop myself from accidentally sewing the opening closed.
 with several pins. There is text that states, \"Leave opening for turning\".")
- Sew the two layers together allowing a 1/2" seam allowance. I use a walking foot when I’m sewing with Minky fabric. This reduces the amount of shifting from the two layers as the walking foot has feed dogs that help pull the fabric through from the top.

Tip: Once the two layers of fabric have been sewn together, clip the corners of the square. This will allow the corners to turn out nicely when the ribbon tag lovey is turned right side out.

- Turn the ribbon tag lovey right side out and push the corners out. A chopstick comes in handy for this bit.

Your ribbon tag lovey is almost done!

- Pin, or use Wonderclips, to hold the opening closed. Topstitch (approximately 1/4" from the edge) all the way around the edge of the ribbon tag lovey. This will close up the opening as well as hold the two layers together nicely.

Your ribbon tag lovey is now complete and ready to gift to a new little baby in your life!

Happy sewing!
Domenica
Be sure to check out Domenica's blog, Easy Sewing for Beginners, to find even more beginner-friendly sewing projects!

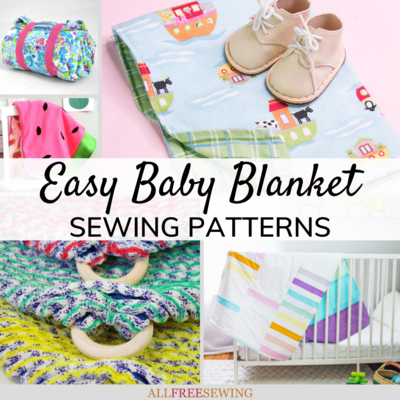
Want More?
25+ Easy Stuffed Animal Patterns >>
What's the strangest thing you've ever sewn?
Let us know below in the comments!
Read NextPreemie Cuddle Blanket for Charity
Your Recently Viewed Projects
Thanks for your comment. Don't forget to share!
Alea266
Sep 25, 2017
Strangest thing I've ever sewn was a harness for the back end of a 3 legged dog.
auntyjo43 8520536
Sep 24, 2017
This is a wonderful project and tutorial. Well written and easy to follow. Thank you.
Kathy E
Sep 24, 2017
This is a super project for practicing my sewing with minky, plus have a few great baby gifts! The strangest thing I've sewn is a motorcycle seat with extra cushion for my husband's behind! duchick at gmail dot com
sunshine1638 63662 09
Sep 22, 2017
I love this idea and the sew along tutorial is very helpful. Thank you I'm going to try it.
giesemarlene 53590 56
Sep 17, 2017
Love tag blankets. Strangest thing I have ever sewn are sheep blankets or sheep coats to cover the sheep so their wool doesn't get so dirty and is worth more.
Polly Esther
Sep 15, 2017
I sewed one of these for my nephew and he loves touching the ribbons! (He has a slight obsession with tags, ribbons, and string.) I'll definitely be making another one for nephew #2!
mothernature61 407 4537
Sep 12, 2017
A tent!! A Frostline tent kit with a fly.....in 1982 and I still use it!
Vee Vee
Sep 09, 2017
I have never seen this before. I really like it AND have lots of material I can use...plus ribbon. However, what is it used for?
Report Inappropriate Comment
Are you sure you would like to report this comment? It will be flagged for our moderators to take action.
Thank you for taking the time to improve the content on our site.