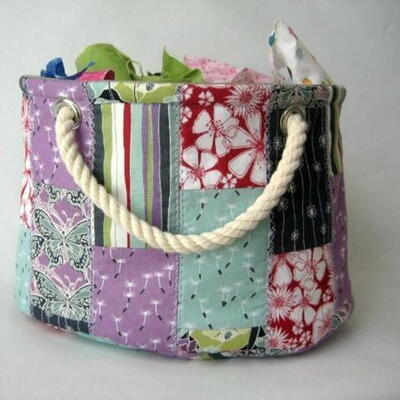
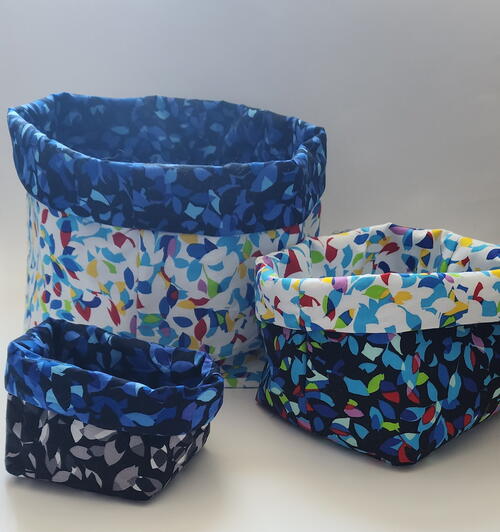
Stackable Storage Bins

Say “goodbye” to clutter with these stackable storage bins. These handy little baskets are always good to have. You can use them to store everything— from tiny crafting supplies to your kids’ many toys. Using only a few materials, you can sew your own storage bin in no time at all!
From the designer: "I've got a close friend with a handful of tiny babies and she seems to always be drowning in cute baby and toddler toys. I made these bins using my Memory Craft 9450 with her kids in mind. I know these bins will be filled and then dumped and filled again and I made them with that in mind. Stable enough to hold the toys and pliable and small enough that the kids can carry them around."
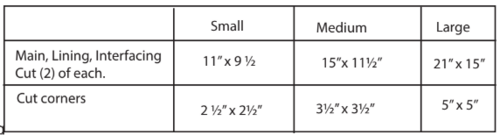
Finished sizes:
Small - 5" x 5 1/2”
Medium - 7” x 5 1/2”
Large - 10 1/2" x 12”

Cutting Chart:
Seam allowance is ½”
-
cut 2 pieces from Outer fabric in the desired size
cut 2 pieces from Lining fabric in the desired size
cut 2 pieces from Fusible fleece
cut 2 pieces from stiff FUSIBLE interfacing
Directions:
-
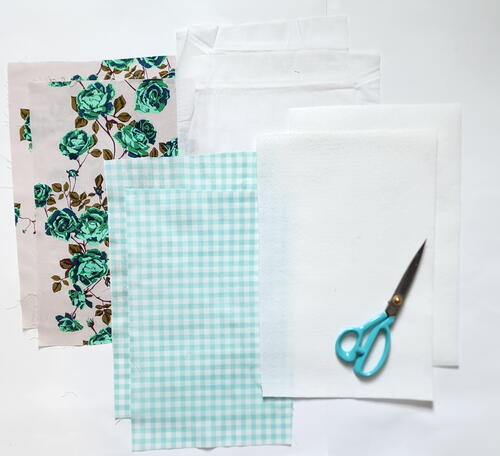
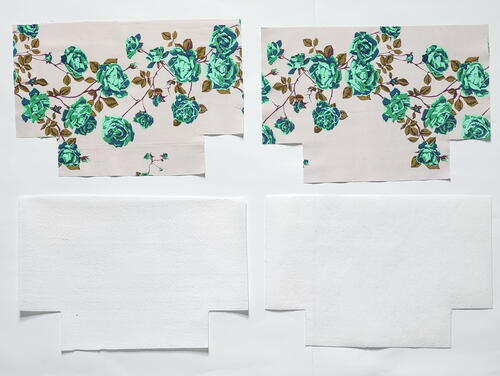
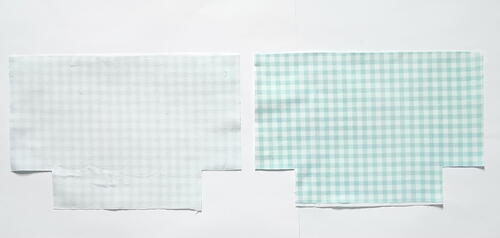
Cut Fabric and Interfacing
Using the sizing chart, select your desired bin size and cut fabric, fusible and interfacing. -
Cut corners for the bin bottom.
Cut 2 corners from the bottom of each of the 4 fabric pieces.
Small - 2 1/2” x 2 1/2”
Medium- 3 1/2” x 3 1/2”
Large- 5“ x 5” -
Apply fusible and interfacing.
Apply fusible and interfacing according to the instructions on the package. I used Pellon 926 for the interfacing. The fusible is just some I had extra, but if you don't have fusible you can always use batting for extra support. -
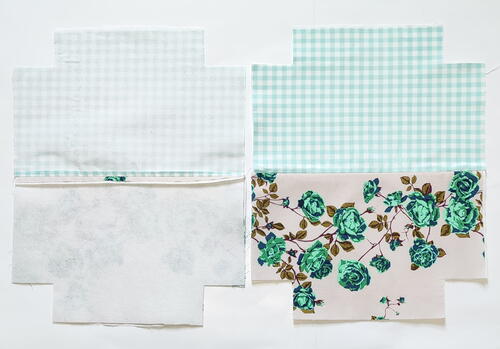
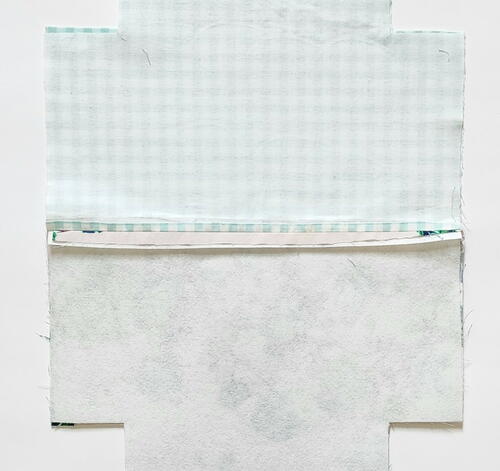
Sew the Lining to the Outer Fabric.
With a 1/2 seam allowance, and right sides together, sew the Lining to the Outer fabric. Make two sets. Press seams open. -
Assembling the bin.
Place the two pieces right sides together, so the right sides of the lining pieces will face each other and the right sides of the outer pieces will face each other.
With a 1/2 seam allowance sew the sides, top and the bottom, leaving the corner areas, Also leaving 4” unsewn at the bottom of the lining. -
Box the corners.
Fold the corner at, matching up the two side seams. The seams should like at and directly over each other. Sew all 4 corners. -
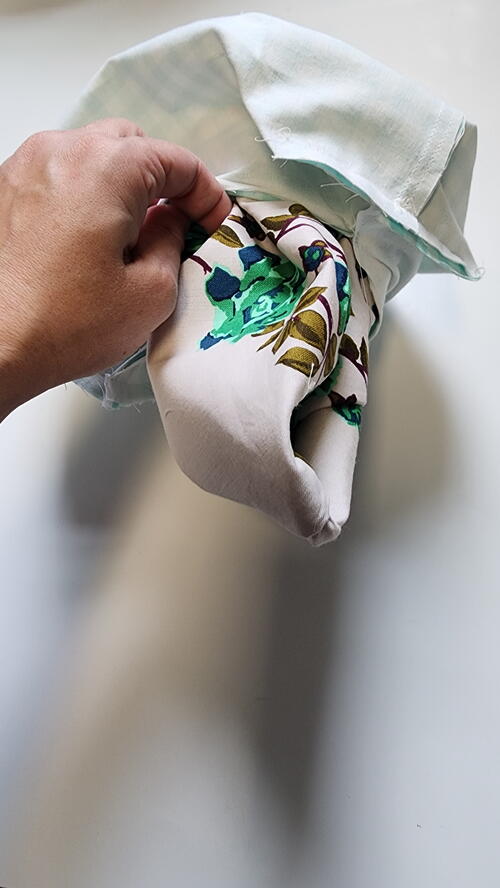
Turn right side out
Once all 4 corners are sewn, turn the storage bin right side out through the 4” hole on the lining fabric that you left open. Stitch opening close. -
Press the storage bin for a nice crisp look.
-
Your project is finished! If you love this tutorial, be sure to check out Janome.com for even more inspiration.

Read NextChair Cover Sewing Pattern