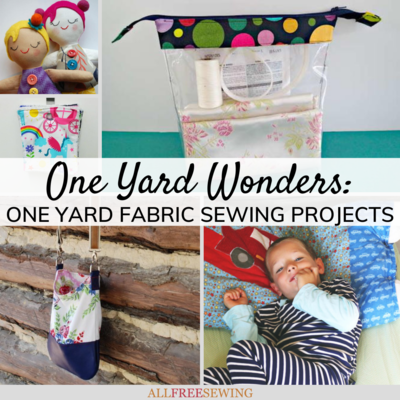
DIY Headrest Tablet Holder
Wondering how to strap an iPad to a headrest? This DIY will show you how to make a tablet holder for your car.
 If you've ever been on a long trip with kids, then you're about to be relieved that there's a perfect sewing project for you to make. For long car rides or other trips that involve a headrest, make sure you've got this DIY Headrest Tablet Holder.
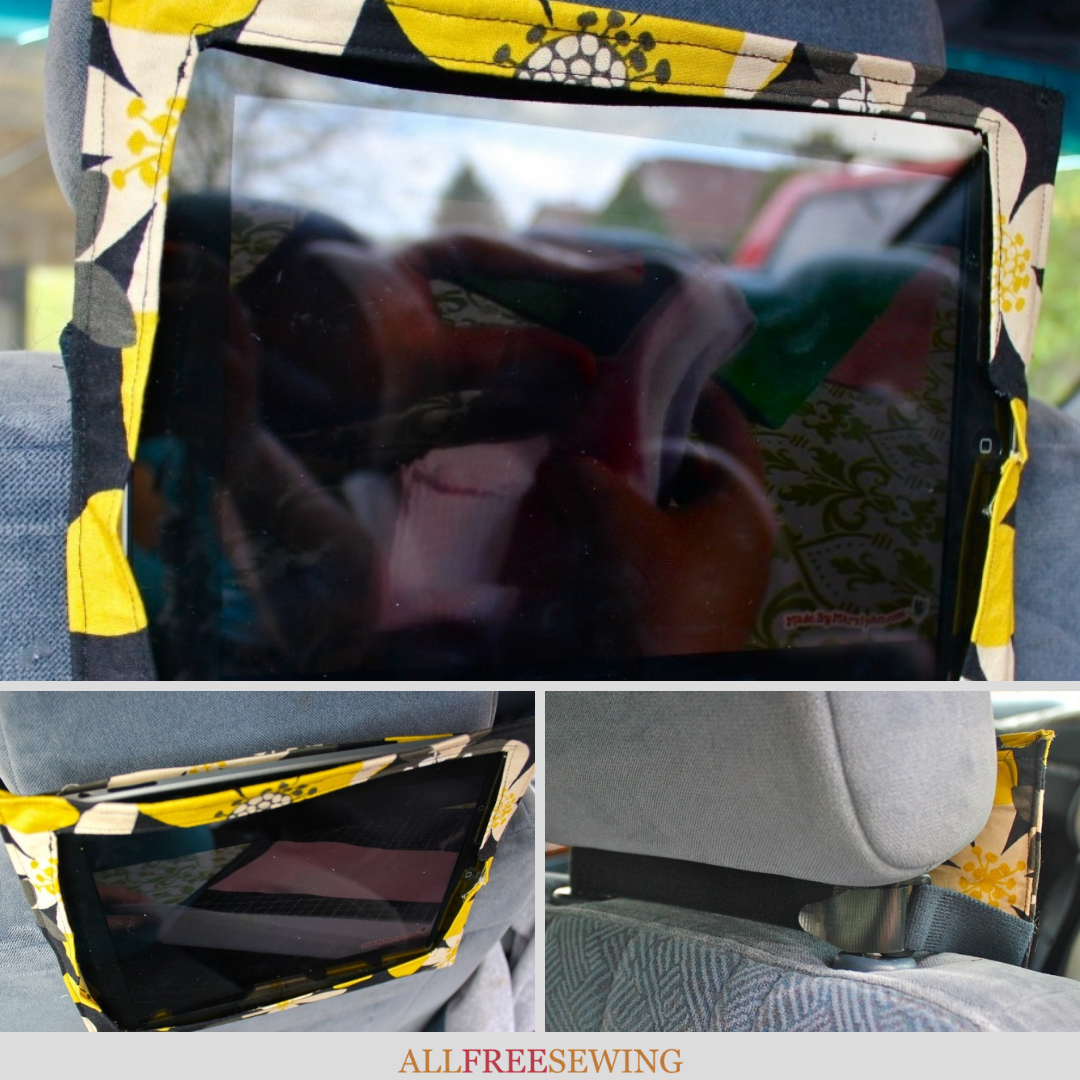
This tablet or iPad headrest holder is the easiest way to keep the kids entertained. They can watch movies without fighting or bothering you while you're traveling. It's not even just for the kiddos!
This iPad screen cover will improve the ride for everyone. Anyone can use this in cars, planes, or anywhere else it works. Hands-free viewing leaves you or the kids to multi-tasking. Sew something, do your crossword, or kids can play or color as they watch their favorite show or movie.
With this video and written tutorial, it's easy to make your own. Watch Maureen Wilson create this project from start to finish in the video tutorial found at the bottom of this page.
Sign Up For More Free Patterns >>>
Materials:
- 2/3 yd cotton fabric
- 1/3 yd medium weight fusible interfacing
- 1 Velcro Velstretch strap

Instructions:
- Cut a piece of fabric that measures 11.25 inches wide, and 16.75 inches tall. Cut a piece of medium weight fusible interfacing to that size as well. Iron the interfacing to the back of the fabric.
- Fold the fabric piece in half widthwise, with the interfacing on the outside. Lay the iPad on top, lining up one long side with the fold. Trace around the iPad.
- Now draw a rectangle border 3/4 of an inch in from the traced line. This will be the area you cut out to let your screen show through. Don’t forget to make a small cutout for the home button.
- Unfold the fabric and cut out the center rectangle. (You are cutting on only one side of the fabric’s fold.)
- Next make small 1/8 inch snips in each of the corners. Then fold the edges of the center hole backwards on top of the interfacing, 1/8 of an inch. Press. Sew on top of these folded borders to secure.
- Cut a second piece of fabric that is 11.25 inches wide by 8.75 inches tall (it will be slightly larger than 1/2 of your main fabric piece). Turn under the inner long edge about 1/2 inch so that the fabric is aligned with the edges and fold of the main fabric.
- I sewed mine separately first, then pinned it to the main piece and sewed it in place. But, it would be faster to just fold under that inner long edge, pin, and sew. Sew the two short sides as well, with a 1/4 inch seam.
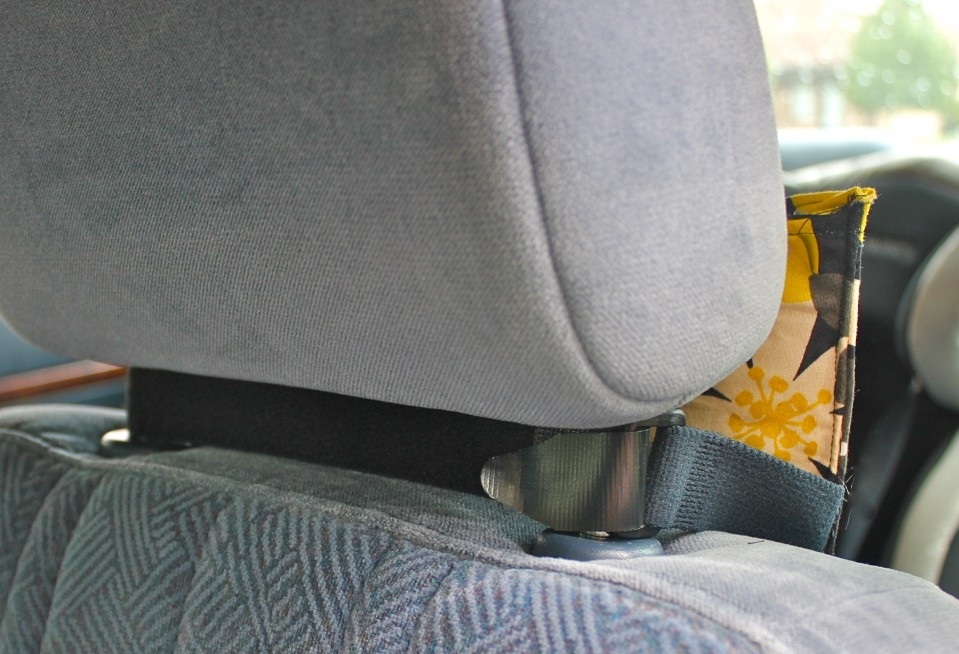
- Next we’ll add the straps. You can make your own straps, but I was thrilled to find these Velcro Velstretch straps in the sewing section of my Wal-Mart. They were $5 for a set of two, and you’d probably end up spending at least that much on elastic, Velcro, and a buckle slide. Plus these straps are a real time saver! Cut one strap in half. Trim the center ends as needed. (You may want to test one out around your car headrest to see how much to cut.)
- Fold your fabric piece in half so that the cut-out is on top, with the interfacing face up. Open the fabric and add the straps between the two layers. Pin one strap to the center of the short left side, and the other piece to the center of the right side. The straps should be pointing inward, and they should be between the layers of folded fabric.
- Pin the two layers of folded fabric together on both sides short sides. If you’ve added the straps correctly, you should be able to see the straps through the center hole.
- Sew the two short sides together with a 1/2 inch seam. Begin sewing 1/2 inch from the top, because we’ll need to be able to fold that top edge under later. Backstitch over the straps for durability.
- Clip the corners without snipping your stitches, and turn right side out. Press.
- We still have raw edges at top. Fold the front’s top edge backward 1/4 inch, then fold under again, encasing the raw edge. Pin, then sew to secure.
- Now fold the back panel’s raw edges under about 1/2 inch. Make this edge align with the front edge. Sew to secure.
- Topstitch along the right and left edges with a 1/8 inch seam for neatness and a snug fit.
- Slide your iPad in through the top opening and you’re ready to go! The Velcro straps are adjustable so it should fit any headrest.

Watch the video here:
Read NextArt Deco Mug Rug Pattern and Sleeve
Your Recently Viewed Projects
Thanks for your comment. Don't forget to share!
babygirlscreations 5695688
Apr 16, 2013
It should be stated in the direction to sew velcro strap with fuzzy side up. After completely finishing the product, I had to take apart because of the velcro being in wrong.
Report Inappropriate Comment
Are you sure you would like to report this comment? It will be flagged for our moderators to take action.
Thank you for taking the time to improve the content on our site.