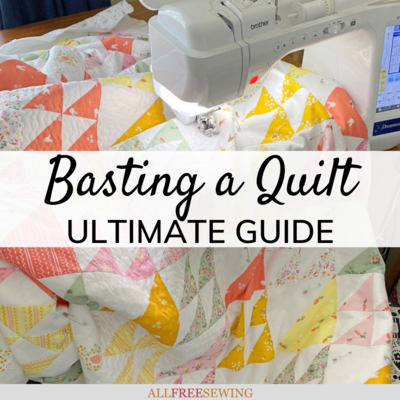
What To Do After Basting a Quilt? Ultimate Basting Guide
Basting is an essential step in most quilting. Learn everything you need to know about basting quilt layers together with this guide.

Love it or hate it, basting is an important step in the quilting process and while it’s time-consuming, tedious, and taxing on the body, it needs to be done well to achieve the desired finish.
This guide focuses on beginner queries, such as: What to do after basting a quilt, what are the different ways to baste a quilt, how do you baste by hand or machine, and more.
A quilt that has been incorrectly basted can create problems during the quilting process, and hugely impact the overall look of the quilt.
After working so hard on piecing the quilt top, you owe it to yourself to take your time and ensure your quilt sandwich is together securely and correctly.
It’s probably every quilter's least favorite step of the process, but you do have options and you can choose the method that works best for you or use a combination of any of them – do whatever it takes to keep those layers in place to achieve the best possible outcome.
P.S. Assembling a quilt sandwich can be confusing for beginners. On this page, What are the Layers of a Quilt? A Quilting Guide, learn what you need for putting quilt layers together and much more!
What is a quilt sandwich and why do we baste?
A quilt sandwich is what quilters refer to as the three layers of the quilt – the quilt top, the batting, and the quilt backing. The basting process temporarily holds the three layers together so you can quilt with confidence.
Basting keeps your layers flat and aligned, allowing you to concentrate on those pretty quilting designs without worrying about the sandwich puckering or moving as you work.
Choosing your batting:
Although you can’t see it, batting is an important player in your quilt as it adds that layer of softness and warmth.
The batting you choose will directly impact the look and feel of the quilt, so it’s wise to put just as much thought into choosing a batting as you do your quilting fabrics.
Here are a few things to consider when choosing your batting:
LOFT – Low loft (such as bamboo batting) is thin and cool, and it will give you a flat finish and a better drape. High loft (such as wool batting) is thicker and warmer, and it will give your quilting definition and texture.
SUITABILITY – High lofts can be difficult to hand quilt, so choose a loft that is suitable for your project. Family allergies, washability, and shrinkage are also important considerations, so make sure you read the label to determine whether a batting meets your requirements.
SIZE – Some battings are sold in pre-packaged sizes but make sure they are economical, and they are a generous size for your quilt. Ideally, the backing and batting should be at least 4” larger than your quilt top on all four sides.
Which way do I baste?
How you plan on quilting your quilt will determine which method of basting is right for your project.
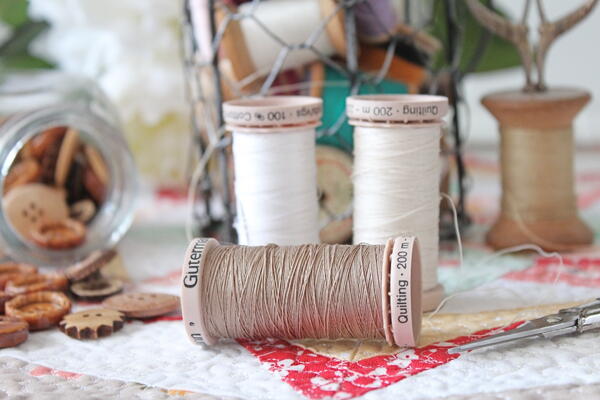
Thread basting is one of the oldest techniques and ideal if you plan to hand quilt. A simple running stitch is all that’s required and choose a thread color you can easily identify as basting stitches are removed after quilting.
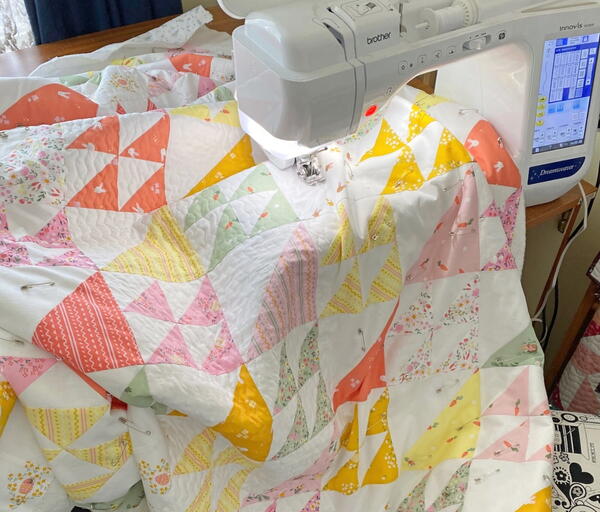
Pin basting or spray basting are the preferred techniques for machine quilting. Pin basting is more time-consuming, and you need a gazillion pins, but it holds the layers together firmly and you can remove the pins as you quilt.
Spray basting is quick but messy. It’s a great alternative if you’re concerned about poking holes in your quilt top, but you can experience some movement if you are quilting intricate patterns and consistently rotating your quilt under your machine. Spray adhesive is also quite expensive, but there are DIY recipes available that are more cost-effective.
Sometimes a combination of all three techniques is required to keep your quilt sandwich together securely – e.g. A spray-basted quilt may need a few pins as well to keep everything secure.
Preparing the quilt layers:
Some quilters prefer to prewash their backing fabric and batting prior to layering their quilt sandwich, but most battings are designed to resist shrinking or shrink very minimally.
I prefer the crinkled look of a washed quilt, so I don’t mind the shrinkage.
The first step is to ensure your backing fabric is pressed well to remove any wrinkles or creases. If you’ve pieced your quilt back or joined two pieces of fabric together, make sure all seams are pressed open and flat.
Lay your backing fabric right side down on a tiled or hardwood floor. Starting on one side, secure the fabric to the surface with thick painter’s tape.
Smooth out any wrinkles and secure the opposite side with tape. Repeat for all four sides, smoothing out the fabric as you go. It’s important to remember, your fabric should be taut, not stretched.
The next layer is the batting and if your batting has been needle punched, there is a right and wrong side. If one side has tiny dimples in it, this is your right side.
It’s best to identify this as you want your machine needle to penetrate in the same direction as the needle punch.
Lay your batting on top of your backing fabric, right side up, and smooth out any wrinkles. The batting and backing fabric should be roughly the same size so trim the batting if required.
And the final layer is your quilt top. Press your quilt top well, ensuring all your seams are flat and laying in the right direction. Trim any stray threads as you press to prevent them from sticking to your batting.
Center your quilt top on top of the two layers, right side up, and smooth out any wrinkles.
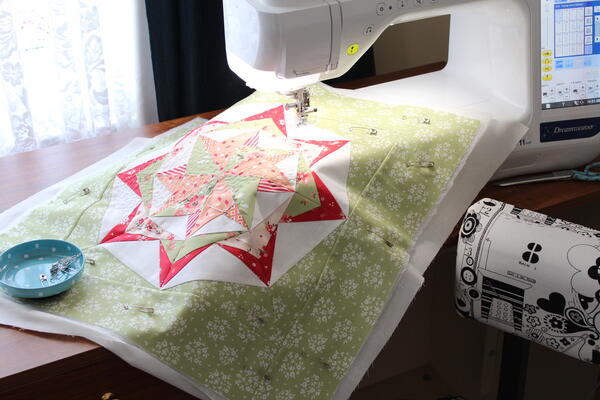
Now you’re ready to baste your quilt!
Thread Basting:
Using a needle and a double thread, sew a 1 – 1-1/2” running stitch, working from the center outwards in all directions until your quilt sandwich is secure. Don’t forget to secure your stitches at the beginning and end of each row and make sure you include those raw edges.
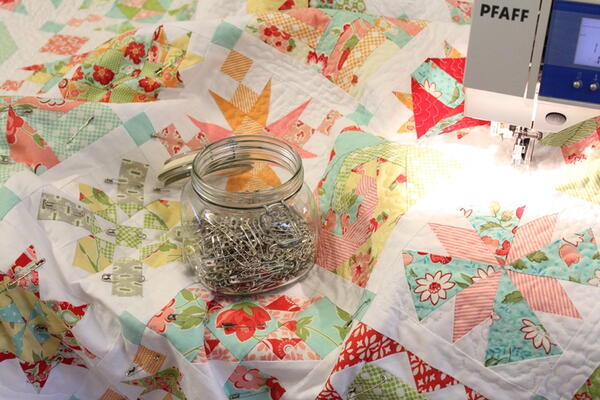
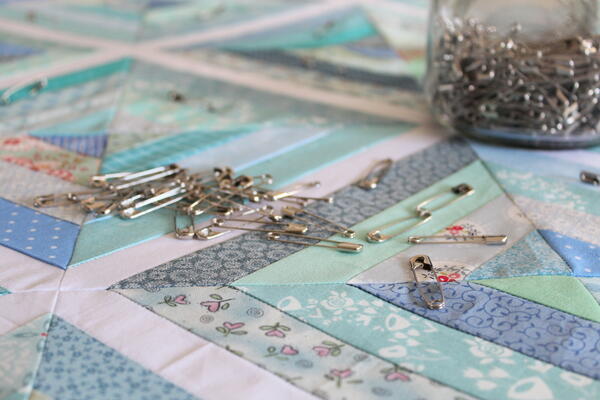
Pin Basting:
Starting from the center of the quilt, place a pin at least every four inches in rows throughout the quilt. You can use your block sizes as a guide or use your hand – open your hand and place it between the rows, a pin should touch either side of your hand.
Close the pins as you insert them or leave them open and close them at the end with a Kwik Klip tool to save your fingers from accidental piercing and wear and tear.
Spray Basting:
When spray basting a quilt, you need to spray the adhesive on both the back and front of the batting to hold the layers together.
If you’re spray basting your quilt, prepare the taped backing fabric and then lay on the batting, right side up. Lift back half the batting and spray the batting, holding the can about 12 inches away and spraying evenly. Smooth the batting back into place on top of the backing fabric. Repeat for the other half.
Lay your well pressed quilt top on top, right side up, smoothing out any wrinkles. Lift back half the quilt top and spray the batting evenly. Smooth the quilt top back into place and repeat for the other half.
Pin or machine baste (with a walking foot) around all four raw edges for added stability.
Storing a basted quilt:
After going that extra mile to ensure your quilt sandwich is basted correctly, you might need a few day's breaks before quilting, so store your sandwich safely to avoid any unnecessary wrinkles or creases.
Pool noodles are perfect for this job. You can roll the quilt sandwich around the noodle and pin or tie to secure. It will keep your sandwich wrinkle-free and ready for quilting when you are.
Look after your body:
It’s not always comfortable or possible to baste a quilt on a hard floor. It’s taxing on every part of the body and as we age, we have less mobility, but you do have some options.
Clear off the dining table and spread out your layers, letting the weight of the overhang hold everything in place. If you’re worried, you can add some tablecloth weights to the corners for extra stability.
Always start in the center of the quilt and once each section is basted you simply slide the quilt to the next section.
Some quilters prefer basting their quilts on their ironing boards. You can read more about the process here. You can also try board basting which involves wrapping your layers tightly around boards and unrolling sections as you quilt. You can see the process in action here.
No one says basting is meant to be a one-person task, so enlist the help of family members and friends. Turn it into a basting party and share the load!
Ultimately you want the perfect quilt sandwich, so do whatever you need to do depending on space or physical limitations to achieve the desired result.
Basting is one of those tasks every quilter would skip if they could, but we need those three layers to work together cohesively so we can enjoy the fun part – quilting!
Think of it as a wall in your house. You wouldn’t repaint without filling all the holes and sanding down the bumps, so go that extra mile to ensure your quilt sandwich is perfectly basted – it’s worth the extra effort!
Distract yourself with some upbeat music, listen to your favorite podcast or watch a classic movie and you’ll have that quilt basted securely in no time.
Make it fun and make it count – you’ve sewn a lot of love into this quilt top, and your finished quilt will be used and admired for generations.
Happy basting!
Read NextCoffee Table Quilt