What are the Layers of a Quilt? A Quilting Guide
Assembling a quilt sandwich can be confusing for beginners. On this page, learn what you need for putting quilt layers together and much more!

Understanding the Three Layers of a Quilt:
If you want to start quilting, then you don't want to miss What are the Layers of a Quilt? This page is is a beginner's quilting guide from Rose at Threadbare Creations.
Quilting terminology can either be blatantly obvious or slightly confusing.
So, what is a quilt sandwich?
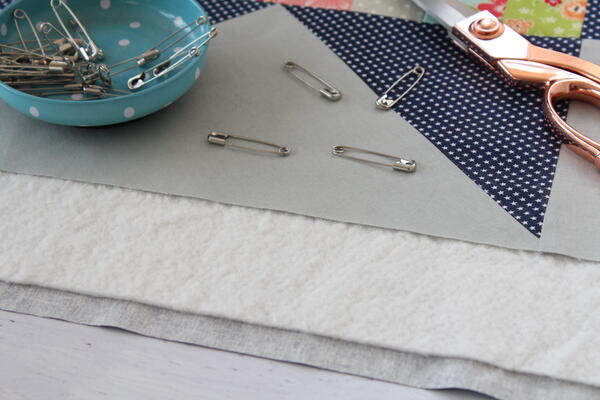
It might sound appetizing, but it actually refers to the three layers of a quilt – the quilt top (the decorative layer), the batting or wadding (the insulation layer), and the backing fabric (the finishing layer).
These three layers are the key ingredients of a quilt sandwich. They are basted together to hold everything in place, and then quilted and bound.
Having the multiple layers add warmth, drape, and comfort to your quilt, and create a professional finish, so your handiwork will be enjoyed for generations to come.
In this modern world of quilting, we are fortunate to have many options available to us, and understanding the importance of each layer will help you determine what best suits your needs and budget.
Let’s look at each of the three layers individually, to understand how they contribute to creating a warm and comfortable quilt.
Join Sewing It Up For More Free Patterns, Tutorials, & Guides >>
First Layer: Quilt Top – the decorative layer
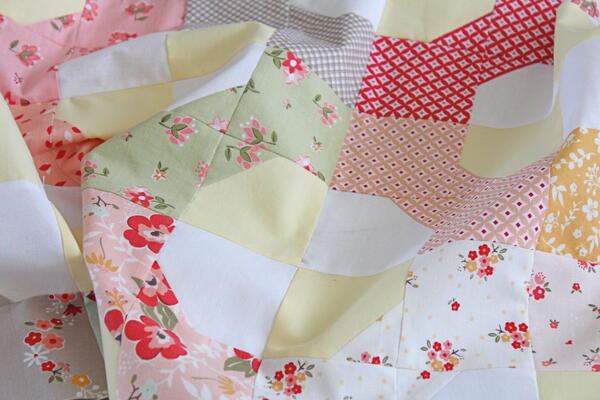
Quilt tops come in many shapes and sizes, and this is your decorative layer. This is the layer where you will lovingly choose pretty fabrics, piece intricate blocks, and add coordinating sashings, cornerstones, and borders to make a stunning quilt.
You may decide to use traditional piecing, foundation paper piecing (FPP), English paper piecing (EPP), or applique to construct your quilt top depending on the design or pattern you have chosen to create.
As this is the front of your quilt and the layer that showcases your skills, you will take great care to achieve the best results, so here are a few extra things to remember when preparing your quilt top for basting:
• Ensure your quilt top is squared up and carefully trim if needed – be mindful of those precious 1/4" seam allowances. You will need to repeat this step after quilting, prior to adding your binding.
• Remove any stray threads from the front and back of the quilt top. These can show through the quilt top once it’s been quilted.
• All seams must be pressed flat – open or to the side is a personal preference, so chose what works well for your project.
• Paper must be removed from the back of the quilt if you have used FPP or EPP to piece your quilt top.
• Your quilt top must be pressed well to remove any folds or creases.
• If you are adding embellishments (buttons etc.), leave these until after your quilt has been quilted.
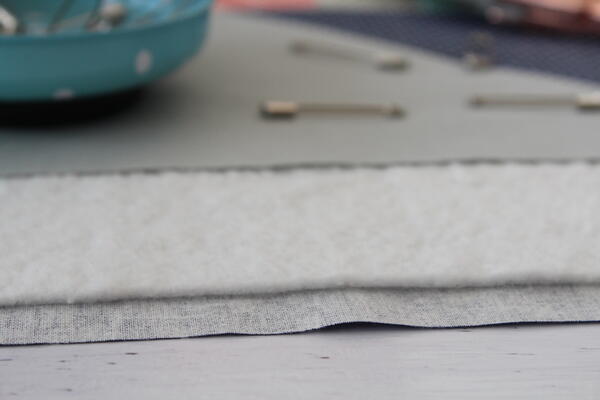
Second Layer: Batting or Wadding – the insulation layer
Batting or wadding (depending on where you live) is the insulation layer of the quilt. This is the layer which adds warmth, weight, texture, and puffiness to your quilt.
Choosing a batting can be confusing. And it does directly impact the look and feel of your quilt, so it’s important to consider all your options.
A low loft batting (such as bamboo) is thin and cool, and it will give you a flat finish and a lovely drape. A high loft batting (such as wool) is thicker and warmer, and although not a good option for hand quilting, it will give your machine quilting definition and texture.
Generally, it is recommended to use a natural fibre batting for warmth, comfort, and longevity of your quilt. Family allergies, washability and shrinkage are also important considerations, so make sure you check the product label to determine if the batting meets your requirements.
Here are some of the most popular batting options:
• Cotton – can shrink when washed but is easy to care for. It’s soft and lightweight and will keep you warm in the cold winter months.
• Wool – great insulation that regulates body heat. Take care when washing to avoid shrinkage and felting of the fibers. Can be expensive.
• Bamboo – thin and cool, lovely drape, and good for summer quilts. Has anti-bacterial properties and is a renewable resource.
• Polyester – economical, but highly flammable and non-breathable. Can make a quilt very “puffy”. Tends to be soft and stretchy and resists mold, rot, and pet damage.
• Blends – great availability and usually economical. Choose one with lovely weight and good stitch definition.
Batting can either be purchased in pre-cut options, by the meter, or in a roll. I strongly discourage purchasing batting online if you have never used it before – it’s best to see it and feel it prior to purchasing.
Here are a few things to remember when preparing your batting or wadding for basting:
• Ensure your batting or wadding is at least 4” larger all around than your quilt top.
• Batting can be pre-washed to resist shrinkage. I prefer the crinkled look of a finished quilt, so I do not pre-wash batting prior to basting.
• If your batting has been needle punched, there is a right and wrong side. The side with the tiny dimples is your right side, and this is the way you want your machine needle to penetrate as you quilt.
• Your batting should recommend a quilting/stitch distance on the package to help you choose a quilting design. This refers to how much distance can be left between quilting designs before the batting becomes vulnerable.
• If required, pieces of batting can be joined using a wide zig-zag stitch – ensure raw edges are trimmed and straight and butt them together prior to stitching over the join. This process is perfect for using up scrap pieces of batting.
• Color can be an important consideration as well. I prefer white batting when I’ve used white cotton background fabric in my quilt top.
Third Layer: Quilt Backing – the finishing layer
The quilt backing is the finishing layer of a quilt sandwich, and it’s important that this layer compliments your quilt top and binding.
Choose a pretty fabric using the same color palette as your quilt top, remembering that when a quilt is thrown or draped your backing fabric might be visible and you want it to look cohesive.
I suggest taking your quilt top and binding fabric with you when purchasing backing fabric so you can see how it all works together. I gravitate towards light and small floral prints for my quilt backs, but if you plan on using your quilt outdoors you might decide on something that doesn’t stain easily.
Quilt backing can be pieced from scrap blocks or fabrics or joined from off-the-roll fabrics, or you can purchase wide backing fabrics that suit larger projects.
The quality of the backing fabric will determine its longevity just like your quilt top, but people have great success with old sheets, etc., so don’t disregard these if you collect them at garage sales or you’re looking for something more economical.
Here are some things to remember when preparing your quilt backing for basting your quilt sandwich:
• Backing fabric can be pre-washed. My rule is, if I haven’t pre-washed the quilt top fabrics I don’t pre-wash the backing – they will shrink together and create a lovely crinkly texture.
• Your backing fabric should be the same size as your wadding or batting – at least 4” larger all around than the quilt top.
• Ensure your backing fabric is pressed well to remove folds and creases.
• If you have joined or pieced your backing fabric, ensure seams are pressed flat.
• Remove any stray threads from the seams or backing fabric.
• If your backing fabric is directional, ensure you’re aware of its direction prior to basting, especially if this directly affects the front of your quilt. Also, pay close attention to directional fabric if joining pieces to create a quilt back – you want everything going in the same direction.
Layers of a Quilt Sandwich Infographic
If you love visuals, then this image should help you fully understand the three layers of a quilt. This shows a standard quilt sandwich showing the quilt top layer (decorative), second batting layer (insulation), and bottom backing (finishing). Right-click to save this image for your sewing room.

What are the Layers of a Quilt? Conclusion
So, there are the three layers of a quilt. Each one serves an important purpose and taking care to prepare each layer will result in a professional finish for your quilt.
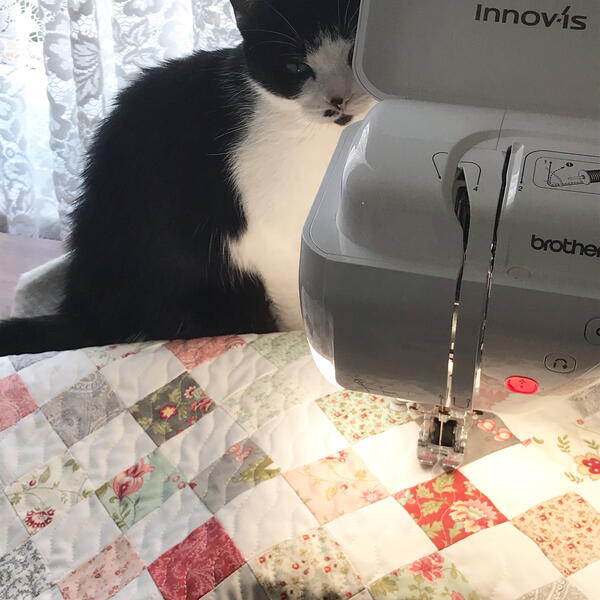
Once your three layers are ready it’s time to construct your quilt sandwich and baste, holding the three layers together for quilting. If you’re unsure of this next step, I have an article HERE that will help you understand how to baste, and which basting technique is right for your project.
Now that you understand the importance each layer plays in a quilt sandwich, choosing options should be easier and you’ll be ready to baste in no time.
Your quilt will be enjoyed for many years to come, so invest in its future and prepare each layer with comfort, warmth, and longevity in mind.
Take your time, enjoy the process and create something wonderful!
Want More?
Read NextQuilted Doll Quilt Pattern