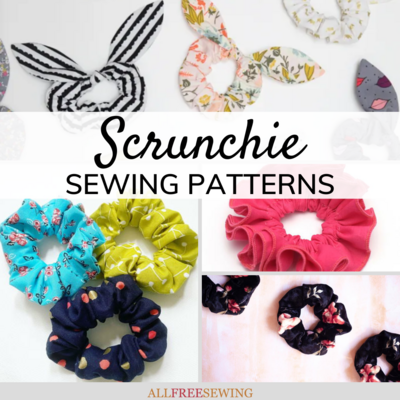
How to Make a Scrunchie - Easy!
Learn how to make a hair scrunchie with a sewing machine in only 5 easy steps! This printable scrunchie pattern will bring you back to the '90s for sure.

Learn how to make EASY scrunchies with this tutorial:
Scrunchies are one of the first sewing projects I learned how to make as a kid, and they are suddenly trendy to wear again! Scrunchies are so fun, fast, and easy to create for beginners and make great gifts for kids and grandkids.
With this quick sewing project, you can learn How to Make a Scrunchie easy with only 5 steps! You can even make this in as little as 10 minutes. That's right, not only is it easy but it's a 10-minute scrunchie tutorial.
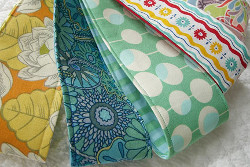
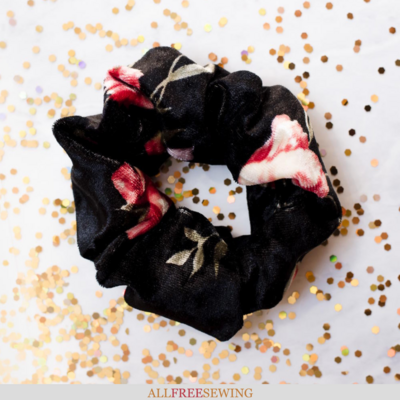
Velvet in muted colors is what is currently in style, but you can also find licensed team fabric or even movie-themed fabric that would be a hit with the younger kids. (Pro Tip: Velvet is a trendy and fun choice but can be slippery to sew.)
If you are a beginner, cotton quilting fabric has lots of fun patterns and will stay put in the machine.) Another super cute idea is to make a dress and a scrunchie in matching fabric!
Small sizes of our Clementine Dress pattern use just one yard of fabric and there is enough extra in the scraps to make a matching scrunchie. So cute!! These wonderful DIY scrunchies sew up in about 10 minutes and use very basic skills making for a fun, relaxed sewing project!
Sign Up For More Free Patterns >>>
DIY Scrunchie Materials
What do you need to make a scrunchie? All you need is a little bit of fabric and standard sewing tools and notions to make a scrunchie.
Supplies:
- 1/8 yard fabric or pre-cut fat quarter - this will make a few scrunchies
- Matching thread
- Sewing machine
- Fabric tape or needle and thread
- Scissors or rotary cutter and self-healing mat
- 5/8-inch elastic
- Pencil and a little tape (optional)

How to Sew a Scrunchie
Step 1: Cut Your Fabric and Elastic
Using scissors or rotary cutter and cutting mat, cut a strip of fabric 4 in wide and 16 in long. Also cut a strip of elastic that measures 10 inches.

Step 2: Sew The Long Seam
Fold the strip of fabric placing the right-sides (patterned sides) together. With your needle in the center, place the raw edge of the fabric on the 5/8 inch mark so you get a 5/8 inch seam.

Step 3: Flip Inside-Out
Flip the edge of the fabric over as shown (you will see the patterned side start to come out.) and use your fingers to pull the fabric from the inside until it is flipped completely.

Step 4: Insert The Elastic
Place the elastic over the eraser side of the pencil as shown. Use a little tape to secure it. Now, insert it into the fabric tube you created in the last step. Bunch the fabric down so you can clearly see each side of the elastic coming out of opposite ends of the fabric tube.


Remove the tape and remove the pencil, keeping the elastic in place. Tie both ends of the elastic together and stitch the excess elastic down on at least one side to make a permanent knot.


Step 5: Close The Fabric Tube and Finish
Line up the seam on both sides and insert one end of the tube into the other. Tuck the raw edge under and hand sew or use permanent fabric tape to close it up.


Pin This Scrunchie Tutorial

Want More?
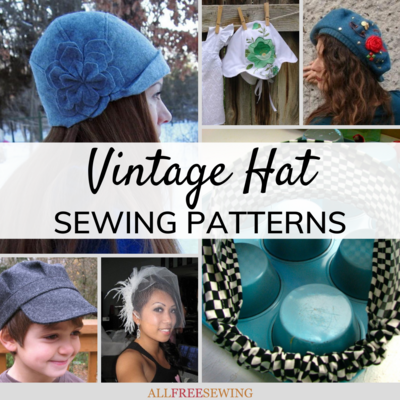
1990s Fashion Tutorials and Patterns >>>
What's your favorite way to keep your hair up?
Let us know in the comments below!
Read NextHow to Make a Scrunchie - Easy!
Your Recently Viewed Projects
Thanks for your comment. Don't forget to share!
KLC
May 03, 2022
How retro! I remember wearing velvet scrunchies in school. Now I can make my own DIY velvet scrunchies? Yes, please!
Report Inappropriate Comment
Are you sure you would like to report this comment? It will be flagged for our moderators to take action.
Thank you for taking the time to improve the content on our site.