Playmat Bag Combo Tutorial
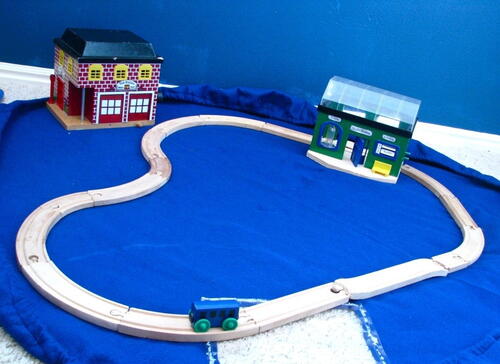
This drawstring playmat will save you long clean up times while providing a soft surface for the kids.

Follow these simple instructions and learn how to make a bag and playmat in one. You won't believe how easy this Playmat Bag Combo Tutorial is or how handy it is, especially for messy kids.
Sometimes, traveling with toddlers can get a little chaotic, which is why baby sewing patterns like these can be so darn handy!
Instead of toting around multiple bags, create a sewn playmat that ties to become a handy bag.
That way you can carry around your toddler toys - and a little designated play area - around in the same bag, and baby can enjoy playtime anytime, anywhere! This toy bag tutorial includes a video as well.
Sign Up For More Free Patterns >>>
Project TypeMake a Project
Time to CompleteIn an evening
Sewn byMachine
Materials List
- 1.5 yard felt
- Rope (polyester)
- 2 cord stop toggles
- Clear vinyl
- Tissue paper
- Chalk
- Lighter
Playmat Bag Instructions:
Supply Tips:
-You'll need about a yard and a half of felt. We're using felt because it won't fray and because it provides a flatter surface for playing on than fleece.
-You'll also need some clear vinyl. This is typically used for tablecloths and is sold off a big roll at Wal-Mart and other fabric stores.
-Pick up some rope as well. Choose a polyester rope rather than one with natural fibers, because this kind won't fray once you burn the ends. You can buy this from the hardware department of most stores.
-You'll need a couple of cord stop toggles. It doesn't really matter which kind you choose, as long as your rope will fit through the holes.
-It's also helpful to have chalk, tissue paper, and a lighter.
-
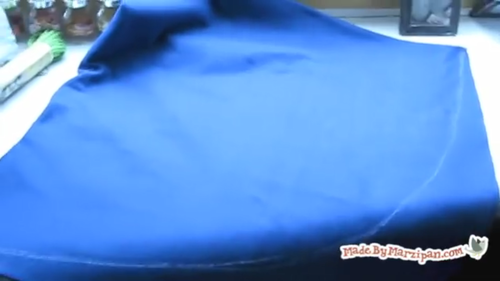
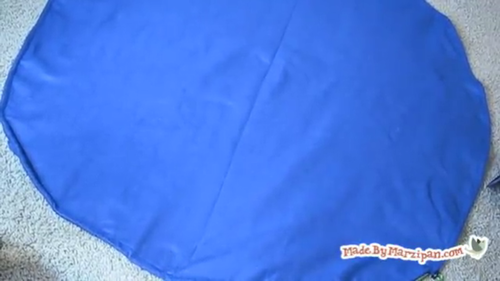
You need to start with a square of fabric. If your felt is not square, trim off the excess so that it's a square.
-
Fold the felt into fourths. Leaving the inner corner intact, sketch a quarter-circle with chalk between the two opposite corners. Then cut out along your chalk line. When you unfold your fabric, you should have a circle.
-
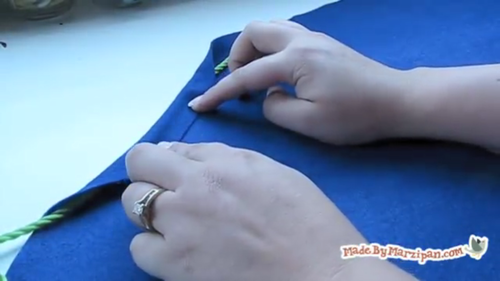
Now we'll make a casing for our rope. Make sure that the rope will fit through the casing, but don't make the casing so wide that the cord stop will slide through it.
-
Mark the point where you began sewing with a pin, so you'll remember to stop sewing before you reach it. Continue sewing, leaving a two-inch gap for threading the rope.
-
Use a safety pin or bodkin to feed the rope through the casing. Remove the safety pin and burn the end of the rope if it's frayed at all. Add a cord stop toggle.
-
Then smooth out the casing so that it isn't gathered at all. It may be helpful to spread it flat on the floor. Trim off the other end of the rope and burn the end. Add the other cord stop toggle.
-
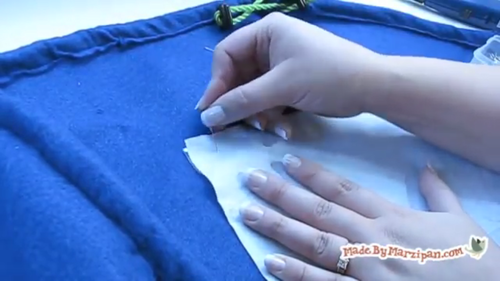
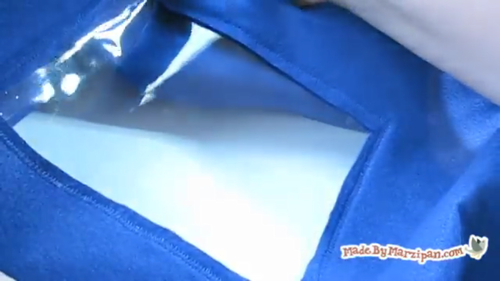
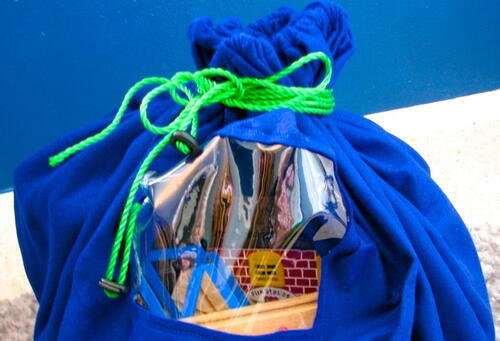
Now we'll add the vinyl window so that it's easy to see what's in the bag. Cut a rectangle of vinyl, and then cut a piece of tissue paper the same size.
Vinyl can be sticky to sew through, and the tissue paper will help your needle glide through it easily. You could also use tear-away stabilizer. Pin the vinyl and tissue paper several inches below the casing, on the inside of the sack. -
Sew the vinyl in place using a zig-zag stitch. Then rip off the tissue paper. If there are bits of tissue paper left behind and that bothers you, you can wet a washcloth and scrub gently at the stitches until the tissue paper dissolves.
-
Flip the sack over to the right side. Pinch the felt in the middle of the sewn rectangle, being sure that you are only grasping the fabric and not the vinyl beneath it. Snip out a hole in the center, then carefully trim around the rectangle, leaving about a quarter inch border by the seams.
-
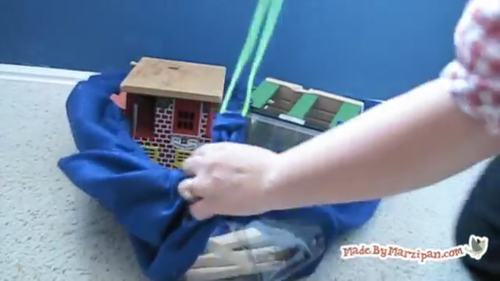
Now you can fill the sack with toys, and uncinch it when it's playtime. Tell your child to stay on the mat, and cleanup is easy! Just tighten and tie.
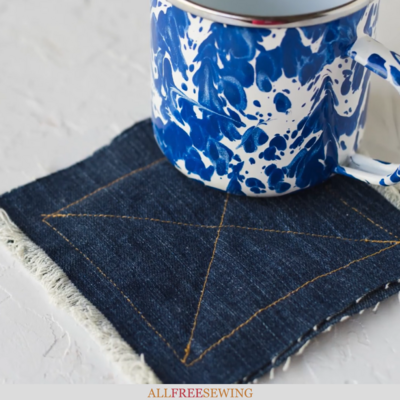
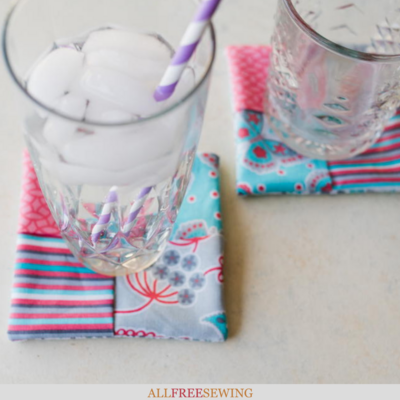
Read Next10-Minute Folded Fabric Coasters
Your Recently Viewed Projects

Thanks for your comment. Don't forget to share!
Weberme
May 06, 2016
Great idea. A fast and easy way to clean up the toys.So easy,simple and very fast. I know you have to take toys with you when you travel weather to a friends house or far away on vacation to keep kids amused and it is hard tugging them around and this is a good way to do it . I just wished it closed all the way around. I think I will use a cotton character fabric that my children like so they will think it is super cool. Thanks for tutorial.
Report Inappropriate Comment
Are you sure you would like to report this comment? It will be flagged for our moderators to take action.
Thank you for taking the time to improve the content on our site.