This project was submitted by one of our readers, just like you.
DIY Doll Clothes

DIY Doll Clothes
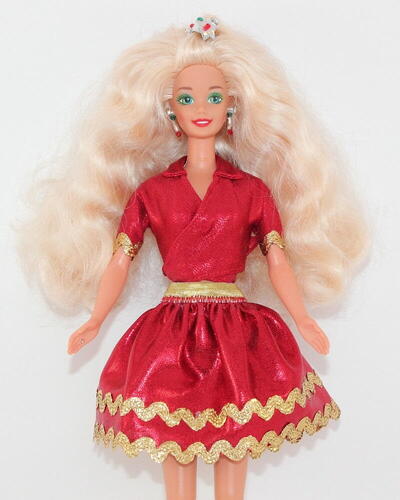
"In this video sewing tutorial, I am showing how to make Barbie clothes ( a top and a skirt) easily using my free printable Barbie clothes patterns. The top has kimono sleeves, a collar and can be tied at the front or back. The skirt is gathered around the waist.
I tried to make the patterns as simple as possible so even beginner sewists can make these cute Barbie clothes without problems. For these Barbie doll clothes I decided to use spandex fabric. It doesn’t fray, which is a very big plus, you don’t need to finish raw edges because they don’t fray. It’s not flimsy and it keeps its shape very well but at the same time, it’s stretchy. "
NotesI also have a YouTube video about making these Barbie clothes.
Project TypeMake a Project
Time to CompleteIn an evening
Sewn byBoth Hand and Machine

Materials List
- Small piece of fabric (I used spandex fabric)
- Free PDF patterns or SVG files for the project can be found on my site
- Some trims for embellishment
- Fabric glue
- Small piece of Velcro
- One small plastic fastener for the top
- Small piece of fold-over elastic (5 inches)
- Sewing machine and regular sewing notions
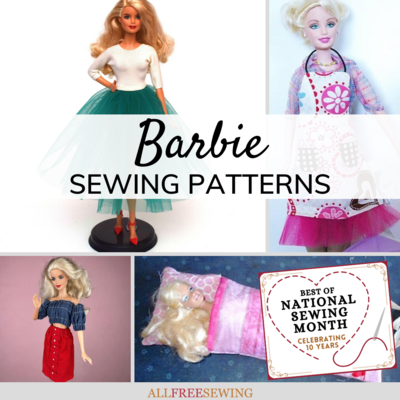
Find this project and more in our collection of10 Free Barbie Sewing Patterns
Instructions
-
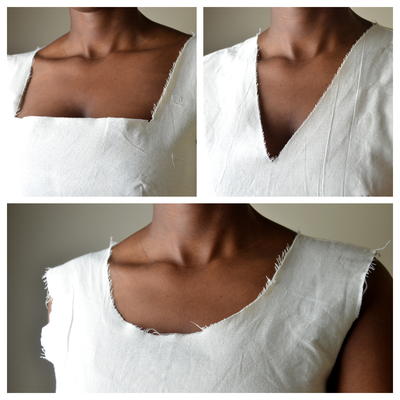
The first step is cutting the pattern. I think it’s better not to cut on fold in this case – the pattern pieces are very small so I made 2 front pieces left and right and two collar pieces.
-
Pin front to back at shoulder seams with right sides together matching edges and stitch. Seam allowances are 3/16 inch or 5 mm. Sew also the collar pieces together. Trim the seam allowances on the collar and don’t forget to cut corners. Turn the collar right side out.
-
Press the seams you just made
-
Embellish the Barbie clothes. I used a golden rick-rack ribbon for the sleeves and for the skirt hem. To attach the ribbon I used fabric glue.
-
Stitch the collar to the top. Clip curves. Machine-stitch neck edge along the seam line over collar seam allowances.
-
Stitch the side seams. They are curved so make a few little snips in the seam allowances at the curve for the top to fit well. Press the side seams open.