Zip Open Fleece Mitten Sewing Pattern
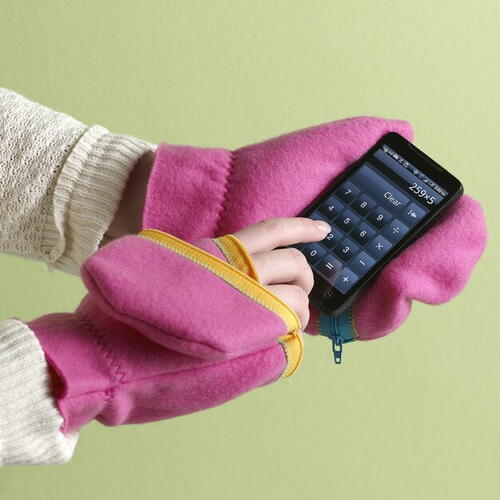
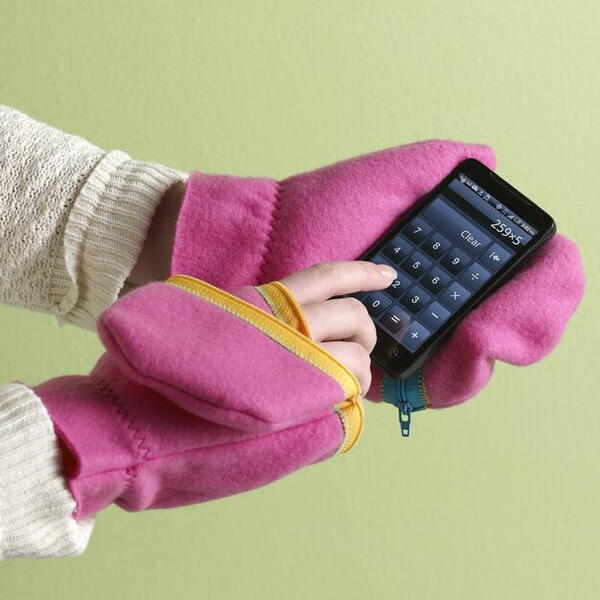
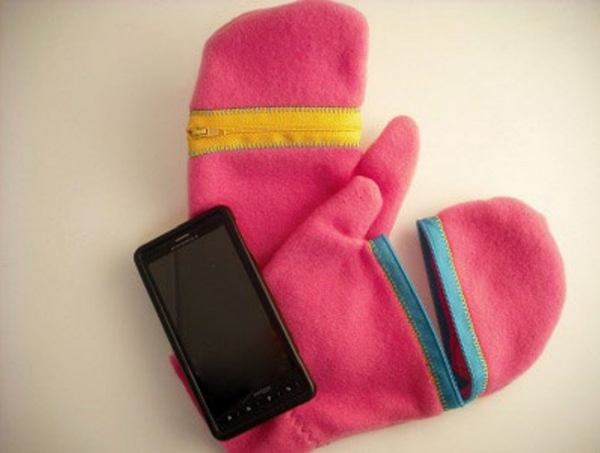
This printable mitten pattern is a must-make before cold weather. With a zip-open feature, you can easily unzip and text or pick up something!
What's warmer than fleece in winter? Not much, which is one of the reasons why this Zip Open Fleece Mitten Sewing Pattern is the best you'll find for DIY mittens.
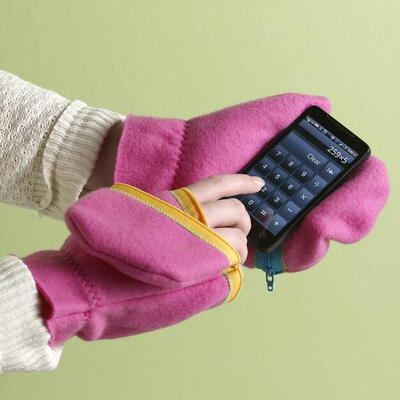
Another reason is that there is a zipper near the top so that you can unzip and grab something with your fingers or easily text and make calls on your phone.
But that's not all! This free fleece mitten pattern is available in any size you need! That's right, you can make fleece mittens for toddlers, adults, and everyone in between. Plus, it takes under an hour to make a pair.
Not to mention that it's a free printable fleece mitten pattern, so you can print it and keep it in your sewing room to make whenever you're ready to prep for winter.
These zipped-up fleece mittens might look intimidating, but we have more good news for you: it's an easy project. Even if you just started sewing, don't fret, you can do this!
Join Sewing It Up For More Free Patterns, Tutorials, & Guides >>
Zip Open Fleece Mitten Sewing Pattern
Skill Level: Easy
Project Type: Make a Project
Time to Complete: Under an hour
Sewn By: Machine
Materials List:
• Coats All-purpose Polyester Zipper- 14" or longer
• Dual Duty XP All-purpose Thread (1 spool to match fleece and one for decorative stitching)
• Fleece, 1/4 yard
• Elastic, 1/4" wide, 20-24"
• Optional: Tear-away stabilizer
Fleece Mitten Sewing Pattern Instructions:
- Create pattern by starting 1" below your wrist bone and tracing loosely around your hand; thumb out and fingers slightly spread. Draw a line approximately 1" away from tracing, truing up the lines.
- Using your new hand pattern, cut 4 mitten pieces. It is best to cut through two layers.
Note: If cutting four separately and the fleece has a definite wrong side, be sure to cut 2 right hands and 2 left hands.
- Pin 2 mitten pieces, right sides together. Sew 3" from what would be the tip of the index finger, to the pivot point at the thumb.
- Open mittens flat, right sides facing up. Place the zipper across the front of the two pieces, right side up, with the bottom stopping 1/2" from the cut edge on the thumb side and the other end of the zipper extending past the side of the mitten. (The zipper will be shortened later.) Be sure the zipper is straight across and just above the pivot point for the thumb.
- Thread the top of your sewing machine with a contrasting thread color. Select a decorative stitch of choice. Place stabilizer underneath zipper area if desired.
- Stitch both sides of the zipper along the edge of the zipper tape. On the wrong side, carefully trim away the fleece between the two rows of stitching.
- Thread your machine with matching thread. Sew one side seam from the pivot point at the thumb to the wrist on one side. Sew slowly around the thumb, leaving the needle down and pivoting fabric as needed.
- Open mitten flat, wrong side up. Cut a piece of elastic 2" shorter than the width of both sides of the mitten. Pin the center point of the elastic to the seam and stretch the end to the cut edge. Set machine for a zig-zag stitch. Stretching the elastic as you sew, sew the elastic across the mitten.
- Be sure the zipper slider is not past the cut edge of the fabric. Sew the remaining portion of the side seam. (Check the location of the bottom stop before sewing to be sure it isn’t in the seam line.)
- Cut off excess zipper tape and turn the mitten to the right side. Repeat for the second mitten.
Want More?
Read NextScrapbuster Infinity Scarf

