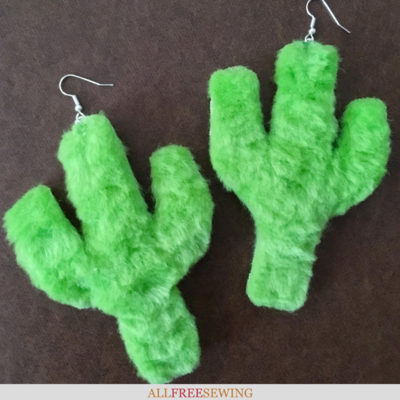
Fab Faux Fur Cactus Fabric Earrings DIY
These big faux fur cactus earrings dangle and add a statement to any outfit!

Southwestern style is always fashionable, especially cactus-themed accessories. Cactus crafts are everywhere because this plant is such a fun and versatile design.
These DIY fabric earrings are so fun because they're made from an unexpected material: animal-friendly faux fur!
No sewing machine is needed, just basic hand-sewing techniques. Plus, these cactus earrings dangle! What a fun and creative DIY earring idea.
Plus, they can be made very large because they're made of a lightweight material!
For this Fab Faux Fur Cactus Fabric Earrings DIY, follow these steps to make your own groovy pair in under two hours.
Sign Up For More Free Patterns >>>
Project TypeMake a Project
Time to CompleteIn an evening
Sewn byHand

Materials List
- Metal earring hooks (or clip-on bases if you don't have pierced ears)
- Several small jump rings in the same metal color as the earring hooks
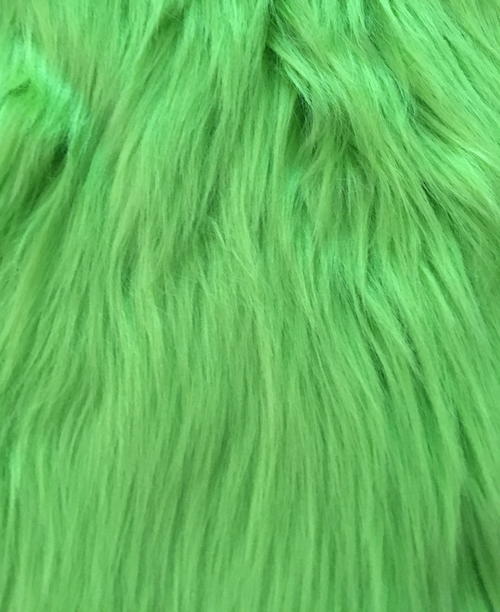
- Green fake fur fabric (a piece about 10" by 10" (inches) in size) Extra Tip: Since you only need a small amount of fake fur material, ask your local fabric store or online shop for sample swatches. Usually, they cost a few dollars at most.
- Fabric scissors
- Sewing thread (in green that matches the fur)
- Hand-sewing needle (medium size)
- Measuring tape or ruler
- Piece of paper or thin cardboard
- Pencil
- Jewelry pliers
- Earring safety backs (optional)
- Fabric fray sealant (optional)

There's nothing quite as unique as handmade jewelry, and now you don't have to be a professional jeweler to make it. Let your inner sewist join in on the accessorizing fun with these20+ Fabric Jewelry Sewing Patterns
Faux Fur Cactus Fabric Earrings DIY
How to Make Fabric Earrings:
Click on any image to enlarge.
-
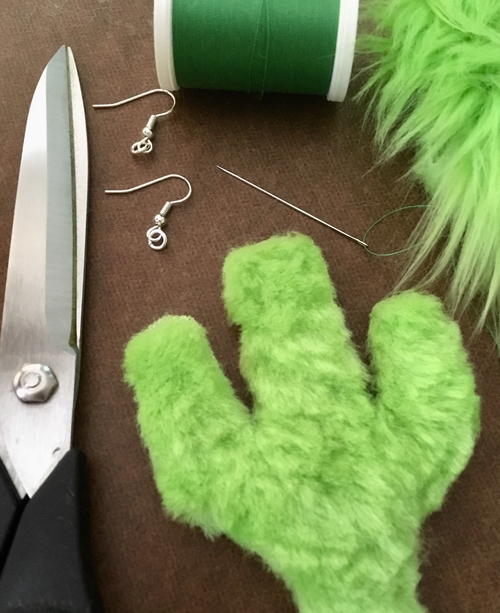
Find some photos of cacti you like in a book or online. For this tutorial, I used the shape of a saguaro cactus because the large arms are such a distinctive shape. Gather your other materials as well.
-
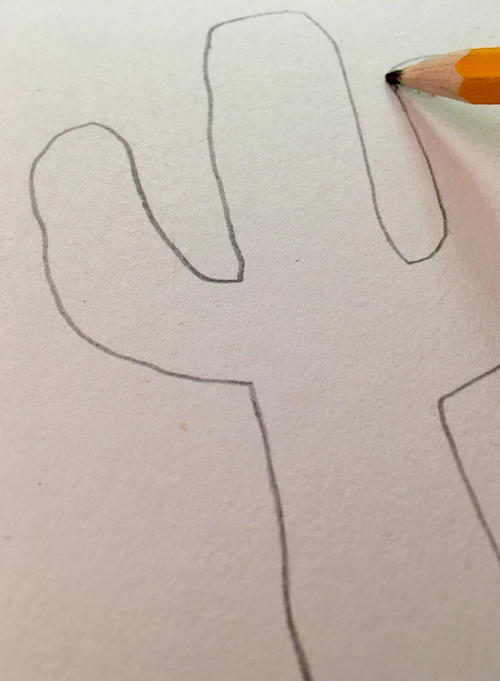
Draw out your cactus shape on a piece of paper or cardboard. The cardboard will last longer if you want to make a few pairs. Before you decide on final design hold it up to your ears to see if they look balanced. My pattern for the cactus shape wound up being about 4" long, and I erased the pencil lines after cutting them out.
-
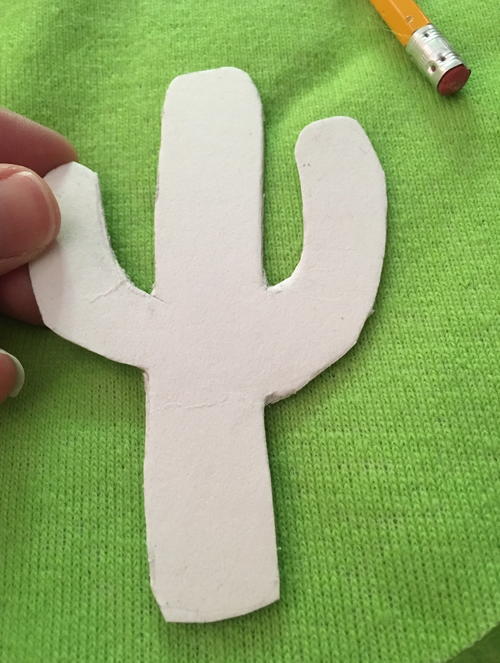
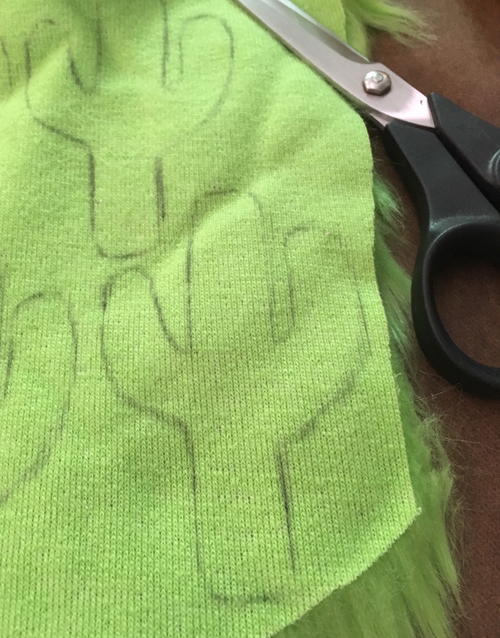
Once you've cut out your cardboard or paper shape, place your fake fur (with the furry side facing downwards) on your workspace. Lightly trace around the cactus pattern with a pencil (or piece of chalk). Repeat this to make 4 total cacti shapes from the material, flipping the stencil shape over for 2 of them so that they are mirrored shapes.
-
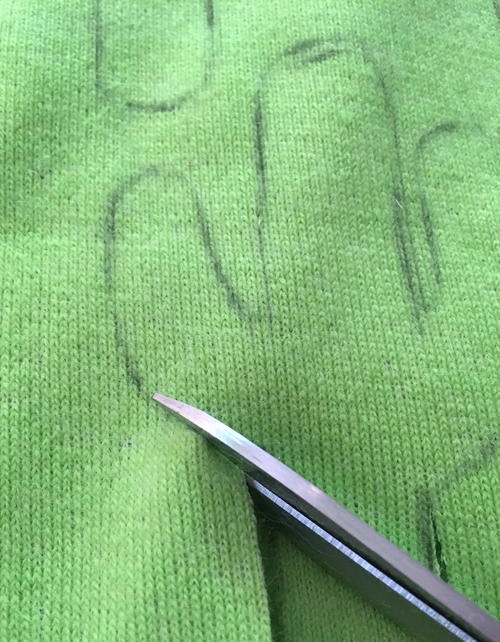
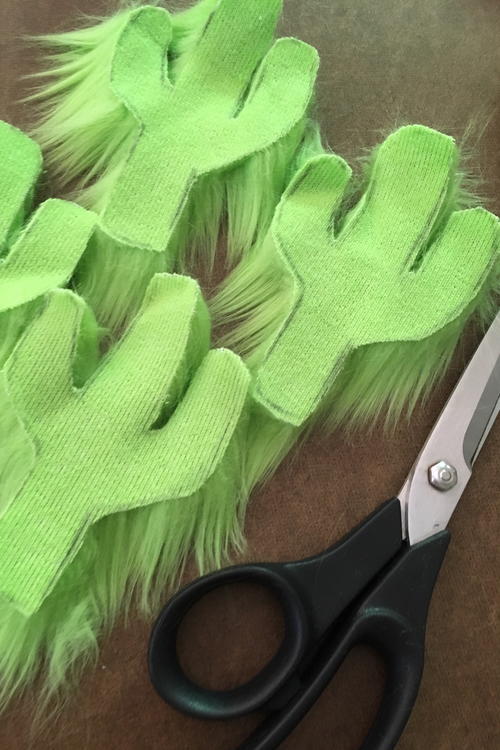
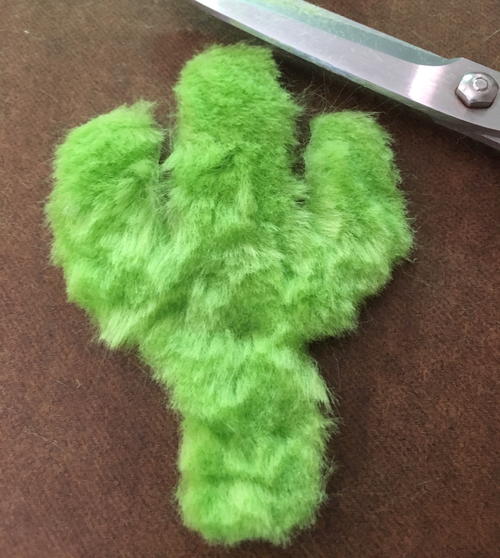
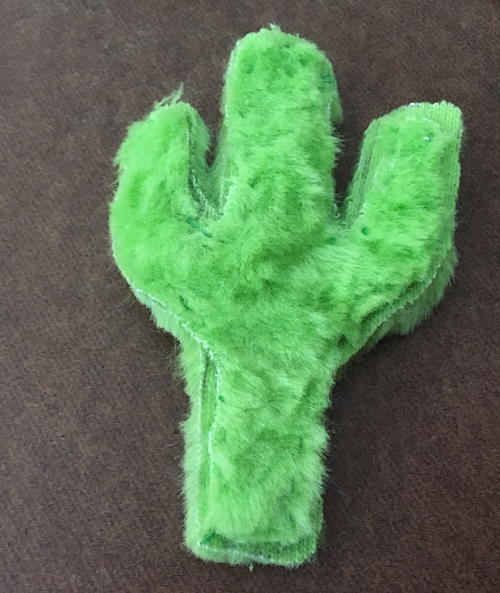
Cut out the fake fur fabric cacti shapes, staying close to the backing so you won't cut the strands of fur. We will trim the fur down in the next step.
-
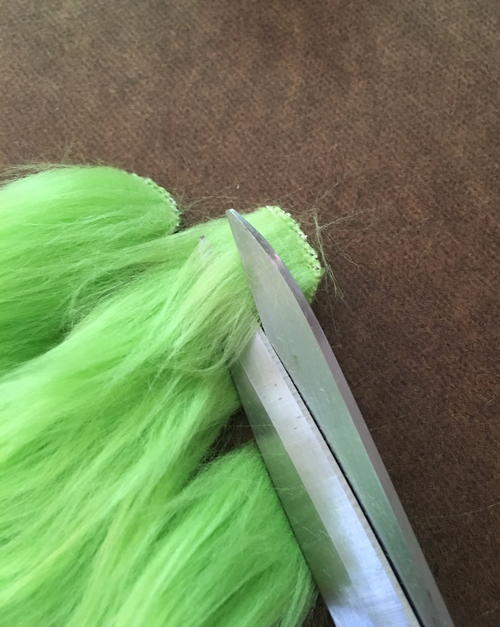
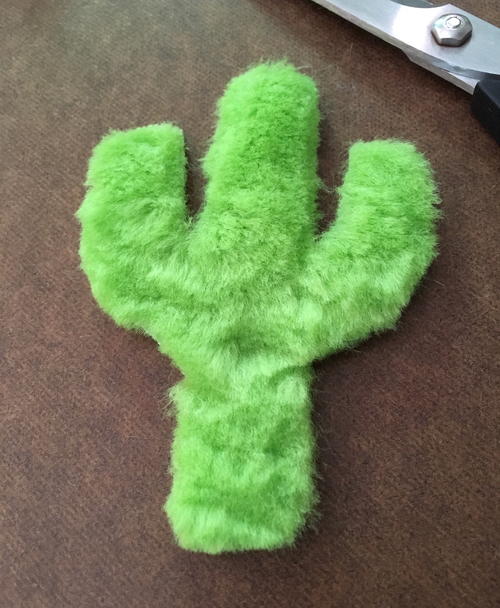
Next, place the cacti fabric shapes face up on your table. Using your fabric scissors, slowly "shear" and trim down the fur so that it's 1/2 the length. Assess if it's still too long, and trim off more if needed. You don't want it to be too long or short and keep it relatively even throughout. Repeat this step with the remaining pieces of fake fur you've cut out.
-
Take 2 of the same direction cacti shapes and trim them slightly all around so that they are a little bit smaller than the other 2 pieces. These will become your back panels.
-
This is an optional step: if your faux fur material is fraying or you think it might, now is the time to put a bit of seam sealant around the edges of the cactus shapes (on the back of the fabric). Let this dry fully before moving on to the next step.
-
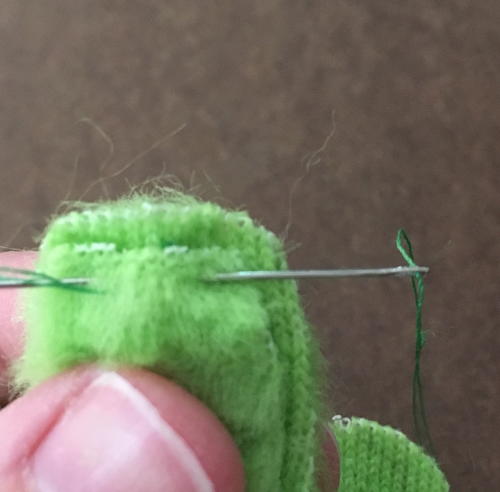
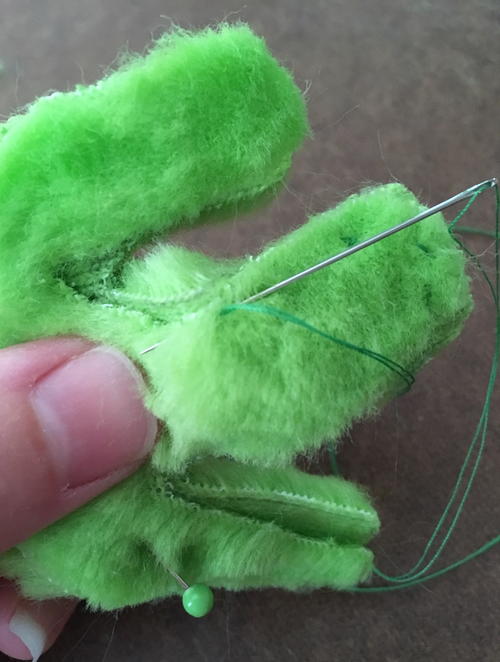
Place the larger cactus shapes facing downwards, then the smaller pieces over these layers. Check to make sure you can't see the smaller piece from the front. Make a stitch on the back of the larger cactus, then start sewing the pieces together.
-
Hand-sew the cactus shapes together along the edges. Try to make the stitches blend into the faux fur on the back without going through totally to the front with your needle. Hide any knots and threads within the layers or on the back.
-
Now it's time to attach the cactus shapes to your earring hooks! If needed, use a pair of pliers to add jump rings to the hooks so that the cacti will face forward.
-
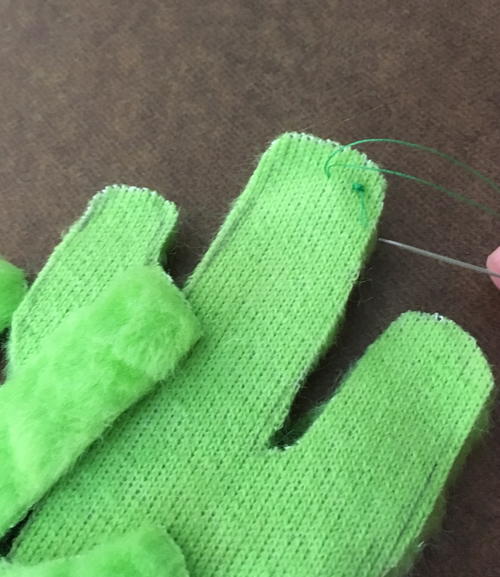
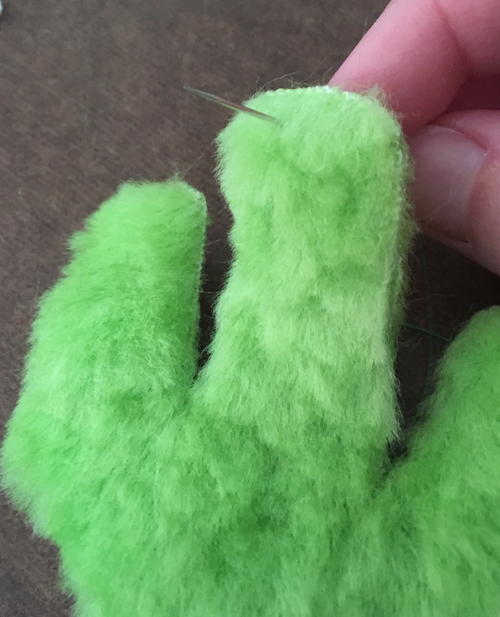
Holding your cactus shape facing forward, hand-sew the top of the cactus through the jump ring with your needle and green thread. Go through it about 10-15 times so it's really secure, and don't sew too close to the edge of the fabric.
-
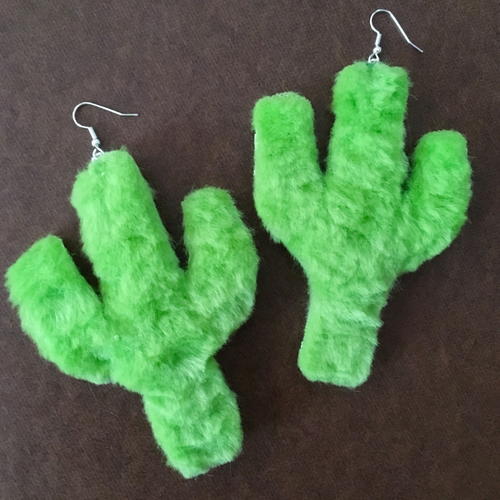
Check to make sure the earrings are secure and the well-sewn. Also, the fur should be even all around and the back pieces not able to be seen around the edges.
Enjoy your fun new cactus earrings!


Up Next
More sewing crafts inspired by nature >>>
Do you like statement jewelry?
Let us know in the comments!
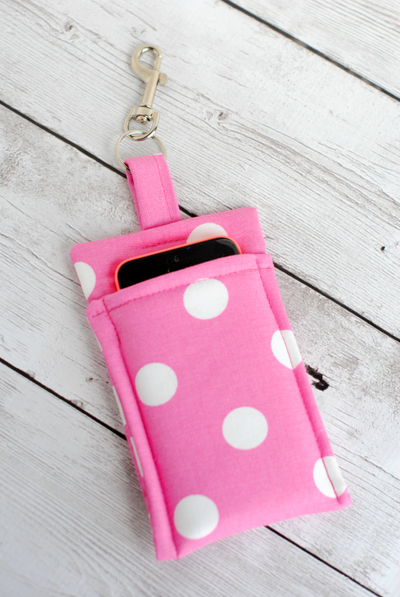
Read NextBifold DIY Wallet