This project was submitted by one of our readers, just like you.
High Waisted Shorts Pattern

High Waisted Shorts Pattern
"For a long time, I feared sewing shorts and pants because they never fit right. I tried different patterns, starting with Burda and finishing with McCalls and Vogue. Even if the pattern was close to my measurements in hips and waist the pants were not good in the crotch area. I decided to draft my own high waisted shorts pattern because I was really tired of those low-cut shorts that won’t stay up without a belt and kept dropping off my hips. The pattern drafting and step by step instructions are included as well as YouTube videos."
NotesThese pants actually fit because they are made from your own measurements. I used for exemplification gauze and knit fabric, both are stretchy, both fit very well and everyone who tried it, had a very good result.
Project TypeMake a Project
Time to CompleteWeekend project
Sewn byMachine

Materials List
- Paper for pattern drafting, Pencil, ruler, french curve profile
- Tape measure, scissors, sewing tools, sewing machine, serger. The pattern is designed to be used with a serger, if one is not available seam allowances will need to be drawn differently in the pattern.
- Fabric. Depending on fabric width you may need between 3/4 and 1 1/2 yards. The actual material length depends on the length of the shorts and the hips circumference. Any light or medium weight fabric can be used, or knit fabric.
- Matching thread. If the fabric is stretchy or knit use Eloflex thread (stretch thread)
- Elastic for waistband. Slightly shorter than the length of the waist circumference.
- Trims for hems; I used strips of silk chiffon and elastic lace.
Instructions
-
Take measurements: hips size and side length (as in the image).
-
Determine the desired length of shorts measured from the crotch including the hem ( inner pants leg length ).
-
Draw the pattern. Detailed step by step instructions are in the link for the article.
-
Prewash all fabric and trims and dry them according to their type (air dry or dryer, depending on the fabric)
-
Iron the fabric if it comes outr wrinkled especially at the edges.
-
Make sure the fab ric is cut straight before cutting. If not straight, straighten it.

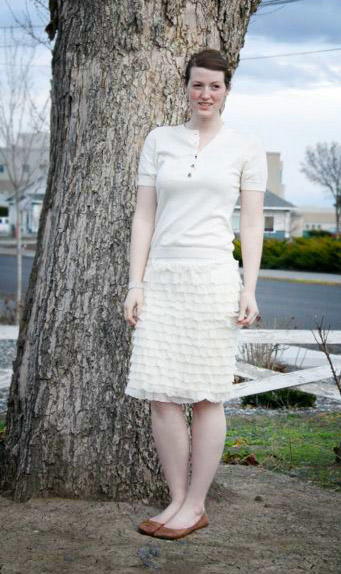
Read NextDirndl Skirt