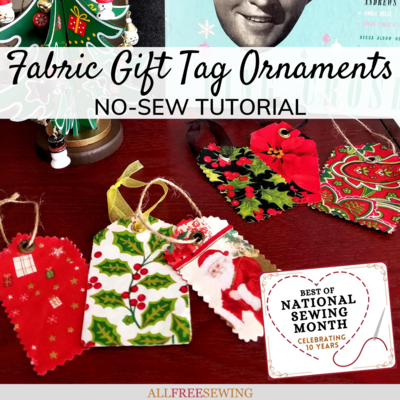
Fabric Christmas Gift Tag Ornaments (No-Sew Tutorial)
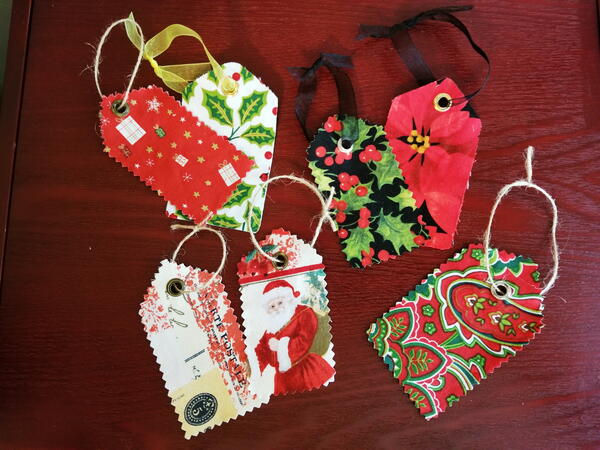
Have 5 minutes? These rustic fabric ornaments are shaped like gift tags. They are fast and fun to make and a delight to hang!

Bust out that Christmas fabric and get ready to make your own Fabric Christmas Gift Tag Ornaments. Our no-sew tutorial shows you how to make these fabric gift tags in about 5 minutes.
They can be used as unique gift tags or ornaments for your Christmas tree. These cute little rustic pieces are as customizable as you can get. Get creative with the fabric, embellish with buttons or stitching, or write messages with fabric markers or paint.
I am making these as a "no-sew" craft but if you prefer to embroider or machine sew these gift tag ornaments, feel free! The best part about this easy project is that you can have a lot of fun with the details and provide your own original twists.
Looking for more? Put down the needle and thread for a few minutes longer to make these fabulous 10 Festive No-Sew Christmas Ornaments!

Fabric Christmas Gift Tag Ornaments
I will be providing tips on different options for these DIY fabric ornaments after the material list and throughout the tutorial, so be sure to read the entire page before starting.
Project Type: Make a Project
Skill Level: Beginner
Time to Complete: Under an Hour
Sewn By: No-Sew (hand or machine optional)
Materials List:
- Fabric scraps (each gift tag uses two pieces of fabric roughly sized 2" x 4")
- Pinking shears or scissors
- Lightweight fusible interfacing or fabric glue
- Iron and ironing board (to press and if using fusible interfacing)
- Grommets/eyelets
- Twine or ribbon
- Disappearing/washable fabric marker or fabric pins
- Fray Check (optional)
- Embellishments, such as buttons or fabric paint (optional)
- Gift tag template (there are three sizes to choose from)
Click to Download the Gift Tag Template PDF
Fabric Christmas Gift Tag Ornaments

A few notes and tips about the materials needed:
- This is a Christmas-themed project but any fabric for any holiday or occasion can be used. See the bottom of the page for our non-Christmas versions!
- I've made these using both pinking shears and regular scissors to cut out the shape. Pinking shears will help prevent fray and also give these gift tags a more rustic look, which is why this is the preferred method. But, if you don't have pinking shears, it's perfectly fine to use standard scissors. Fray Check can be used on the edges to help with fraying.
- A grommet or eyelet set is another supply that not everyone has. I'll be honest, I did not have them before coming up with this project. But I wanted a clean, round hole for the ribbon so I purchased a simple kit online for about $10. It's so easy and fast, plus it creates that clean and professional look I was going for. If you'd rather keep the price point low, creating a hole with scissors or a fabric/paper punch and adding a bit of glue or fray check will work.
- I also tried adding the fusible interfacing before cutting and after cutting. The pro of doing it before is that you don't have to take apart, reassemble, and align the cut fabric pieces. The con is that you may use more interfacing than you need because you can't follow the shape. Try both and see which works best for you!
- Embellish as desired. It's easy to add buttons, glitter, or write/draw with fabric markers or paint. I liked these without any but might try adding buttons on my next batch.

Fabric Christmas Gift Tag Ornaments No-Sew Tutorial:
- Gather and prep your supplies. Your fabric should be pressed before cutting.
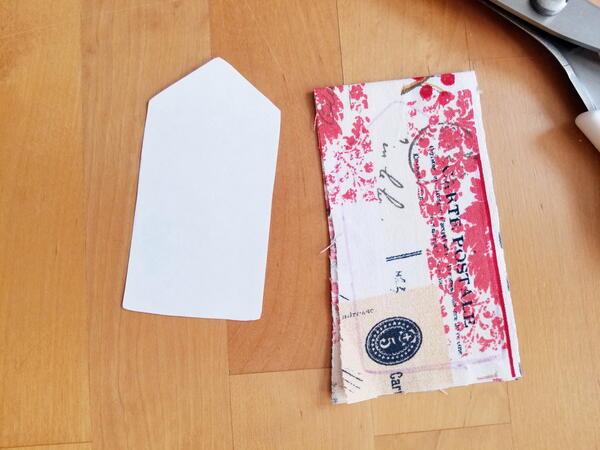
- Print and cut out the template (or draw your own freehand gift tag shape).
- Cut out two rectangles of fabric about 1/2-inch larger than the gift tag shape.

- Cut out a piece of interfacing slightly smaller than the template or cut strips of interfacing to fit shape. Follow interfacing instructions. General instructions: Press to adhere interfacing to one side of fabric (wrong side). Remove paper backing. Press to adhere the two sides of fabric together (wrong sides together).
Note: Fabric glue can be used instead of interfacing.
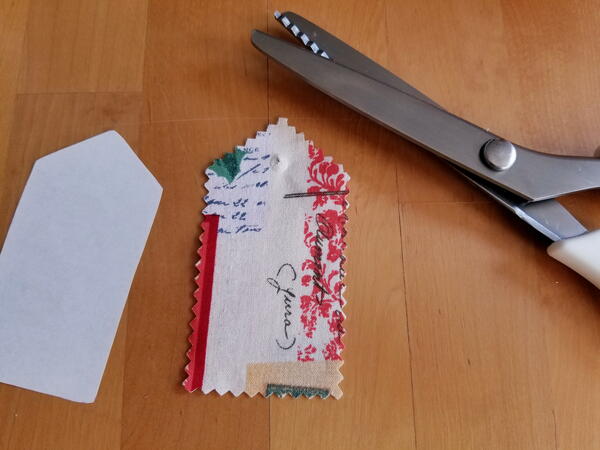
- Use a disappearing/water-soluble marker to trace the template on the fabric or use a fabric pin to attach the template to the fabric.
- Cut out using pinking shears (or regular fabric scissors).
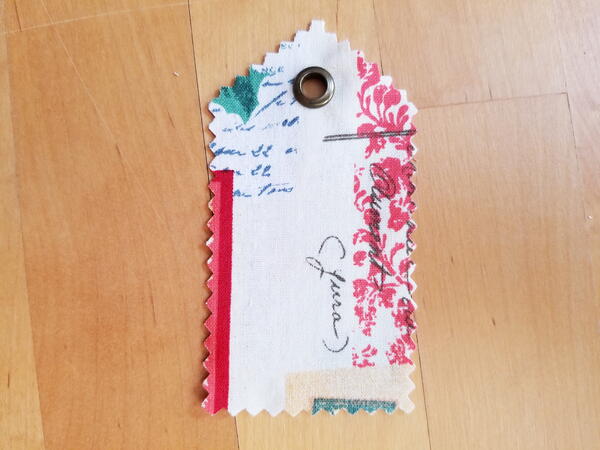
- Add a grommet using the tool set and following instructions (or use alternative methods to create a hole for hanging).
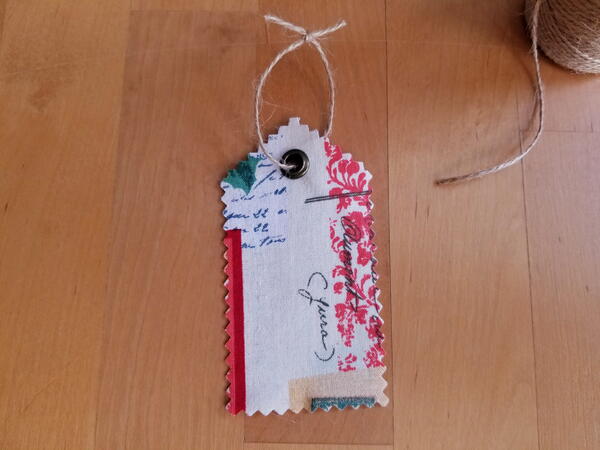
- Thread twine or ribbon through the hole and knot. Add embellishments if desired. It's done and ready to hang or attach to a gift!

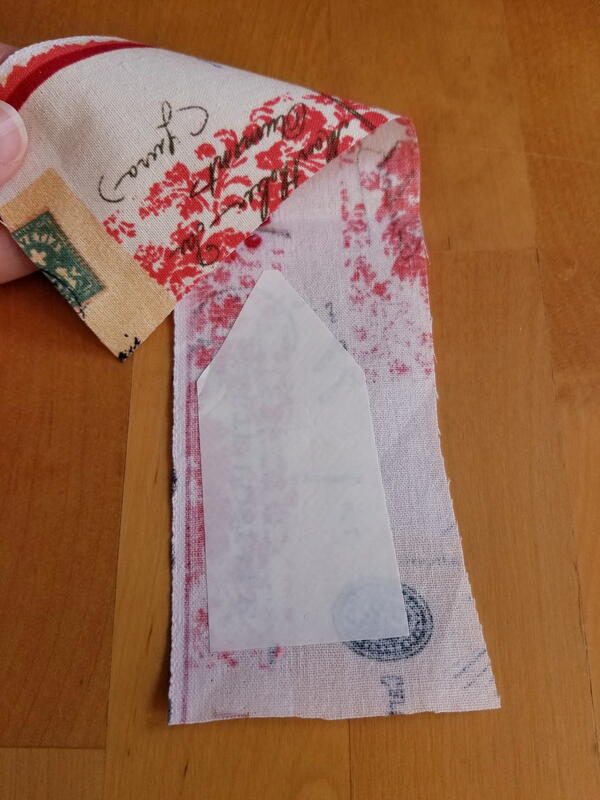
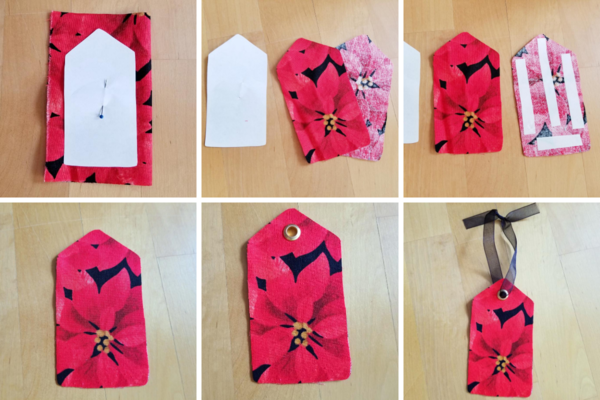
Method 2:
Here's a quick photo tutorial showing you the alternative steps for making these cute DIY gift tags (left to right, top to bottom):
- Cut out two pieces of fabric and put them wrong sides together, right sides out. Pin the template to the pieces.
- Cut out the shapes.
- Cut and arrange strips of fusible interfacing.
- Follow directions for pressing.
- Add grommet/hole at the top.
- Thread ribbon through the hole and knot.
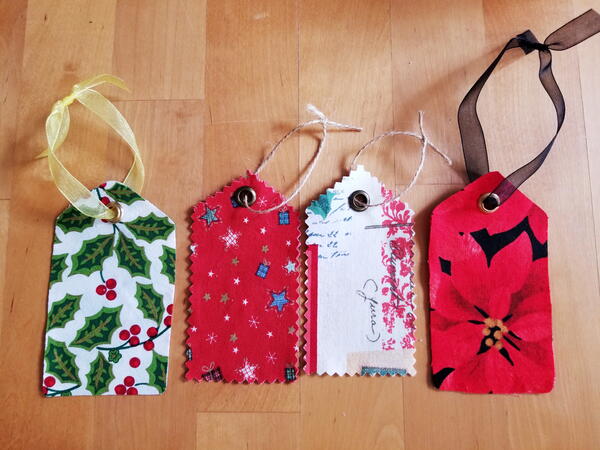
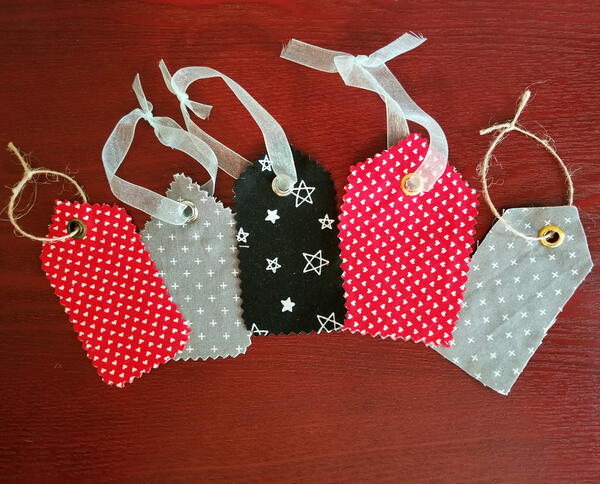
Any Holiday or Occasion Fabric Gift Tags
Below is an example of my non-holiday gift tags!
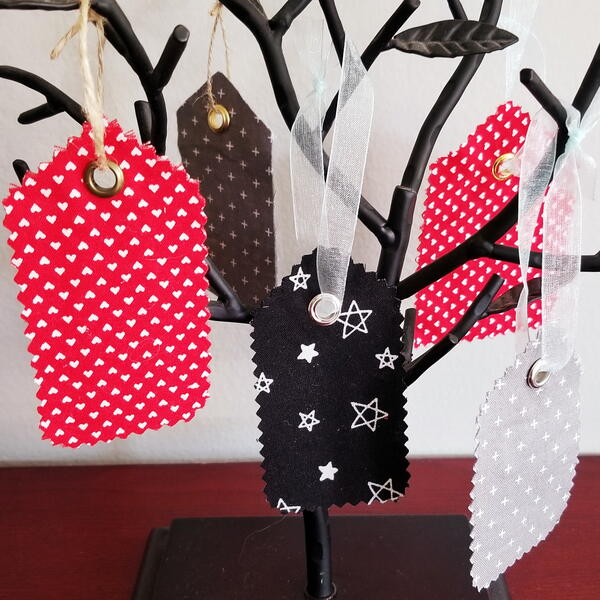
Share your pictures in the comments!

Read NextNo Sew Fabric Flowers Tutorial