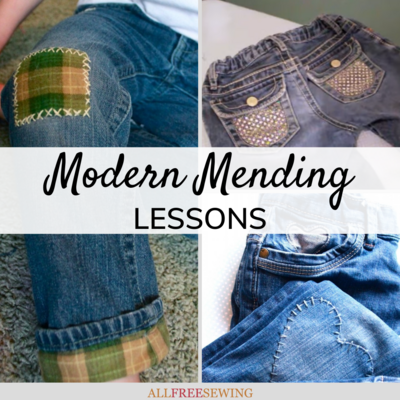
Modern Mending Lesson 3
 Looking for ways to mend your child's jeans? This modern mending lesson will show you how to patch up the pants by adding a bit of flair and style too. If you want to learn how to repair clothes, this is the tutorial for you.
There are so many ways to upcycle and mend jeans that you should never throw them out. Cropping them, patching them up, and making them into something new are only a few of the ways that you can repair or give jeans new life.
You'll save money and recycle clothing that just needs a little love to become good as new. Follow this written tutorial, created by Maureen Wilson, and then watch the video at the bottom of this page for additional instruction and visuals to help you out.
Sign Up For More Free Patterns >>>
Along with this lesson, be sure you check out Modern Mending Lesson 1 and Modern Mending Lesson 2.

Materials:
- Old jeans
- Medium-weight iron-on interfacing
- Fabric for repairs (denim, flannel, etc.)
- Thread and / or embroidery floss
- Iron
- Sewing machine and / or hand needle
- Temporary fabric glue
Directions:
The first thing you have to realize is that a patch is going to be visible and obvious. Trying to hide it will just make your repair look more homemade. So instead, we’ll try to make them a part of the style and fashion of the jeans.
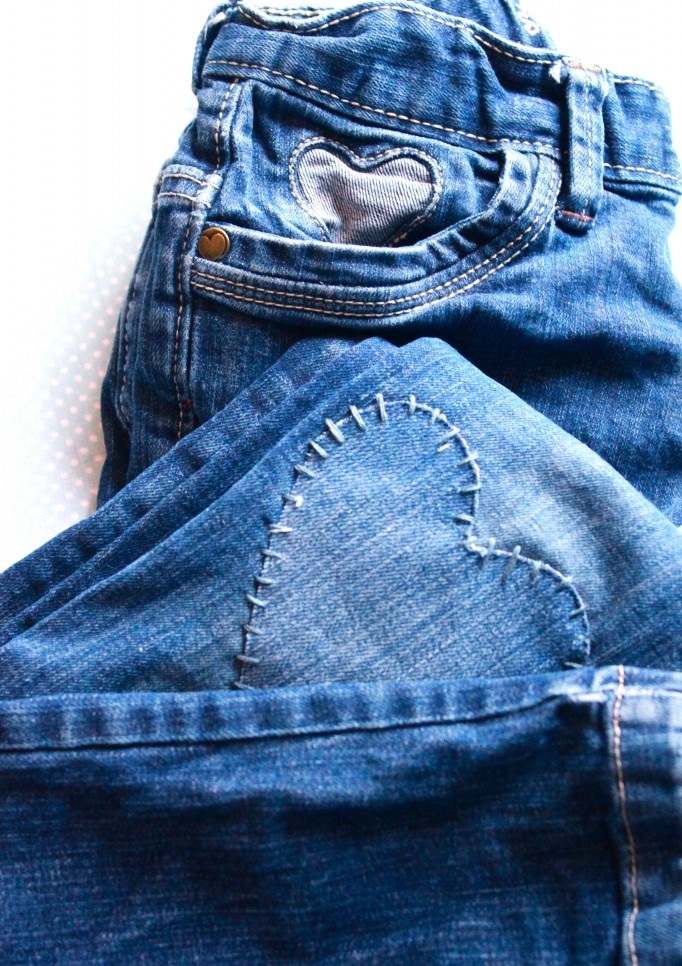
Sweetheart Patches
- For this first pair, I’m making hear patches out of denim. I’m re-using denim from an old pair of shorts. Begin by ironing a piece of denim to a piece of iron-on interfacing. This will strengthen the fabric and make it more durable.
- Cut a heart from a piece of paper to use as a template. Trace the heart on the back of the interfacing and cut out.
- Iron the knees of the jeans, and trim any frayed areas so you have a smooth surface to sew on. Use a little temporary fabric glue to hold the patches in place… it’s easier to sew without pins.
- You can hand-stitch the patches in place with embroidery floss and a decorative stitch, or you can use your sewing machine. (Machine sewing can be tricky with small sizes or skinny jeans. Adjust your machine if possible by removing the extension table or flat-bed attachment.)
- If you’re machine-sewing, consider using a contrasting thread for a pop of color. These jeans have pink accents, so I selected a pink thread.
- I also like to fray the edges of the patch a bit with my fingernail. The interfacing will prevent the denim from fraying too much.
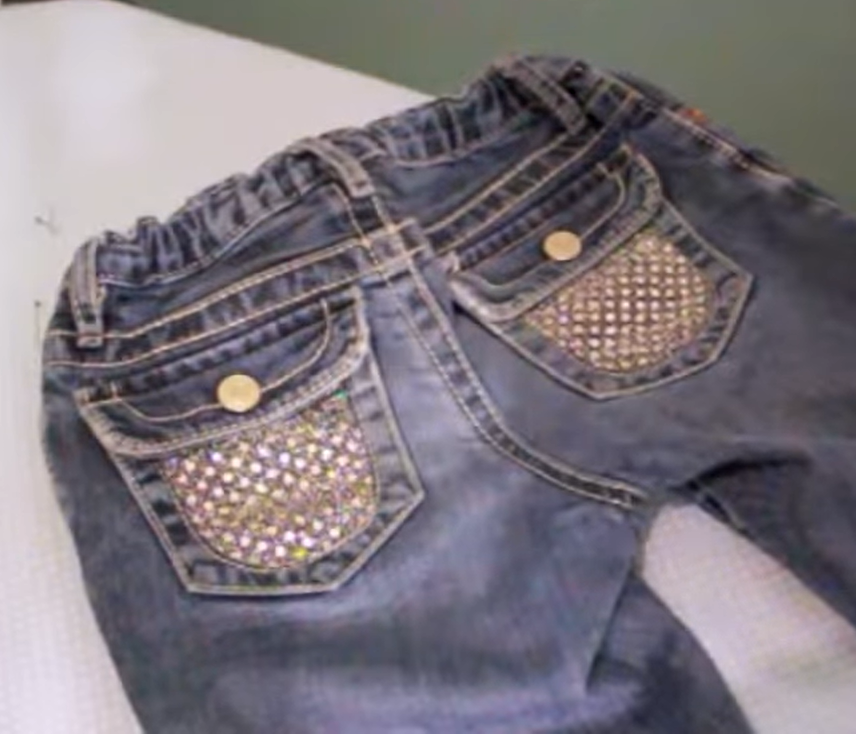
Bling Jeans
While shopping recently, I noticed that jeans with sparkle are a hot trend. When I spotted a pair with sequin patches, I couldn’t wait to get home and make some for my daughter.
- You’ll need a sparkly fabric. I found mine at Wal-Mart, and a fourth of a yard only cost me a couple of dollars. Begin by ironing the jeans.
- Cut a rectangle to use as a template, and trace around the area you want to add bling to.
- Cut rectangles of sparkle fabric that are about an inch larger than your template. This gives you a little more material to work with so you don’t have to stress about making sure it’s perfectly aligned.
- Cut pieces of iron-on interfacing that are about an inch larger than the fabric pieces. Lay the sparkle fabric face down, and iron the interfacing to the back of the fabric. (Because this fabric is synthetic, I’m going to avoid ironing the front of it.)
- Cut out the rectangles you drew on your jeans, and turn the jeans inside out. Center the sparkly fabric over the holes. Since you have a border of excess interfacing, you can iron the edges to the jeans so you won’t have to pin.
- Turn the jeans right-side-out, and sew around the edge of the rectangle hole to secure the fabric.
- Your mending job will be more convincing if you repeat the style elsewhere on the jeans. Iron sparkle fabric to a piece of interfacing, then cut to fit inside the stitches of the back pocket.
- You will probably have a hard time sewing this tight area on your machine. If your child is small and never uses their back pockets, just go ahead and stitch them shut and no one will ever know. Otherwise, hand-stitch the pocket embellishment in place.
Add-An-Inch Cuffs
If your child had an overnight growth spurt and his jeans are suddenly too short, you can lengthen them by an inch or two.
- Begin by trimming off the hemmed area of the pants cuff. Cut about half an inch above the cuff so you have room to sew on the new cuff.
- I like to use flannel for this, but corduroy is also cute. You’ll need to cut two rectangles of fabric, that are as long as the circumference of the cuff plus two inches. The width will depend on how much longer you want the jeans to be. The width should be double the desired length, plus two inches. So, since I want these jeans an inch and a half longer, I cut my fabric to five inches wide (1.5 x 2 + 2 = 5).
- Fold the strip in half width-wise and press. Then fold in the top raw edges a half inch and press. Fold in the raw edges of one short end a half inch and press as well.
- Sandwich the raw edge of the jean cuff between the layers of folded fabric. Line up the pressed short edge with the seam of the jeans. Line up the edge of the flannel fabric with the edge of the cuff.
- Pin and sew along the bottom edge of the cuff to attach the flannel to the denim. When you reach the seam where you began sewing, fold in the raw edge of the flannel and align with the original seam.
- Once it’s sewn, insert this new cuff inside the leg of the jeans. The hem should be at bottom. Sew where the flannel and denim meet, with a zig-zag stitch to minimize fraying.
- Fold the new cuff upward and press. To prevent the cuff from flopping down, topstitch directly over your previous stitches while the cuff is folded up.
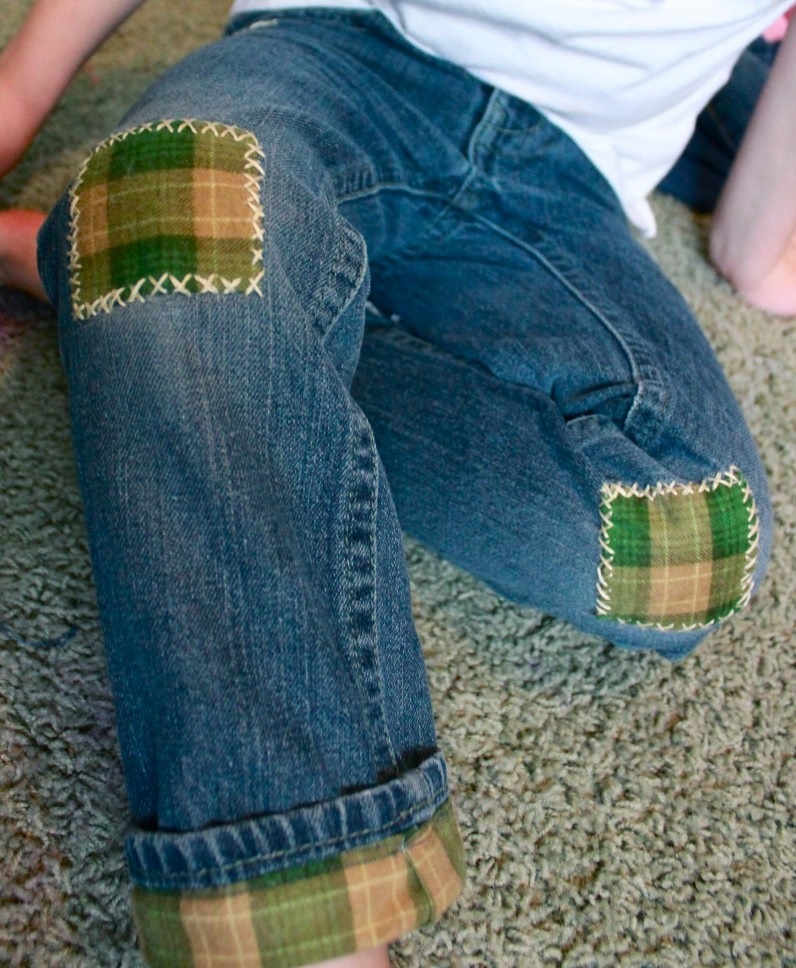
Flannel Patches
You can add flannel patches beneath the holes to make the jeans appear as though they’re lined with flannel. Or, you can add patches on top.
- First cut two squares of iron-on interfacing. Iron these to the back of the flannel fabric. Cut out the squares, leaving an extra half-inch border all the way around.
- Cut square notches into each corner of the flannel, so that you can fold the edges in neatly. Fold inward and press.
- Use a little temporary fabric glue to secure the patches while you sew.
- When making patches in a contrasting print like this, I prefer hand sewing with embroidery floss. Cross stitches look cute.
- Again, your jeans will look better if you add similar styling elsewhere on the pants. Consider adding a few cross stitches on the pocket area.
Watch the video tutorial here:
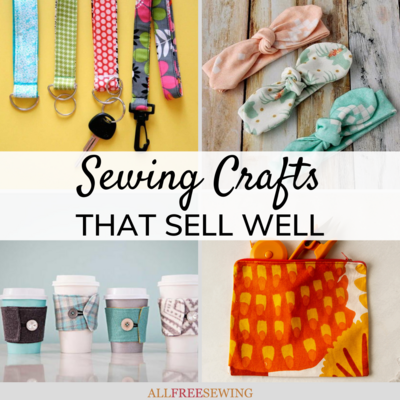
Read Next50+ Sewing Crafts That Sell Well