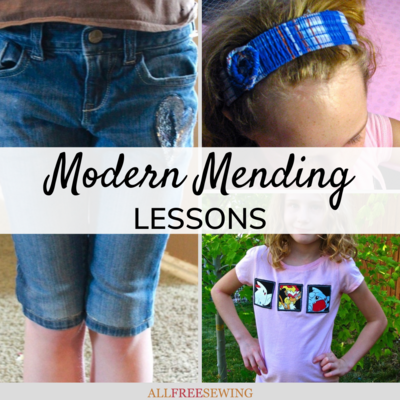
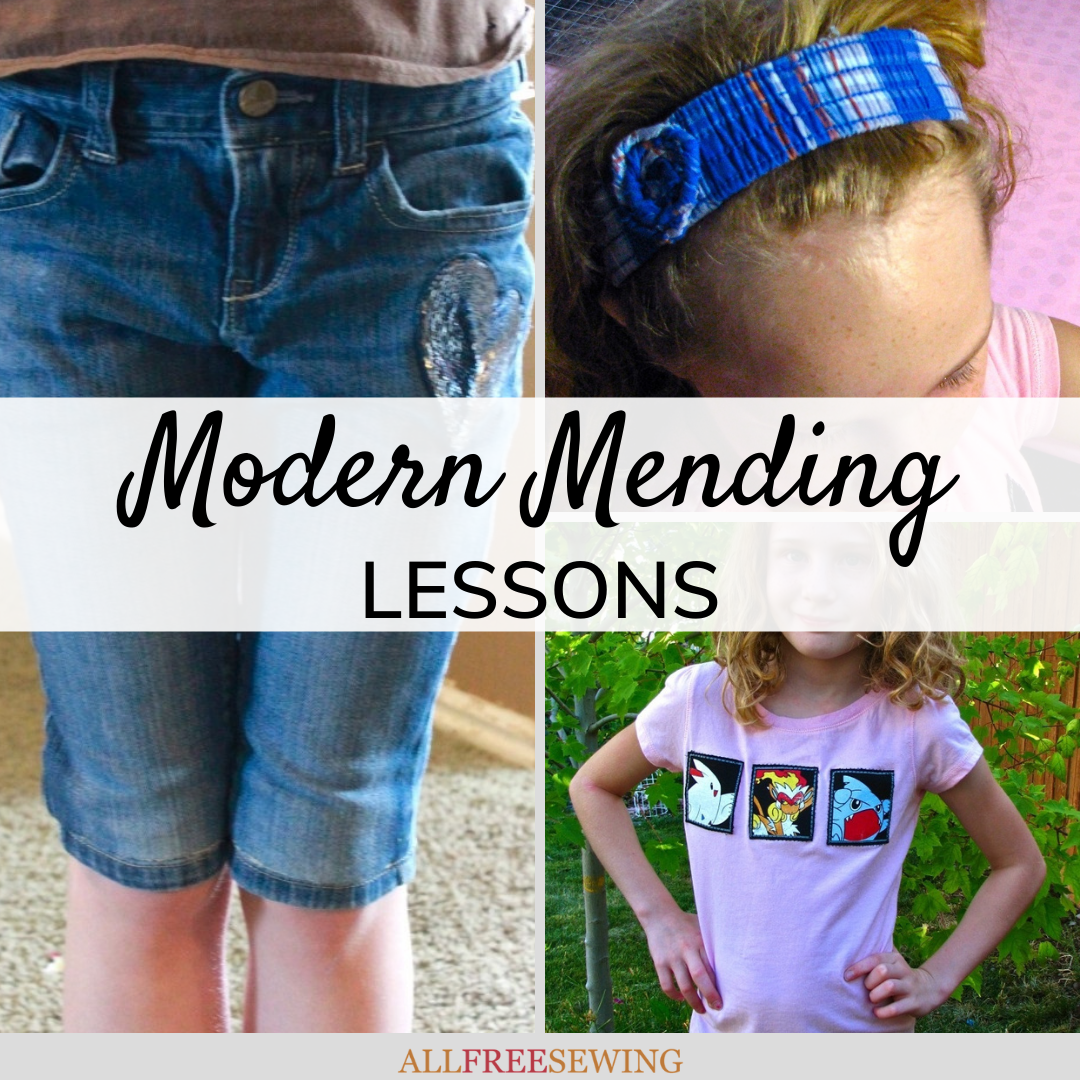
Modern Mending Lesson 1
 Since kids are constantly outgrowing their clothes, pick up on a few sewing techniques that will keep them in the same clothes longer.
Learn how to mend with these simple lessons and you'll get a little extra wear with your children's clothing. Maureen Wilson will lead you through each step in the video tutorial found at the bottom of this page.
You won't believe how much you can save by simply using what you have. And your child will love the creativity you use to make the new clothes their own.
Sign Up For More Free Patterns >>>
Once you've completed this lesson, be sure you check out Modern Mending Lesson 2 and Modern Mending Lesson 3.

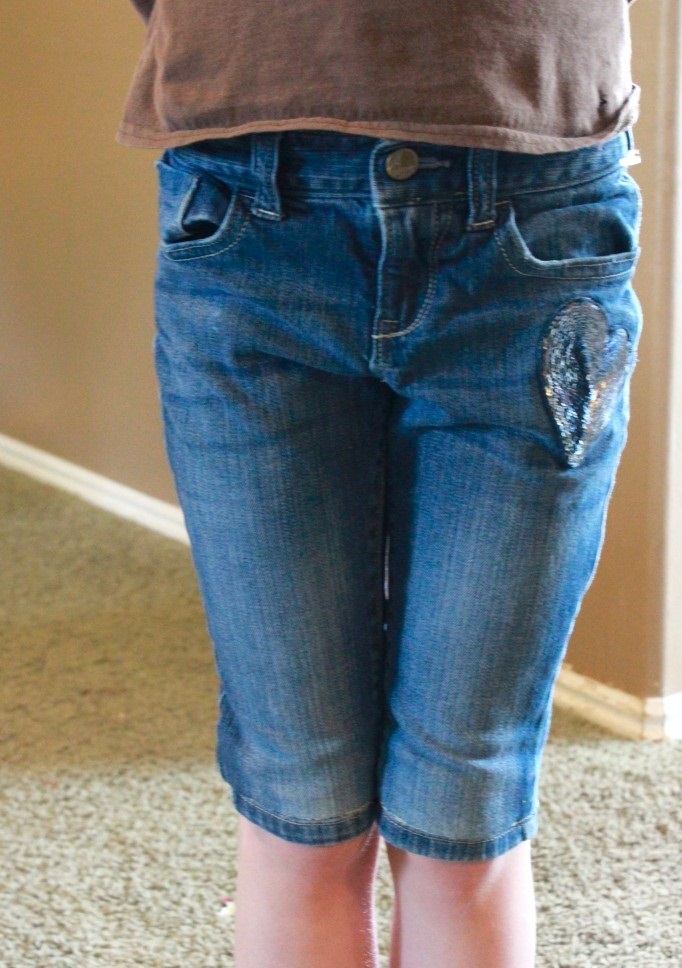
Jeans to Bermuda-Length Shorts
If you have jeans with holes in the knees, you can turn them into shorts. We’re not talking sloppy cut-offs, but professional-looking shorts with the original hem intact. This technique can also be used to turn outgrown pants into capris. It works best with pants that are straight-leg or boot cut.
- With the pants right side out, fold up the cuff all the way to the knee, or just above the worn fabric. Do this on both sides, and measure to be sure that they are even. Be careful to line up the seams.
- Pin the cuffs in place, through the top two layers only. You should still be able to insert your hand through the pants leg. Flip the pants over and pin the cuff on the back as well.
- Use denim thread to sew right next to the original hem. Sew as close as you can to the hem without sewing on top of it.
- Turn right side out to check your work. If you’d like, you can try them on now to check the length.
- If you’re happy with the results, cut off the excess pant fabric below the hem, leaving about an inch. Then sew this raw edge with a zig-zag stitch to prevent fraying.
- Tuck the zig-zagged fabric up into the pant leg. Press the seam you created.
- Finish the shorts by stitching in the ditch, directly in the seam you created. Do your best to match both the thread color and the stitch with the style of the original pants.
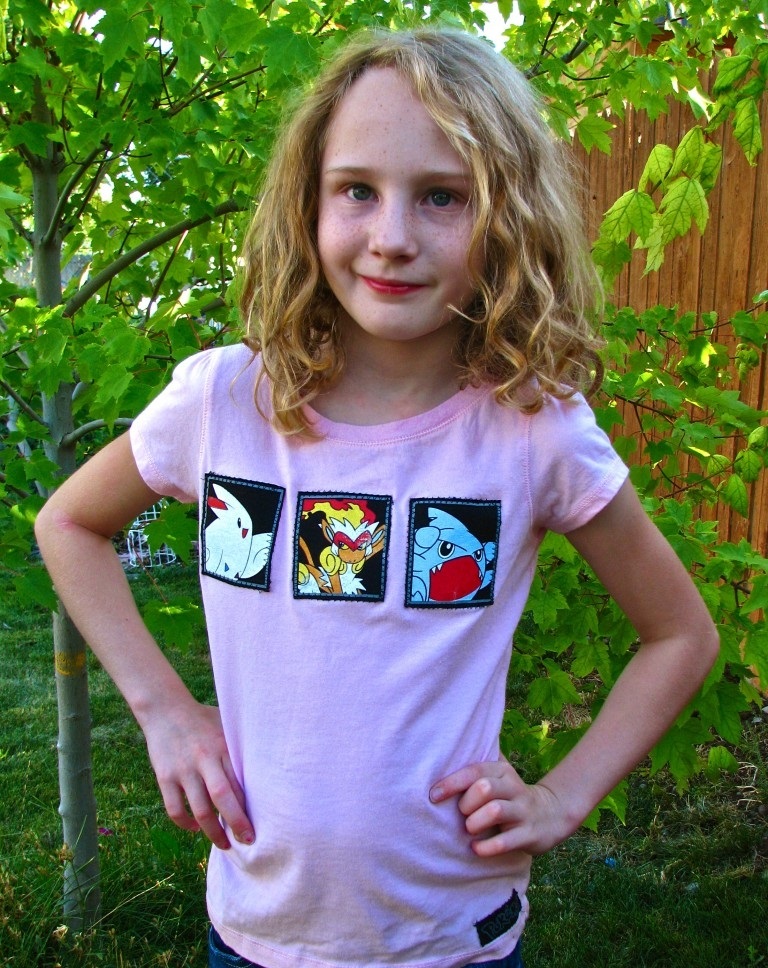
Favorite Tee Applique
If your child insists on keeping a favorite shirt that’s become too small, here’s a compromise. Purchase an inexpensive plain tee in their size, then create an applique using the graphic from their old shirt.
- Cut out the image you’d like to use.
- You’ll need one-sided fusible webbing / interfacing. Notice how one side is shiny. Place the shiny side of the fabric against the backside of the T-shirt cut-out. Iron the fusible webbing to the image to give it stability while sewing.
- Switch to a ball-point needle. It’s also helpful to switch to a walking foot when sewing with knits. Switch to a zig-zag stitch.
- Pin the image to the top layer of the T-shirt and sew around the edges to secure.
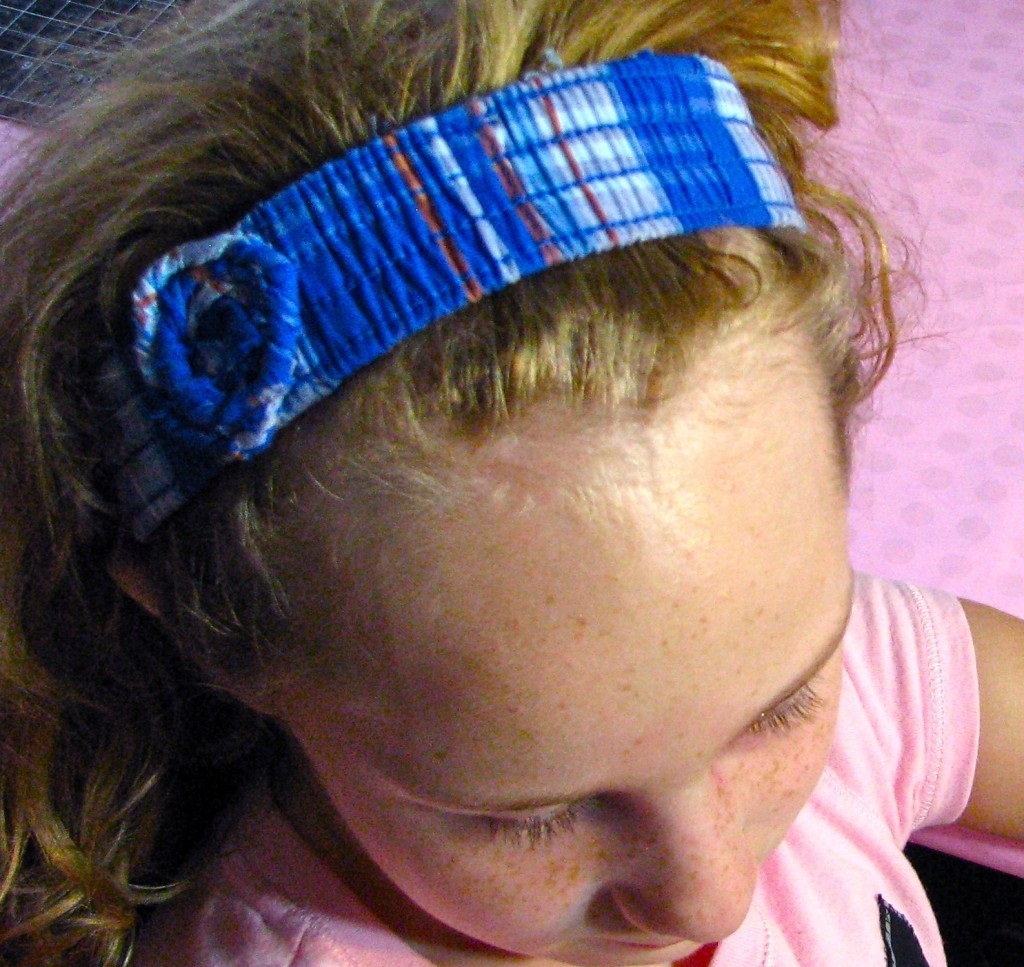
Waistband to Headband
If your child has outgrown a pair of pants or shorts with an elastic waistband, you can give the clothing a second life as a headband.
- Cut off the waistband just below the elastic.
- Trim any threads that might fray, but don’t cut the waistband casing.
- If you’d like, you can coil a strip of fabric from the pants to create a flower. Check out my Recycled Rosettes video for details. Hot glue or sew it onto the headband.
Watch the video tutorial here:
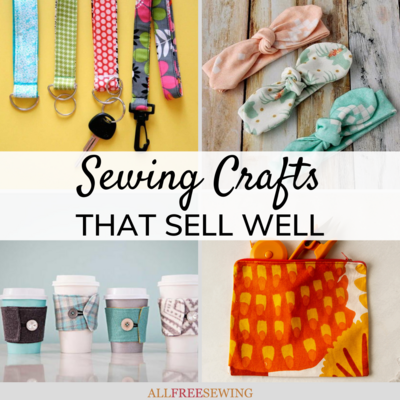
Read Next50+ Sewing Crafts That Sell Well