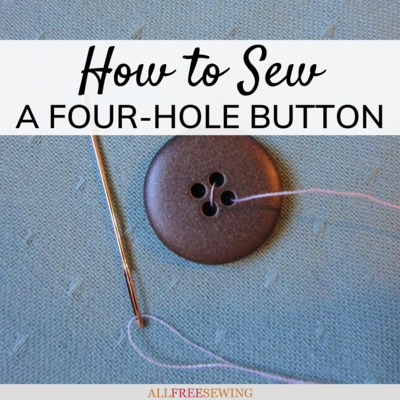
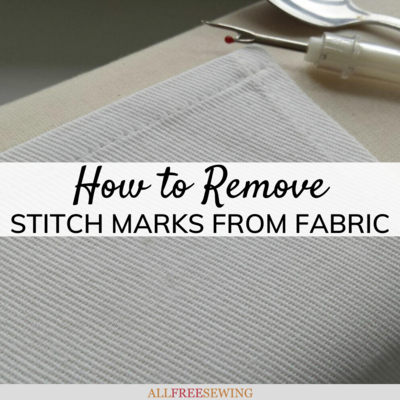
How to Remove Stitch Marks From Fabric
Learn how to remove sewing stitch marks with as little damage as possible with this helpful guide.

I've recently been talking about the best way to remove lines of stitching, a.k.a. stitch ripping. The “ripping” part of that phrase always sets my teeth on edge.
I envision fabric being ripped, and that awful sound that accompanies it! Ack!
Of course, stitch ripping thankfully doesn't actually involve ripping fabric–as long as you're doing it right!–but it will unavoidably leave holes in your fabric where your stitches were.
With this guide, How to Remove Stitch Marks From Fabric, you will learn how to get rid of those little suckers when simple pressing just doesn't cut the mustard. Of all the sewing tips and tricks I know, this is one of the favorites.
Although you can remove stitches without a seam ripper, this tutorial uses the popular and common sewing kit tool and shows you how to avoid such big holes with a few tricks you may not know.
Read through to learn the best way to remove sewing stitch marks using this tool correctly (and other items you already have to help).
Sign Up For More Free Patterns and Tutorials >>>
Materials Needed for Stitch Ripping and Mark Removal:
- Seam ripper
- Iron
- Spoon
That's it!
The Situation: Needing to Remove Stitches
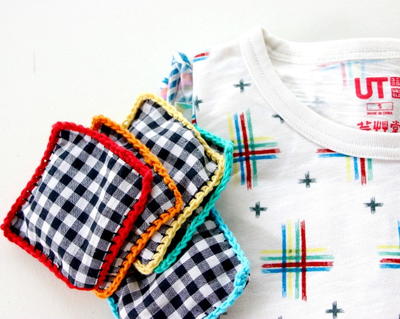
Here's what I'm talking about. This is a piece of cotton fabric I was using to try out some Sashiko embroidery. I wasn't happy with it, so I unpicked it in order to start again. One problem….stitch marks!!
Once your stitches are removed, either using a seam ripper or other tool/method of choice, start this step-by-step tutorial below.
A note: I'm using this project as a sample because the weave is larger and easier to photograph, but this applies to machine and hand stitching as well. Now we can begin eliminating those stitch marks!
.")
1. Press Your "Ripped" Fabric
The below image shows the fabric after a simple press. Better, but not great! As the needle passes through the fabric, the weft and the warp threads of the fabric get moved out of alignment, and holes are made.
The fabric then stays that way even once the thread is removed. If you look closely at the first two pics you can see the individual threads are skewed around the stitch holes.

2. Use Your Nail to Close Ripped Seam Holes
Now for the secret to erasing those stitch marks! Use your fingernail…

3. Or... Use a Spoon to Close Ripped Seam Holes
With firm pressure appropriate to the sturdiness of your fabric, drag it across the weft (left to right then right to left) and the warp of the fabric (up and down). Press with steam and repeat 2 to 3 times.

4. Keep At It!
See the difference in the image below? The repeated dragging action manipulates those warp and weft threads back into place and the steam fixes them there. Clever huh? But we're not quite done…

5. Repeat the Stitch Mark Removal Process
Flip the fabric over and repeat on the other side. Drag your nail/spoon across left and right, then up and down then press with steam…

Voila - Successfully Removed Stitch Marks
Quite a difference huh? This technique will work on most wovens to a greater or lesser degree depending on two factors. First, the fineness and weave of the fabric itself, and second, how long those stitches have been in there.
In some instances, the fabric will be too delicate, or the stitches will have been in too long–but I'm talking existing-garments type long!–for this method to be completely effective.
In a lot of cases, though, this will help erase all memories of that bodged stitching..c'mon, we all bodge seams at one time or another…so no-one will ever know. Shhhh...

About the Author
Portia Lawrie is a blogger at Makery.
Portia lives in a sleepy Essex "backwater" with her partner, son, and stepson. She loves her family, hazelnut lattes, Indian food, singing into hairbrushes (no, she never grew out of that), and making stuff! Her passion for all things creative goes way back to her childhood, but it is only since the birth of her son that she began to really indulge her creativity.
From dressmaking to jewelry to furniture DIYs to rediscovering her love of drawing. Virtually, any spare moment she has will be spent in her summerhouse, listening to Radio 2 or Spotify, drinking copious amounts of coffee, and, well, making something! She’s been blogging since 2009. Feel free to stop by and say hello sometime.
Want More?
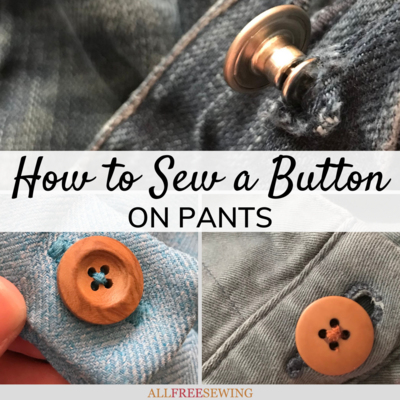
14 Unconventional Sewing Tools >>
Do you have any tips or suggestions on how to remove stitch marks from fabric?
Let us know in the comments!
Read NextWhat is a Serger?
Your Recently Viewed Projects

Thanks for your comment. Don't forget to share!
Report Inappropriate Comment
Are you sure you would like to report this comment? It will be flagged for our moderators to take action.
Thank you for taking the time to improve the content on our site.