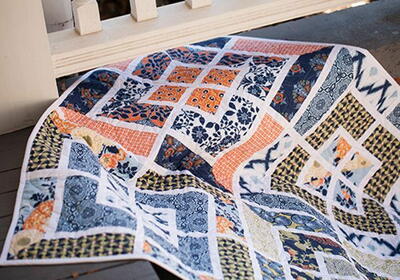
Colorful QAYG Snowball Quilt Block Tutorial
We love this festive snowball quilt block pattern! Learn how to make one yourself with our full tutorial.

Learn how to make a snowball quilt with the help of this tutorial from Maureen Wilson. This Colorful QAYG Snowball Quilt Block Tutorial teaches you the basics to quilting-as-you-go.
Delivering a gorgeous snowball quilt, these instructions will be invaluable to you when you go forward with all of your quilting endeavors. Find out the tips and tricks to putting together this incredibly classic quilt block.
Once you've got the block nailed down you can piece your work together to make one beautiful quilt. Don't let the triangles on this Snowball block intimidate you no fussy cutting or tricky seams here!
Best of all, it uses the quilt-as-you-go method, which means this snowball quilt pattern will come together quickly.
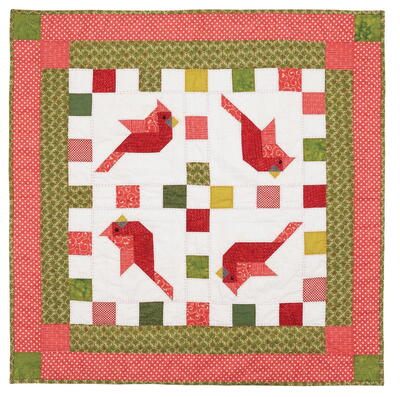
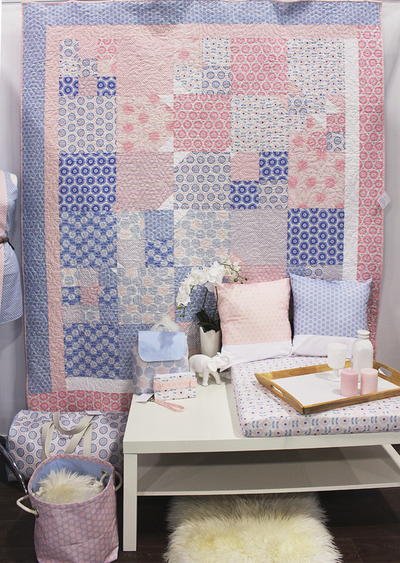
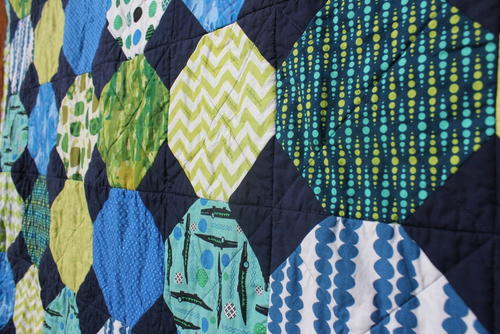
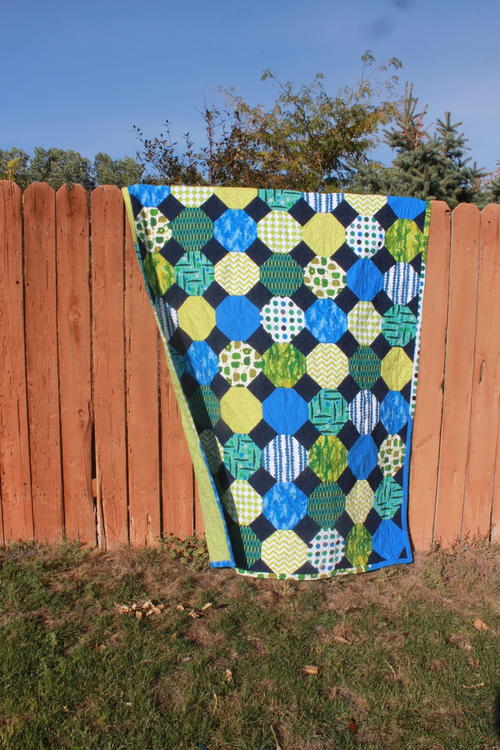
The options with this quilt idea are endless. Since it's a snowball quilt block style, you can certainly go the cold month route and choose winter or Christmas colors. You can also do something as in this version, which is a more everyday, colorful quilt! This quilt is your oyster. You can do anything and it will come out beautifully.
Sign Up For More Free Patterns
Project TypeMake a Project
Time to CompleteWeekend project
Sewn byMachine

Materials List
- 9 x 9 in. patterned fabric (for a single block)
- (4) 3.5 x 3.5 in. solid fabric (for a single block)
- 9 x 9 in. thin batting (for a single block)
- Masking tape or washi tape
- Pins, sewing machine, iron, thread
- Scissors or rotary cutter

If you like this quilt pattern, then be sure to check out our awesome collection for more:45+ Easy Quilt Patterns for Beginners
Snowball Quilt Pattern
Tips:
- You'll need printed cotton fabric for the main portion of each block.
- You'll need a solid-colored cotton for the corners of every block.
- You'll need lightweight batting. My personal preference is Warm and Natural cotton batting.
- You'll also need straight pins, colored tape or masking tape, as well as a sewing machine and iron.
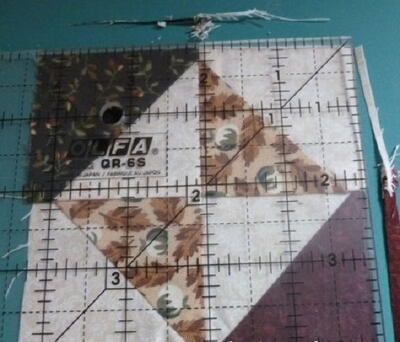
Cutting Your Material:
-
Begin by cutting your printed fabric into a 9-inch square. You can measure with a ruler and cut with scissors, but you'll find it goes much faster if you use a rotary cutter, quilting ruler, and cutting mat.
-
You will also need to cut a 9x9 inch square of batting for each block.
-
You'll need to cut four solid-colored squares for each block. Cut these to 3.5 inches.
Prepping Your Block:
-
Lay down a batting square, then place a patterned square face-up on top.
-
Grab one of the 3.5 inch solid squares and fold it diagonally. (That is, opposite corners should be touching, and the square will form a triangle.) Press this fold. You only need to do this to one square, I'll show you why in a moment.
-
Pin a 3.5 inch solid square on each corner of the block. Pin diagonally, through both the fabric and batting. Pin the square you pressed to one of the corners.
-
Now, we could press every small square so that we have a seam guide on each piece. Or we can create our own seam guide directly on the machine using a piece of tape. To do this, place the creased square beneath your sewing machine foot.
-
Position the square so that the needle is directly on the center of the fold. Pull the block towards the back of the machine so that only the point protrudes. Place a piece of masking tape or washi tape below the fabric so that the point aligns directly with the outer edge of the tape.
-
Slide the creased square downward, making sure the needle is still directly along the fold. Continue to align the tape with the point of the square. Extend the tape down the front side of your machine. This will serve as our seam guide.
Sewing Your Snowball Block:
-
I recommend lengthening your stitches slightly. Beginning with the creased block, sew along the diagonal to attach the small square to the other layers. Note how the point of the square aligns with the outer edge of the tape.
-
Now that you have a feel for it, sew the next small square in place. Start at one corner, and align the point with the edge of the tape. Keep an eye on the point and the tape as you sew. As long as the corner is pointing directly to the edge of the tape, you'll have a perfectly straight diagonal seam.
-
Repeat with the remaining three corners.
-
Remove the pins from each corner. Fold the loose flaps on each small square backward, so that it overlaps the other half of the square and creates a triangle. Tug on the point of the triangle gently while pressing to get a crisp seam.
That's all there is to this Snowball Quilt Block! No need to cut triangles or circles. Keep an eye out for my next YouTube video, where I'll show you how to assemble an easy Quilt As You Go blanket.