How to Sew a One Hole Button
Also known as a shank button, this button sewing tutorial will help you learn how to sew buttons for coats and other clothing items.

Learn How to Sew a One Hole Button with our tutorial. This button is also commonly referred to as a shank button. Besides the tutorial, we will also explain what a shank button is, other names for this type of button, and more.
Once you know how to sew buttons by hand, including two-hole and four-hole buttons, you will be able to fix any button repairs you run into.
Let's be honest, we all lose buttons more often than we realize, so this is a handy skill to have. This is a great beginner tutorial, especially because there is a video to show you the ropes, but it will come in handy for any sewist who might need to know.
Whether you are sewing buttons on a coat or other fabric item you just made, repairing something you bought or wanting to get all the sewing 101 knowledge you can, this tutorial is going to be helpful to you.
If you are a visual learner, then you may want to watch a video version of the one-hole-button sewing tutorial. Check it out above but make sure you also read the written instructions below because there are more details, tips, and tricks to help you sew a secure button.
Sign Up For More Free Patterns >>>
Table of Contents
What are Shank Buttons?
One Hole Button Video Tutorial
How to Sew a One Hole Button
Free Printable Infographic
What are Shank Buttons?
Unlike other buttons, shank buttons have only one hole, usually on the back. This is why they are also commonly referred to as one hole buttons. However, we asked the AllFreeSewing community what they call these buttons and heard lots of names for them! Some other names include:
- Self-shanks
- Mushroom buttons
- Wobblies
- Coat buttons
- Neck buttons
- Unternähknöpfe (in German!)
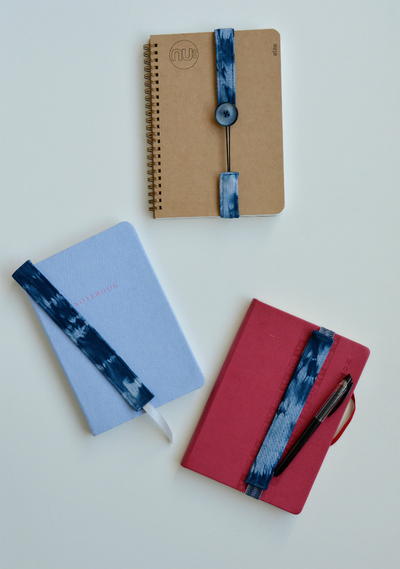
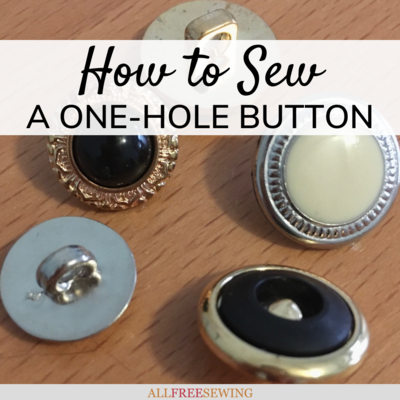
No matter what you call them, they all have one thing in common: one hole. Now, there are a few different kinds of one hole buttons. The types that are described as self-shanks have a protruding loop on the back, like the first image below.
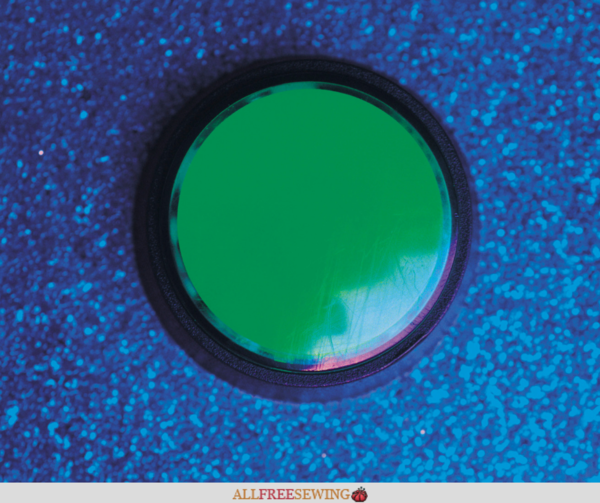
There are also one hole buttons that have a flatter hole in the back, like the second image below. This type is usually more decorative and doesn't stick out as much.
Each type one one hole button has a purpose. Many coat buttons are self-shank buttons because they allow for more fabric to be held in between the button and the fabric it is attached to. That is one of the most important purposes of a shank button.
Because of the space it allows, it is great for buttonholes. Since coats tend to use thicker fabric, they need shank buttons. Other buttons will have to be sewn very loosely to work, which makes them less secure.
One-hole buttons also tend to be more decorative than multiple-hole buttons. Since there is no hole on the front, jewels, intricate designs, and odd shapes can be used.
Example of self-shank buttons:

Example of a one-hole button:

WATCH! One Hole Button Video Tutorial:
Click the play button on the video and watch our quick how-to on sewing shank buttons. This quick walk-through will show you the movements. It's always easier to visualize when you can see it in action.
How to Sew a One Hole Button:
Also known as how to sew a shank button, this tutorial will walk you through it. This how-to is most appropriate for the self-shank type of one-hole button but most of these steps can be used for any type of button that has one hole.
Materials Needed:
- 1-hole button / shank button
- Thread
- Needle
- Scissors
- Needle threader (optional)
- Ruler (optional)
Project Type: Learn a Technique
Time to Complete: Under an hour
Sewn by: Hand
Skill Level: Beginner
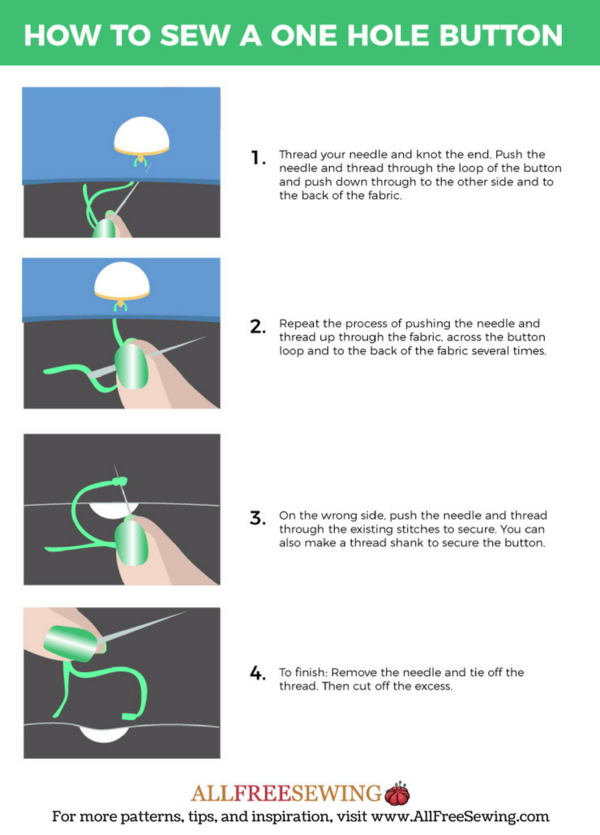
- Thread your needle. Doubling your thread will help you sew the button more securely. Cut the thread tail, leaving about 10-15 inches to work with. Knot the end of your thread two to three times.
- Measure the location of where you want to sew the button, keeping in mind any buttonholes that need to be aligned. Hold the button in place with your non-sewing hand.
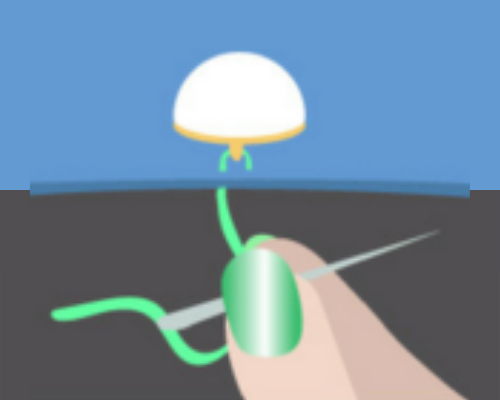
- Push the thread up through the fabric to the back of the button you are holding in place.
- Push the needle and thread through the loop of the button and push down through to the other side and to the back of the fabric. Make sure you are not pushing the needle into the same hole you made while coming up.

- Repeat the process of pushing the needle and thread up through the fabric, across the button loop and to the back of the fabric at least 5 times or until the button seems secure. You can tug on the button to test its strength.
- Create a thread shank: Doing this helps the strength of the button. To make a thread shank, you will push the needle and thread up the back as you have done previously.
But, instead of going through the loop, you will wrap the thread around the loop. Do this at least 3 times. Then push the needle down as you did previously.

- To finish: On the back of the fabric, push your needle and thread across some of the thread pieces you have attached to the fabric. You can also catch a little of the fabric to help keep it stable.
Once you have done this 2 to 3 times, you can remove the needle and tie off the thread. Then cut and your button is complete!

PLUS! Free Printable Infographic
We also put together a helpful printable PDF guide to keep handy. It's a helpful little visual with the basic steps. Give a copy to your kids or keep it in your home's sewing box.
Want More?
Types of Clothing Closures >>
What's your favorite type of button to use?
Your Recently Viewed Projects
Thanks for your comment. Don't forget to share!
Weberme
Sep 30, 2018
I have sewed the shank buttons a few times but realize that the reason it was so tight was I was doing it wrong all along now after reading this I know how to sew it next time. Another great read. # National Sewing Month
KLC
Apr 05, 2018
I find two-hole and four-hole buttons easier than one hole buttons. I think it's because it almost seems too straight-forward. But there are a few quirks that help keep it sturdy.
nataliegrace
Feb 22, 2018
This is really helpful! I've noticed that these are this is the type of button that falls off the most (at least for me). I'll be referring to these tips if I have to repair a button!
Report Inappropriate Comment
Are you sure you would like to report this comment? It will be flagged for our moderators to take action.
Thank you for taking the time to improve the content on our site.