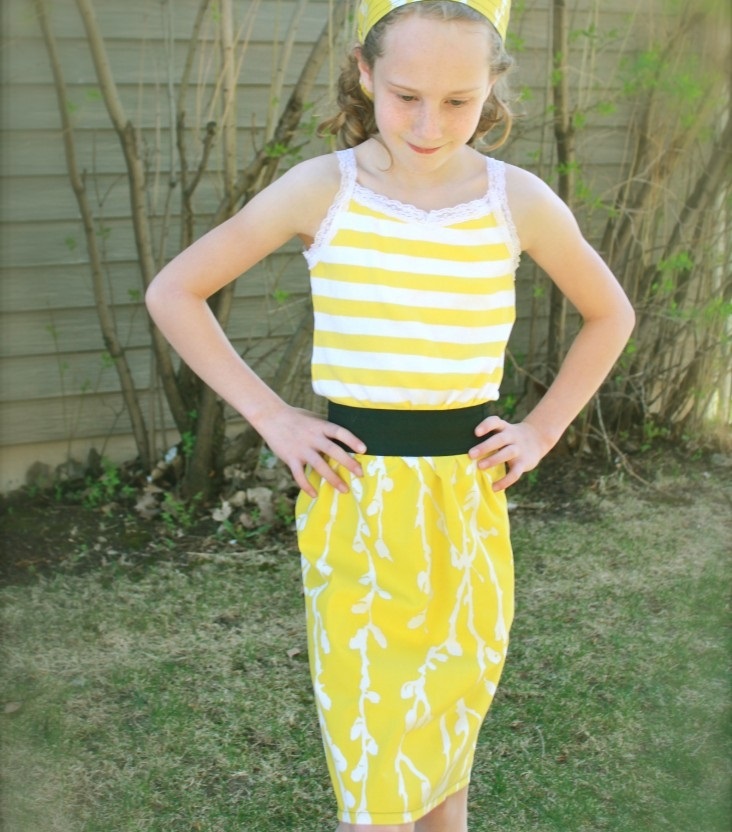
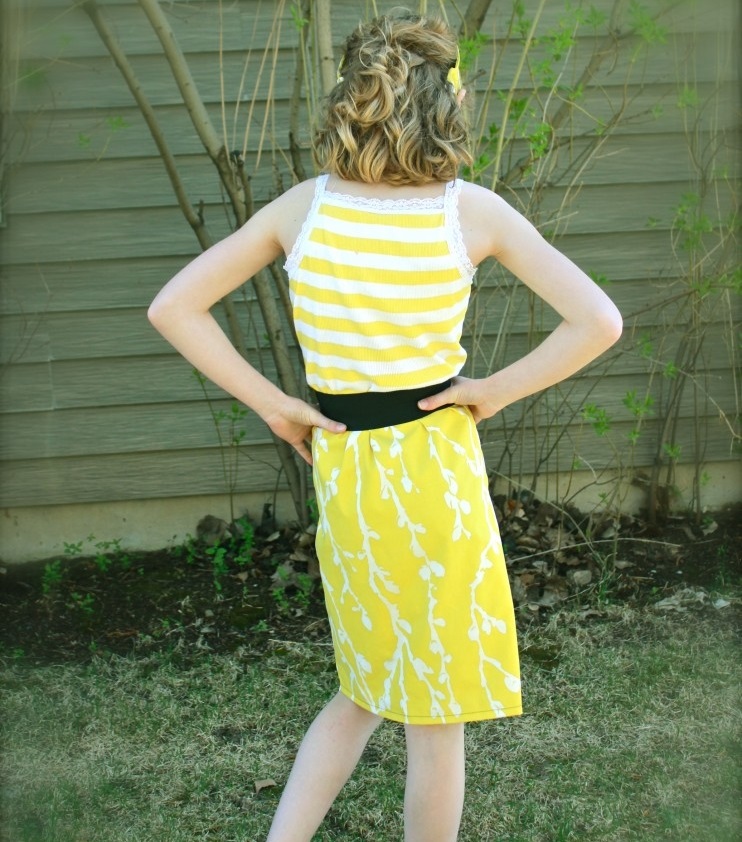
Walking On Sunshine Upcycled Dress
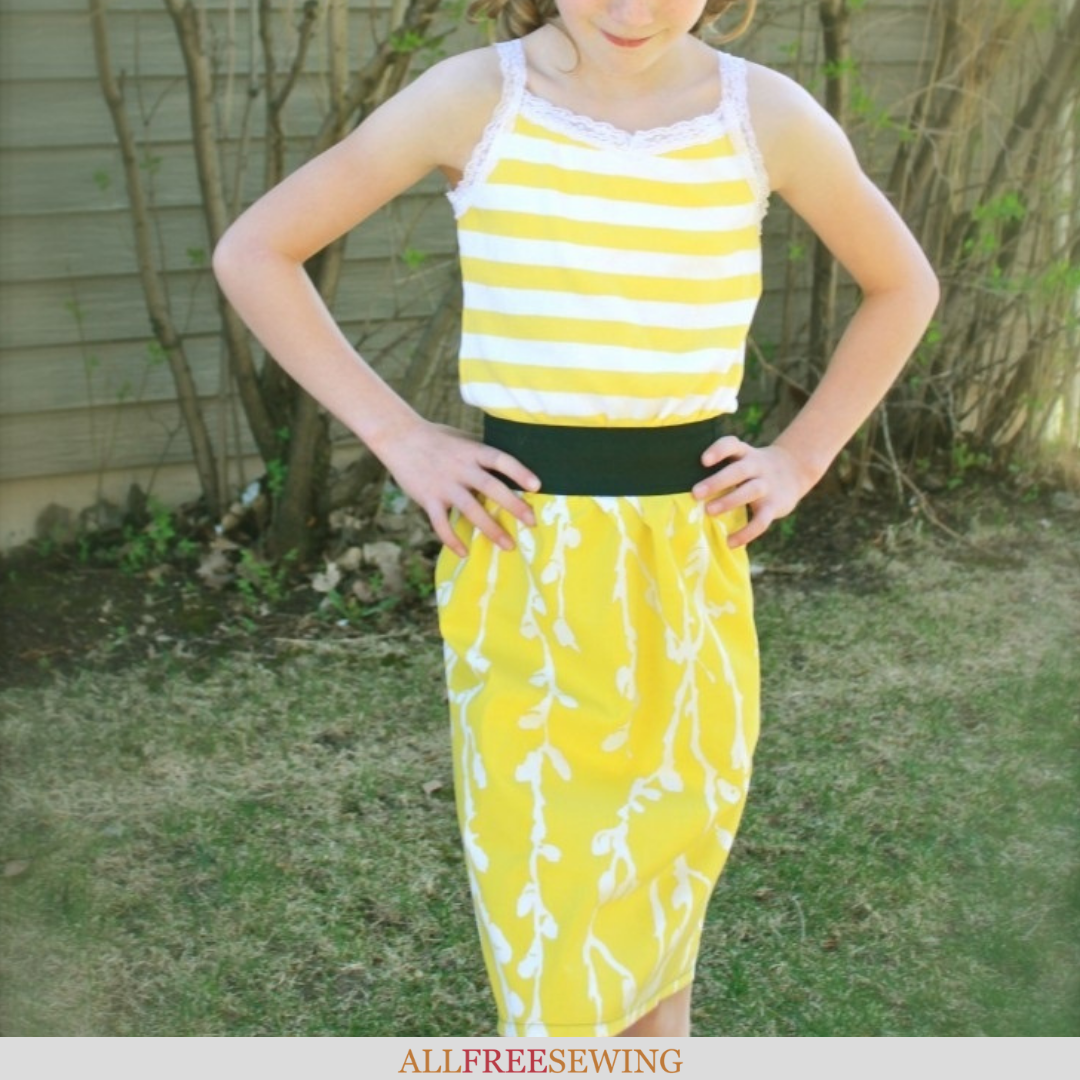 Grab an old tank top and a coordinating sheet and you're a few steps away from a brilliant "new" outfit.
Yes, you read that correctly. That's all you need to make the adorable Walking on Sunshine Upcycled Dress.
Upcycling clothes is trendier than ever because it's anti-fast fashion and cost-efficient.
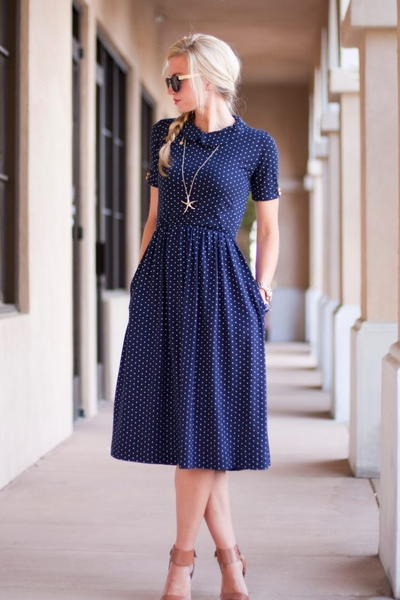
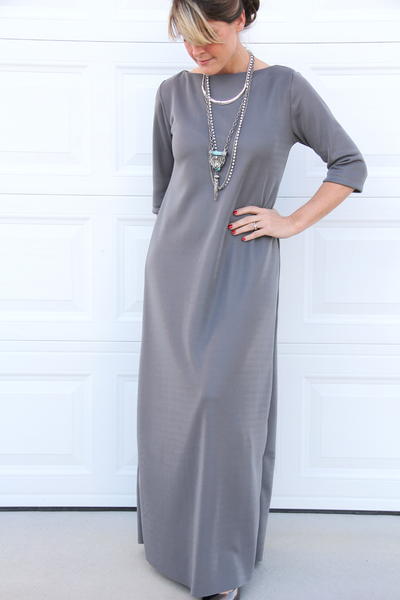
Make your own clothes and really show your personal style! You can even learn how to make a maxi dress using this free dress pattern.
Maureen Wilson will lead you through each step in a video tutorial found at the bottom of this page.
Sign Up For More Free Patterns >>>
Materials:
- Old tank top or tee shirt
- Wide elastic (2-inch)
- Old sheet, or other fabric of your choice

How To:
You'll need three measurements:
- Shoulder to waist. (Or, if this is a maternity dress, measure from shoulder to beneath bust-line.)
- Waist circumference. (Or, if this is a maternity dress, under the bust-line.)
- Waist to knee. (Or, if this is a maxi dress, waist to ankle.)
- We’ll start with the elastic. Cut the elastic 1/2 inch longer than your waist measurement. Serge or zig-zag stitch over the cut edge of one end.
- Then form a circle by overlapping the ends by 1/2 an inch. With the raw edge on top, zig-zag stitch the elastic loop together. Set aside.
- Next we’ll cut the skirt fabric. I’ve decided to double the fabric so a slip won’t be necessary. Multiply the waist measurement by 1.5, this is how wide your fabric will be. For the length, double the waist to knee measurement, so that we will have a lining.
- Then, cut this piece in half across the width, so that we can have two side seams.
- Fold the pieces in half widthwise, so that they are now the length of your waist-to-knee measurement. Lay the two pieces on top of each other, with the fold at bottom. Line up the edges and pin. Sew a 1/2 inch seam down the left and right sides.
- Serge or zig-zag stitch over the seam’s raw edge to prevent fraying. Do this on both the left and right sides. Then iron the skirt.
- With the skirt right-side out, top-stitch a 1/2 inch above the bottom fold to secure the layers and create a hem.
- Switch to a basting stitch, and sew along the top raw edges of the skirt with a 1/2-inch seam. Do not backstitch. Then pull the bottom thread to gather the fabric so that it is the same width as your elastic band.
- Slide the elastic band over the skirt’s top. They should overlap each other by about 1/2 inch, so pin the edge right below the line of basting stitches.
- Sew the bottom edge of the elastic in place with a 1/2 inch seam using a zig-zag stitch. This should secure the raw edges of the skirt’s top.
- Cut the top 1/2 inch longer than the shoulder-to-waist measurement.
- The shirt should be pretty close to the measurement of your waistband, so you can probably skip the basting stitch on this step and just pin it inside the elastic band, adjusting the fabric as you pin. The elastic and the shirt should overlap by half an inch. (Make sure that the side seams of the shirt line up with the side seams of the skirt.)
- Sew along the top edge of the elastic with a 1/2 inch seam using a zig-zag stitch, securing the raw edge of the shirt.

Watch the video here:
Read Next2 Hour Tunic Dress Tutorial