5 Fun DIY Halloween Face Masks to Sew
Make your own protective DIY face mask for Halloween with these fun and festive ideas and full tutorials.

When Halloween is approaching and many still wear face coverings, why not combine the two ideas into one brilliant holiday face mask?
This page will go over five unique and festive face mask ideas that cover the nose and mouth to help protect against airborne viruses, plus still have a fun Halloween spin. For COVID protection, it is recommended to wear a KN95 or N95 under your fabric mask.
Not only will this page, 5 Fun DIY Halloween Face Masks to Sew, cover design ideas, but I'm going step-by-step through making each one.
Plus, there are free printable templates with three different mask styles and a PDF with the design elements for a cat, skeleton, and jack-o'-lantern!
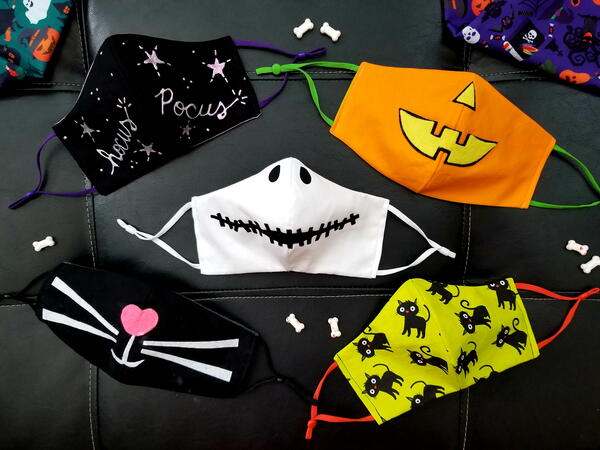
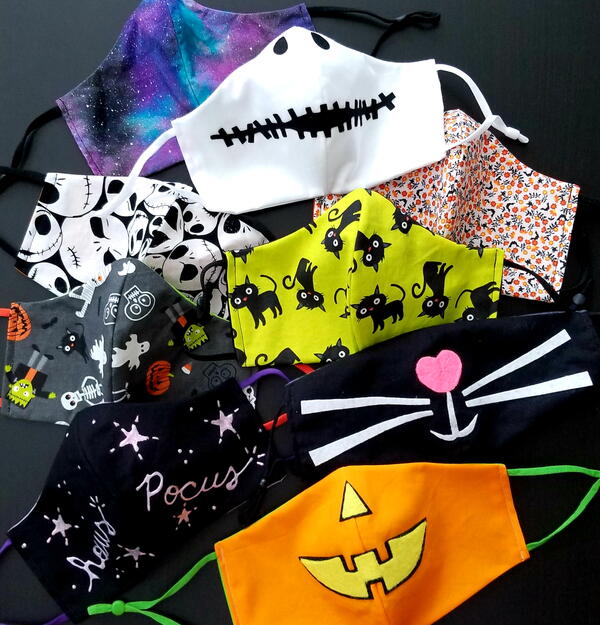
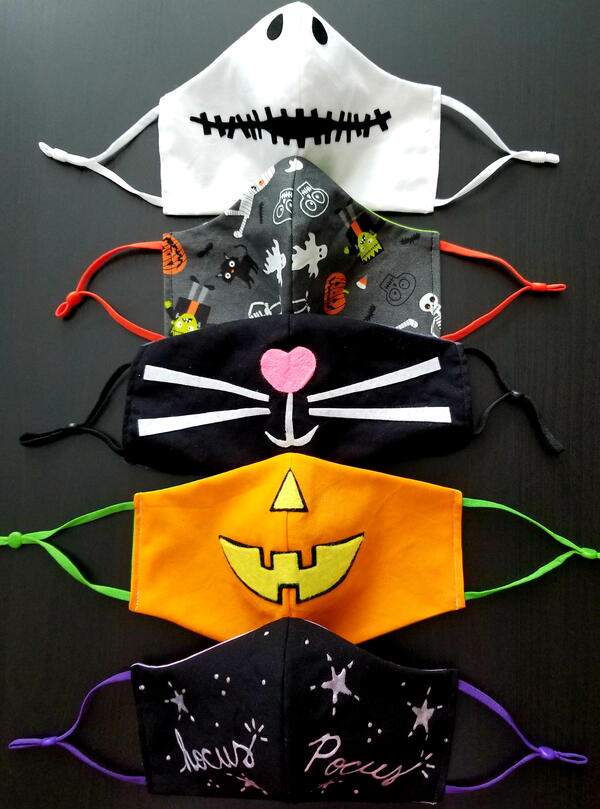
With that little hint, here are the five mask designs: A black cat, jack-o'-lantern, Jack Skellington-inspired skeleton, Halloween phrase, and Halloween fabric mask.
Please read about COVID-19 and the latest guidelines from the CDC here.
Let's get started!
DIY Halloween Face Mask Materials, Printables, and Notes
Since the materials needed for the masks are so similar, I'll go over them here and point out the additional needs for each mask design.
All Mask Materials Needed:
- 100% cotton fabric in color or pattern desired (4 template-sized pieces for a two-layer mask, 6 pieces for a three-layer mask)
*see below for specific colors/patterns recommended for each mask
- Scissors (and rotary cutter/self-healing mat if desired)
- Sewing machine
- Matching or complementary thread (spool and bobbin for machine)
- Iron and ironing board
- Fabric pins or clips
- Elastic or adjustable earloops
- Face mask template (available in different styles and adult/child sizes) or face mask template of choice
- Filter liner - learn about filters here (optional)
- Nose wire (optional)
Additional Materials Needed for the Cat Mask:
- Black cotton fabric
- White and pink felt
- Fusible interfacing (recommended) or hand needle and thread
Additional Materials Needed for the Jack-o'-Lantern Mask:
- Orange cotton fabric
- Black and yellow felt
- Fusible interfacing (recommended) or hand needle and thread
Additional Materials Needed for the Skeleton Mask:
- White cotton fabric for a Jack Skellington inspired mask (or black cotton fabric for a traditional skeleton mask)
- Black felt for a Jack Skellington inspired mask (or white felt for a traditional skeleton mask)
- Fusible interfacing (recommended) or hand needle and thread
Additional Materials Needed for the Halloween Phrase Mask:
- Solid cotton fabric (this tutorial uses black)
- Fabric paint in color(s) of choice
- Fusible interfacing (recommended) or hand needle and thread
Printables:
Click here to download mask templates (three styles in all sizes)
Click here to download mask face features (cat, Jack-o'-Lantern, and skeleton)
Skill Level: Easy to Intermediate
Approximate Time to Complete: About 1 hour per mask (plus drying time for the phrase mask)
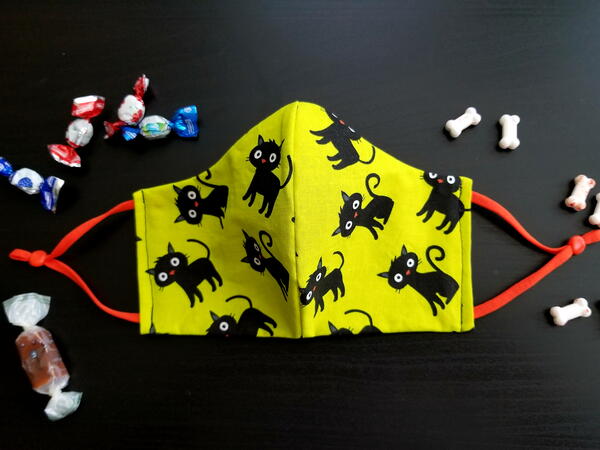
Mask #1: DIY Black Cat Face Mask
Black cats are traditionally associated with Halloween because of bad luck and it makes for an easy costume. Even easier when you have one of these DIY cat masks!

With a little tweaking, you can also turn the cat features into a rabbit, raccoon, or similar animal face. I actually made this mask last year and so you can find the complete tutorial here: DIY Black Cat Face Mask [Printable Templates]
Mask #2: DIY Jack-o'-Lantern Face Mask
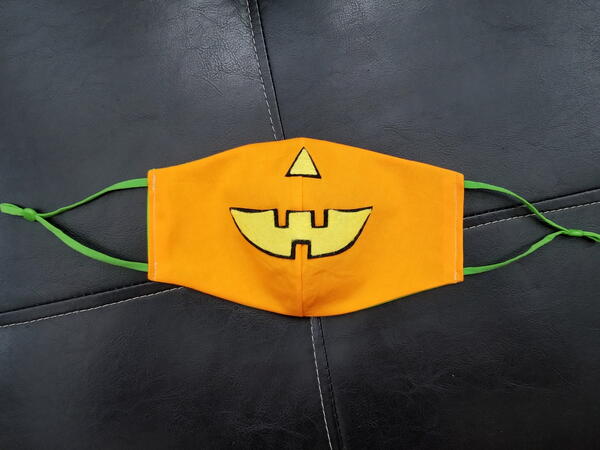
What's more iconic than a carved pumpkin for Halloween? This mask is a simple concept but it's so fun to make and wear. All you need is orange fabric and then some felt. You could go with black felt only for the facial features but I thought it would look more interesting with a "lit up" look and added yellow over the black.
You can also choose to add the eyes or go with only the nose and mouth like I did. The fun part with this pumpkin mask is that it's just like carving one in real life: you can make any face you want. With the features PDF above, I chose two mouth designs but I winged my own jack-o'-lantern nose and mouth.

DIY Jack-o'-Lantern Face Mask Tutorial:
1. Print the mask template PDF in the style and size desired. Cut out the mask template.
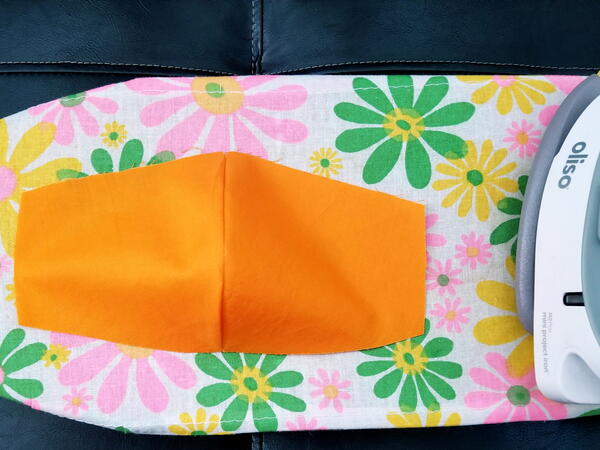
2. Using the template, cut out two orange pieces for the front of the mask. Cut two additional fabric pieces for the back (can be a different color if desired). If you would like the mask to have three layers, cut another two pieces (this fabric will not show).
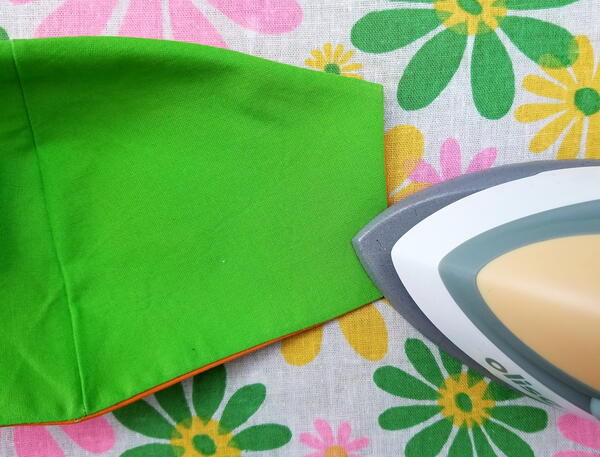
3. Place two template pieces together and pin. Sew along the curved edge to attach, leaving about a 3/8" seam allowance. Lock stitches at the start and end. Cut excess thread and clip curves along the sewn edge. Be careful not to cut the seams. Repeat for all sets.
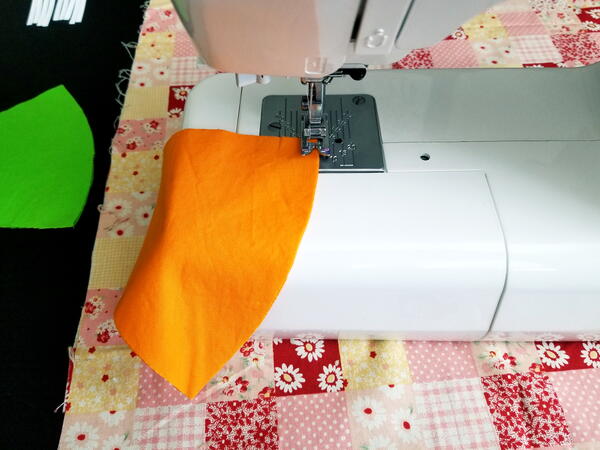
4. Open and press the seams to one side for all pieces.
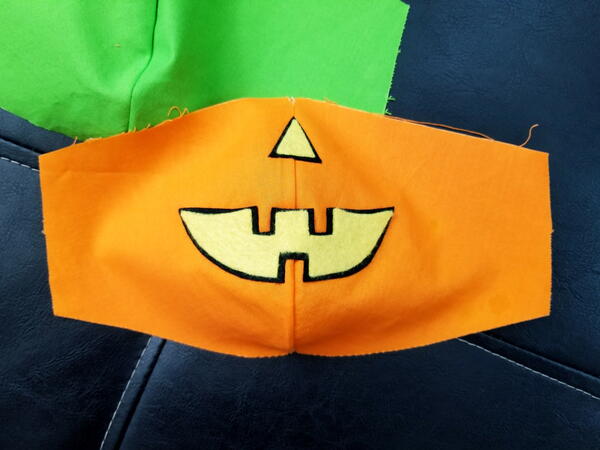
5. Decorate the front of the mask by cutting out the felt pieces. You can use the printable pieces as guides or design your own features.
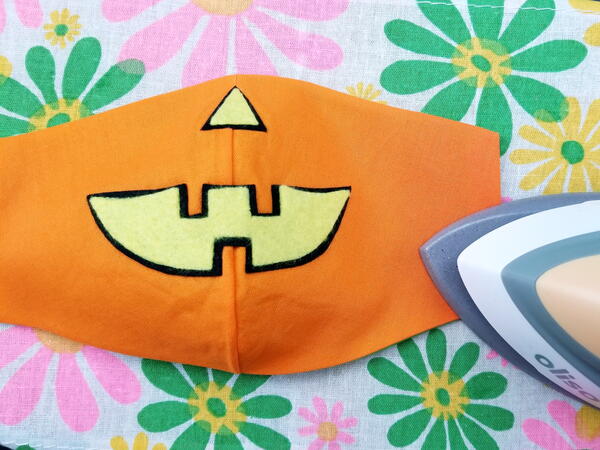
I first ironed about a 8 x 5 piece of both colors of felt to the fusible interfacing. I then used the plastic backing of the interfacing to sketch out the mouth and nose for the yellow. I cut those pieces out, then traced for the black to make it slightly bigger.
I removed the backing and ironed the pieces together. I then placed them where I wanted on the mask front and ironed at the temperature and time advised on the packaging.
Note: Fusible interfacing is recommended for two reasons: it's easy and fast, plus it does not involve poking any holes into the fabric, which helps keep protection tighter against COVID-19. However, you can hand sew (or machine sew) the features onto the mask if preferred.
6. Add a filter pocket if desired. Put the mask pieces right sides together and pin or clip to secure. You want to line up the middle seams more than the sides. Sew along the top and bottom (again, leave a 3/8" seam allowance). Lock stitches at the start and end.
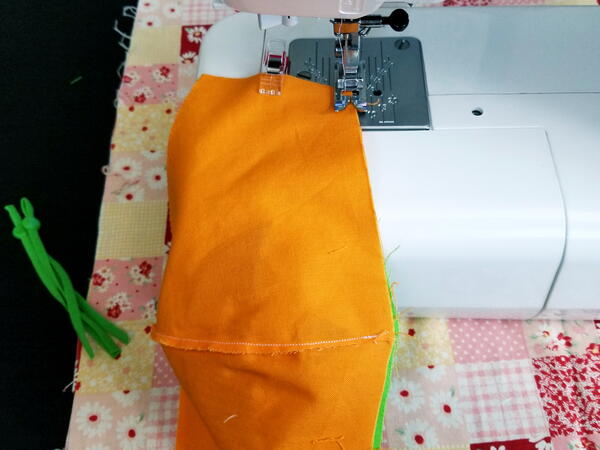
7. Cut excess thread and clip curves along the sewn edges. Be careful not to cut the seams.
8. Turn out your DIY mask.
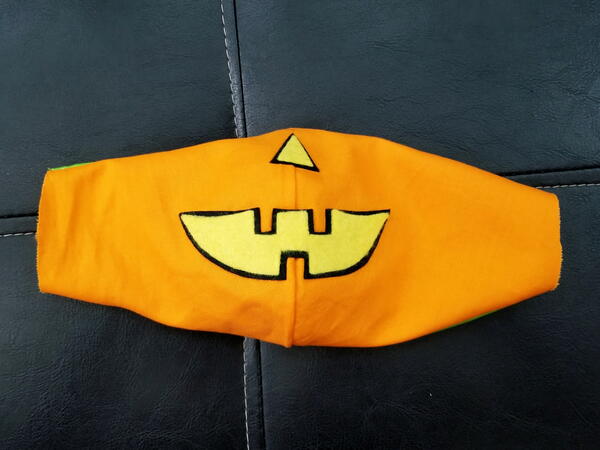
9. Press both sides of the mask to flatten seams and remove any wrinkles. Fold in sides about 1/2-inch and press.
10. Sew on elastic (should be about 7" for adults and 5" for children) or adjustable earloops. Lock stitches going over the earloops. You're done!
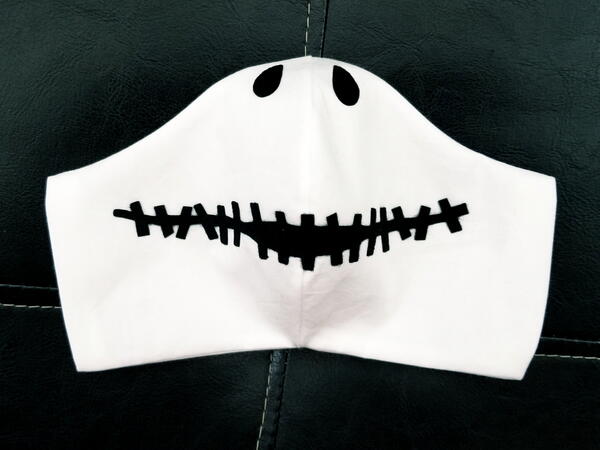
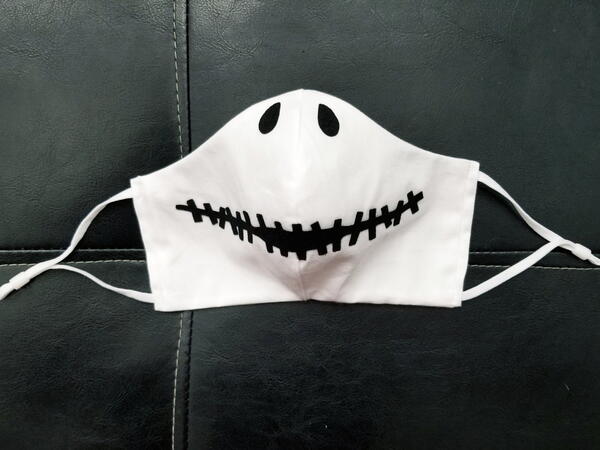
Mask #3: DIY Skeleton Face Mask
This skeleton was inspired by Jack Skellington, the main character from
The Nightmare Before Christmas, a unique movie that mixes Halloween and Christmas and is beloved by many.
If you're not a fan, you can go with a more general skeleton either using white fabric and black felt or the more traditional black fabric with white felt. Either way, they are very similar! Like the pumpkin mask, the mask features only the nose and mouth of Jack to match the wearer's face. As with the other masks on this page, I sketched the design by hand and memory but the printable has a few similar options that can be traced.

DIY Jack Skellington Inspired Skeleton Face Mask Tutorial:
1. Print the mask template PDF in the style and size desired. Cut out the mask template.
2. Using the template, cut out two white pieces for the front of the mask. Cut two additional fabric pieces for the back (can be a different color if desired). If you would like the mask to have three layers, cut another two pieces (this fabric will not show).
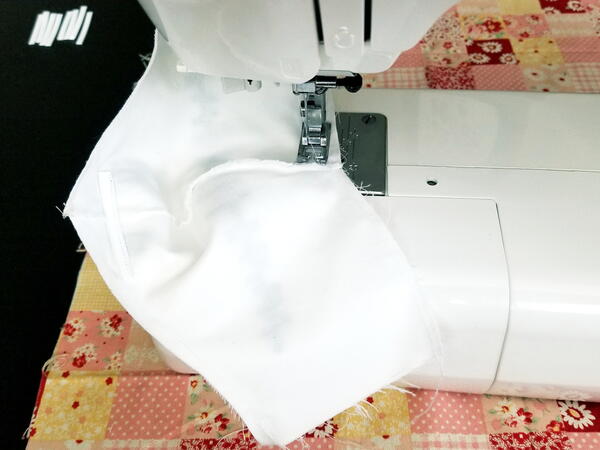
3. Place two template pieces together and pin. Sew along the curved edge to attach, leaving about a 3/8" seam allowance. Lock stitches at the start and end. Cut excess thread and clip curves along the sewn edge. Be careful not to cut the seams. Repeat for all sets.

4. Open and press the seams to one side for all pieces.

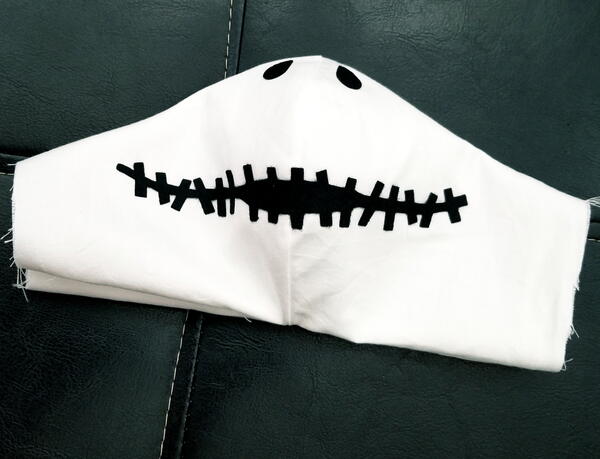
5. Decorate the front of the mask by cutting out the felt pieces: two nostrils and a mouth. You can use the printable pieces as guides or design your own features.
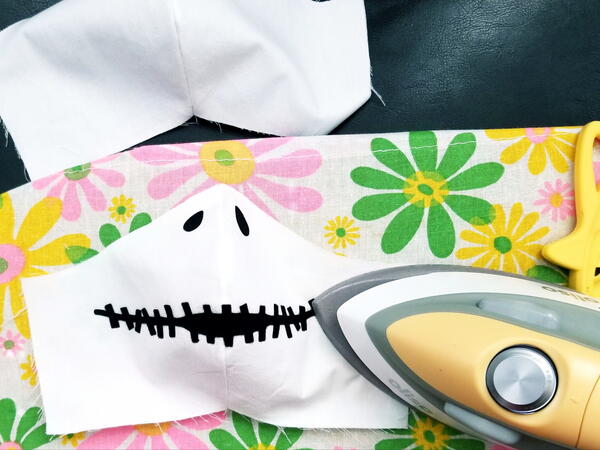
I first ironed about a 8 x 5 piece of black felt to the fusible interfacing. I then used the plastic backing of the interfacing to sketch out the nostrils and mouth. You can choose to have the mouth flat, smirking, or frowning, whichever mood you want to express!
I removed the backing placed them where I wanted on the mask front and ironed at the temperature and time advised on the packaging.
Note: Fusible interfacing is recommended for two reasons: it's easy and fast, plus it does not involve poking any holes into the fabric, which helps keep protection tighter against COVID-19. However, you can hand sew (or machine sew) the features onto the mask if preferred.
6. Add a filter pocket if desired. Put the mask pieces right sides together and pin or clip to secure. You want to line up the middle seams more than the sides. Sew along the top and bottom (again, leave a 3/8" seam allowance). Lock stitches at the start and end.
7. Cut excess thread and clip curves along the sewn edges. Be careful not to cut the seams.
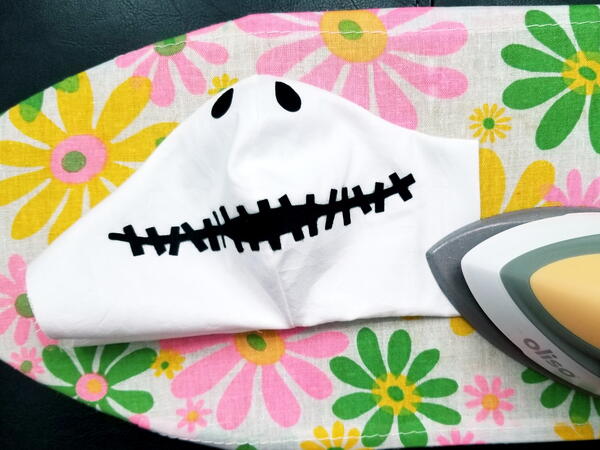
8. Turn out your DIY mask.
9. Press both sides of the mask to flatten seams and remove any wrinkles. Fold in sides about 1/2-inch and press.
10. Sew on elastic (should be about 7" for adults and 5" for children) or adjustable earloops. Lock stitches going over the earloops. You're done!
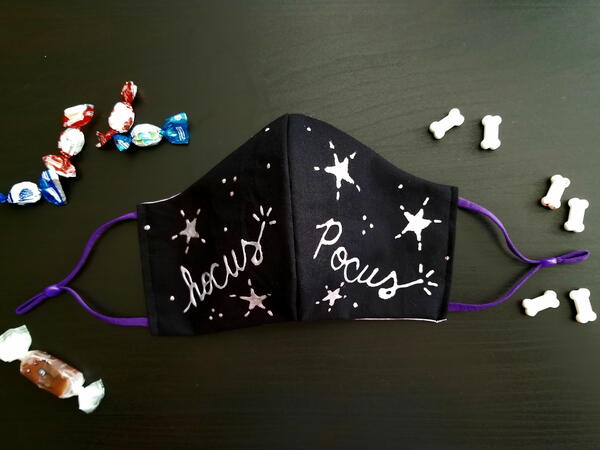
Mask #4: DIY Halloween Phrase Face Mask
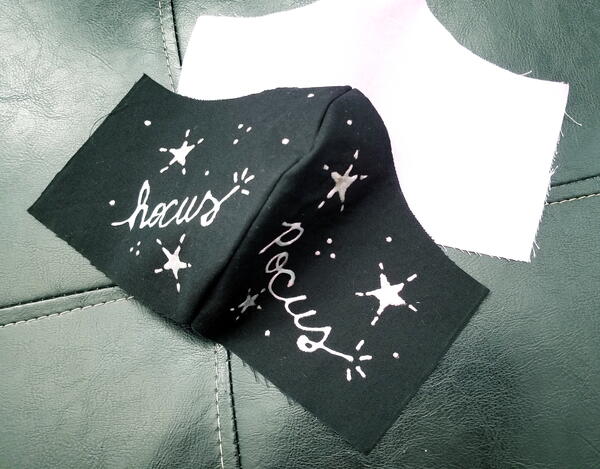
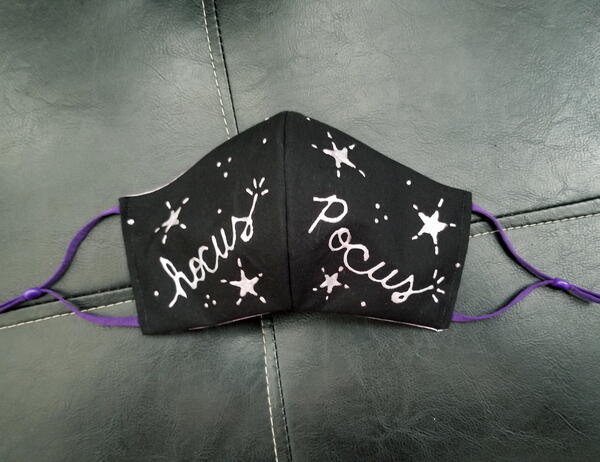
This face mask uses fabric paint and your imagination to create a festive DIY Halloween face mask in lieu of a character. I chose the phrase "hocus pocus" with one word on each half of the mask. I added a few stars as well. Some other ideas include: trick or treat, Happy Halloween, candy time, spooky time, get scared. The options are endless!
You can even go with one word over and over, such as BOO with some ghosts. And who says it has to be words? If you feel like testing your drawing skills, paint candy, cats, pumpkins, or other Halloween images. Or make abstract designs in orange and black.
DIY Halloween Phrase Face Mask Tutorial:
1. Print the mask template PDF in the style and size desired. Cut out the mask template.
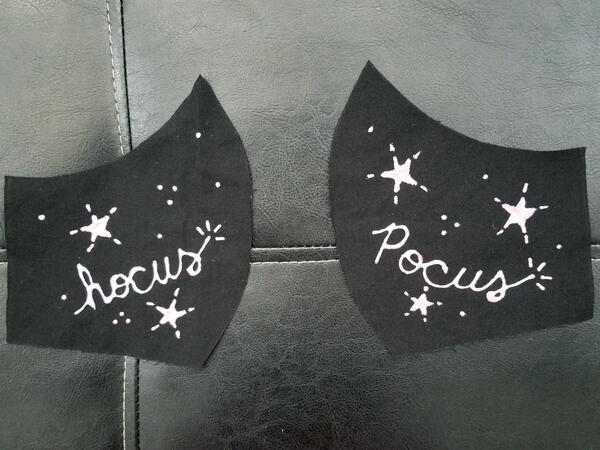
2. Using the template, cut out two pieces for the front of the mask. Cut two additional fabric pieces for the back (can be a different color if desired. I used black for the front and purple for the back). If you would like the mask to have three layers, cut another two pieces (this fabric will not show).
3. You can paint your mask once it's done but I chose to do it before sewing anything. Because fabric paint can be tricky, I wanted to make sure I was happy with the decoration before moving forward. It's up to you.
That's the benefit of doing it first. However, if you wait until the end, you don't have to be as careful when going through the rest of the mask-making process with the painted pieces (sewing and ironing).
I used a shimmery iridescent purplish/pink/white paint that doesn't photograph well but looks different at every angle. Spooky!
Note: Keep in mind that you want to write the words as shown below so that when you're wearing your DIY face mask, it can be read by others. You also want to let the paint dry completely before continuing. I left mine for 24 hours to be safe.
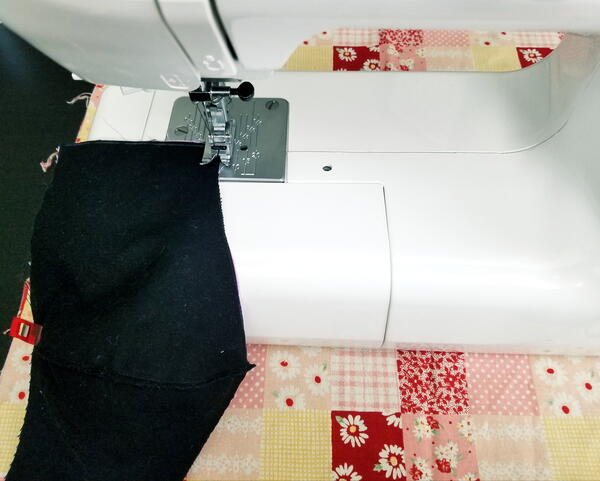
4. Place two template pieces together and pin. To protect the paint, I stuck a piece of parchment paper between the pieces. Sew along the curved edge to attach, leaving about a 3/8" seam allowance. Lock stitches at the start and end. Cut excess thread and clip curves along the sewn edge. Be careful not to cut the seams. Repeat for all sets.
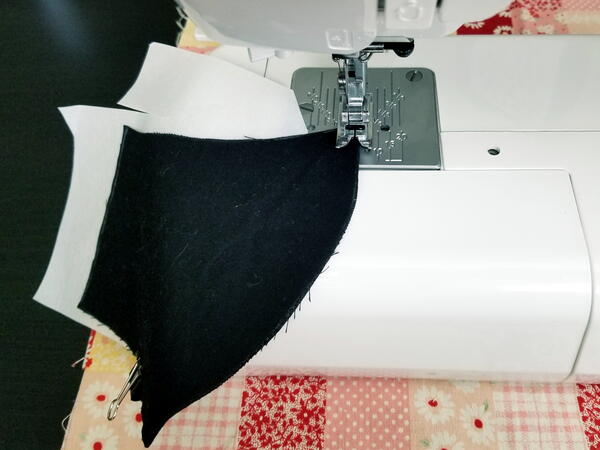
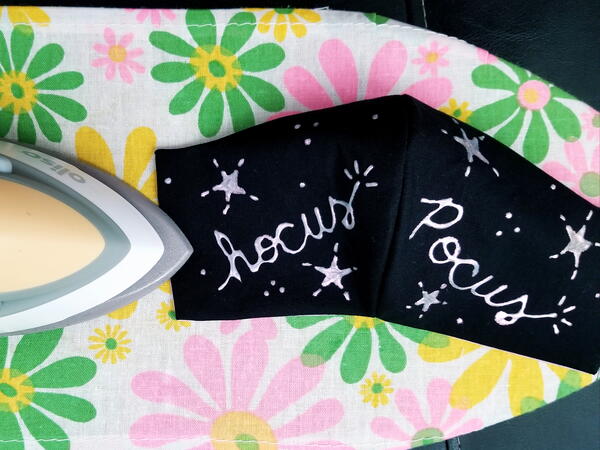
5. Open and press the seams to one side for all pieces, avoiding the painted parts as much as possible (parchment paper might come in handy as a barrier between the iron and the paint/fabric).
6. Add a filter pocket if desired. Put the mask pieces right sides together and pin or clip to secure. You want to line up the middle seams more than the sides. Sew along the top and bottom (again, leave a 3/8" seam allowance). Lock stitches at the start and end.
7. Cut excess thread and clip curves along the sewn edges. Be careful not to cut the seams.
8. Turn out your DIY mask.
9. Press both sides of the mask to flatten seams and remove any wrinkles. Fold in sides about 1/2-inch and press.
10. Sew on elastic (should be about 7" for adults and 5" for children) or adjustable earloops. Lock stitches going over the earloops. You're done!
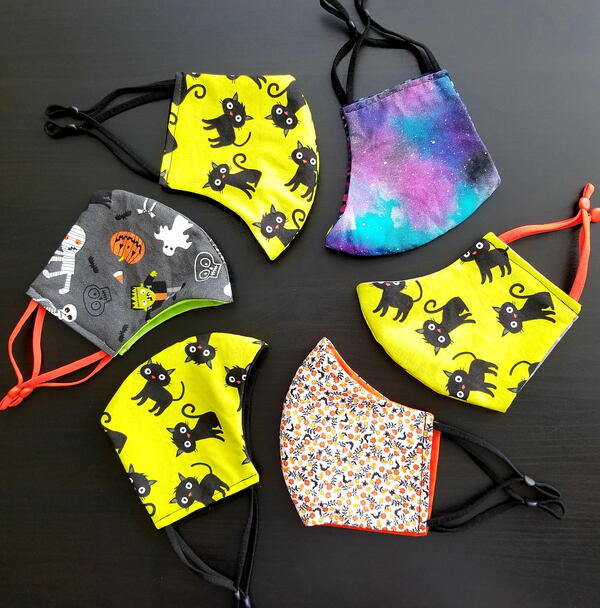
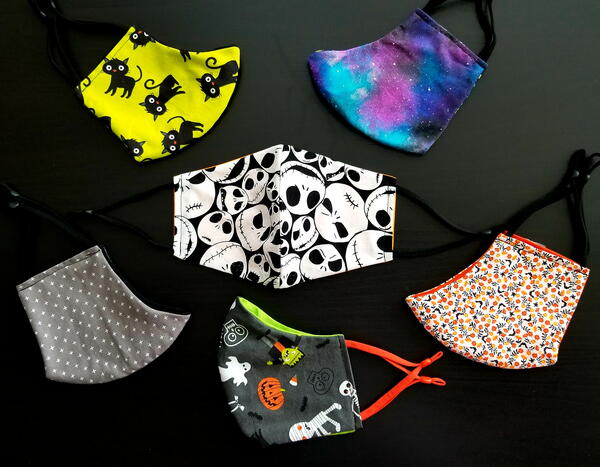
Mask #5: DIY Halloween Fabric Face Mask
Have you ever looked for Halloween fabric? There are so many options! It's all fantastic and makes me want to make and wear Halloween masks well past Halloween. This mask doesn't involve anything special, it's simply a mask using your favorite holiday fabric.
I found Jack Skellington fabric, black cats, a pattern with mummies, Frankenstein, ghosts, and other iconic characters, and a pattern that looked deceptively floral with little bats and spiders hidden within.
Because this tutorial follows the standard for making masks, you can visit any of the following tutorials for step-by-step instructions. Just replace that fabric with your chosen Halloween fabric!
Fab Floral Face Mask Tutorial << Great for spring and summer!
How to Make a Christmas Fabric Face Mask << Make one for Christmas, too!
Comfiest Child Size Face Mask Tutorial << Learn how to make a comfy mask here!
Want More?
DIY "Ugly" Christmas Face Mask >>>
Which of these is your favorite?
Let us know in the comments!
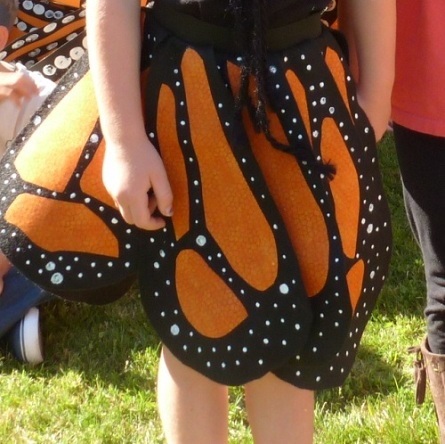
Read NextDIY Butterfly Costume


![DIY Black Cat Face Mask [Printable Templates]](http://irepo.primecp.com/2021/08/501405/DIY-Cat-Face-Mask-square21-nw_Large400_ID-4430824.png?v=4430824)