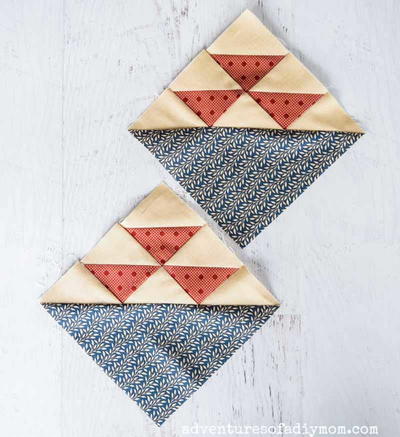
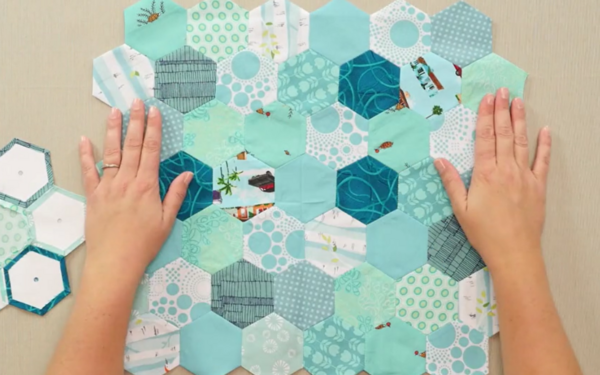
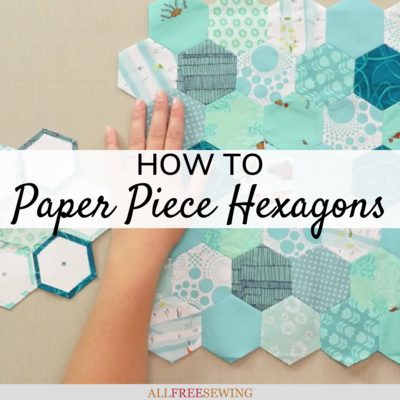
How to Paper Piece Hexagons
The English paper piecing technique is a must-learn for quilters. This tutorial walks you through the process for hexagons.

Mastering a new sewing technique is always super fun! This technique tutorial, How to Paper Piece Hexagons, is a super easy pattern that you are going to have down in no time.
There are different ways to paper piece fabric for quilting or sewing but this tutorial shows you how to English paper piece hexagons, a popular technique.
This DIY quilt pattern is also the perfect design for more than just quilts, which makes it an even better technique to master.
Plus, the sewing video makes following along with the instructions so incredibly easy that you won't believe you didn't know how to do this before.
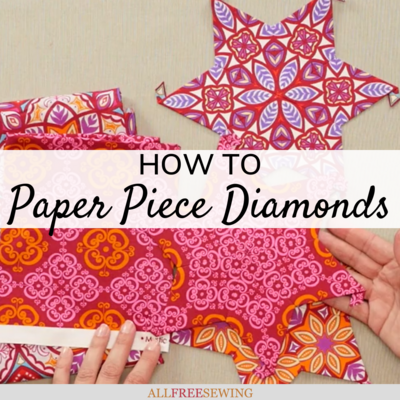
You will get perfectly clean lines and seams every time once you follow along with this how-to video! By the way, if you're looking for a lesson on paper piecing diamonds, check out our tutorial here.
Sign Up For More Free Patterns >>>
Paper Piecing Hexagons Video Tutorial:
Attention visual learners! Watch this video before scrolling down to read our written and picture tutorial lower down on the page. Click the play button to watch the video right below.
How to Paper Piece Hexagons:
Project Type: Learn a Technique
Skill Level: Beginner
Time to Complete: Under an Hour
Sewn By: Hand
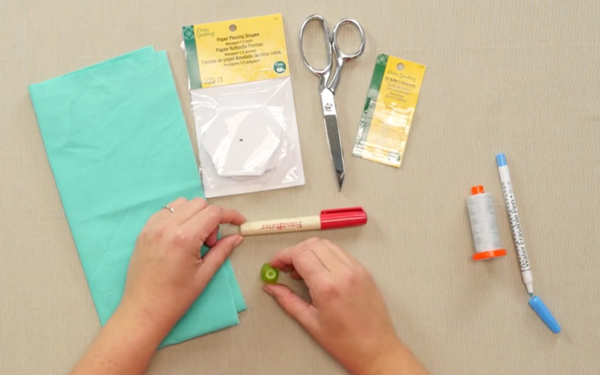
Materials List:
• Paper Pieces in the shape of hexagons
• Fabric
• Sharp fabric scissors
• Sewing needles
• Thread
• Comfortable thimble
• Glue pen
• Water-soluble marker
How to English Paper Piece Hexagons Instructions:
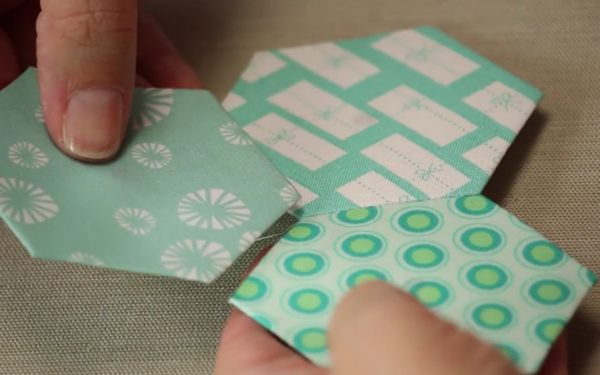
- Trace your hexagons onto your fabric using a water-soluble pen.
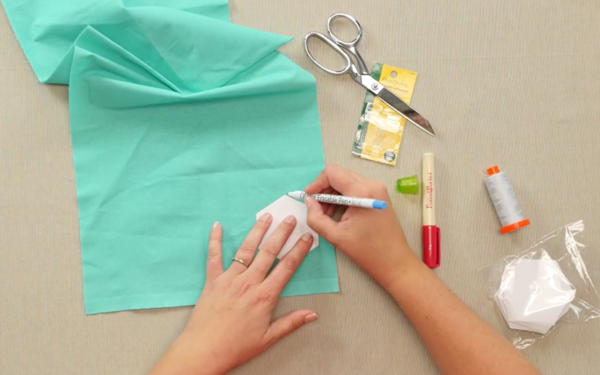
- If you want perfect seam allowance, use a ruler. Or you can estimate it and cut it.
Tip: Cut a variety of different fabrics and patterns for an interesting look.

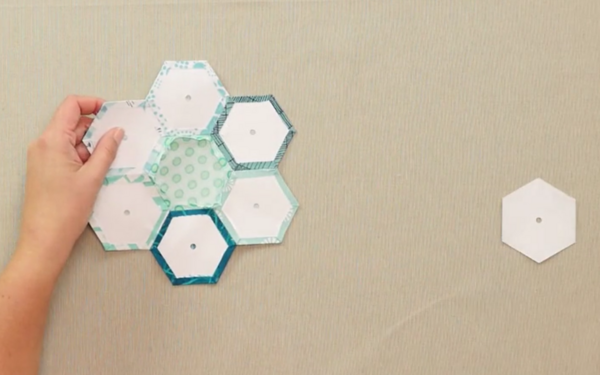
- Place your fabric hexagon face down, put a paper hexagon in the center of your fabric lining up the edges, add a line of glue along one side, and press down the fabric using your fingers.
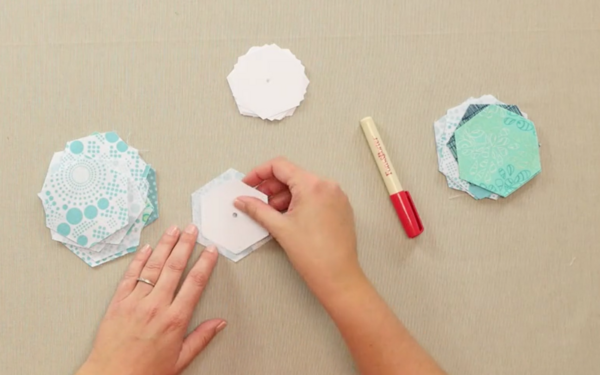
- Repeat on the opposite side, and continue to do the whole way around the hexagon. Do the same for the remaining hexagons.
Allow it to set before you stitch them together.
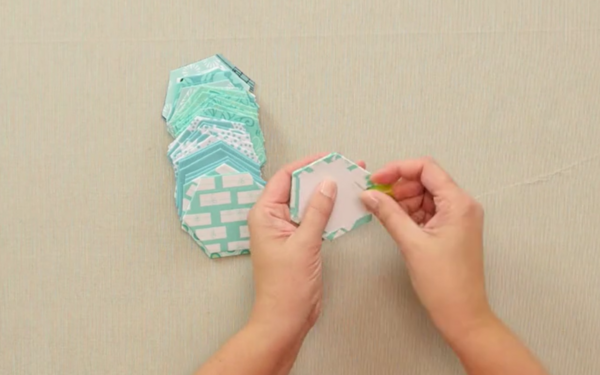
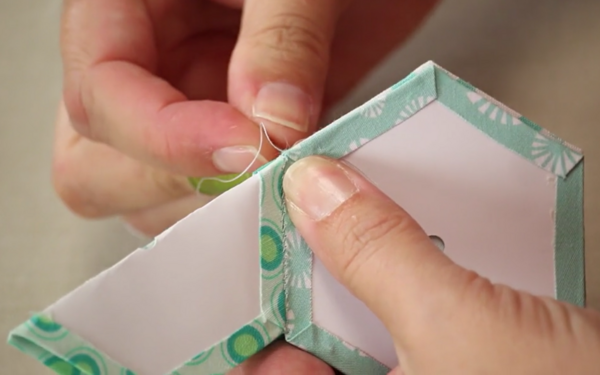
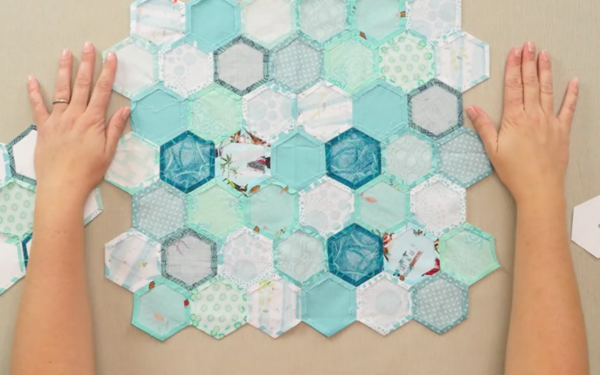
- Place two hexagons right side together.
- Insert your needle up through the back of one of your hexagons. Secure your thread with three small stitches in place.
Tip: Try to avoid going through the paper when doing this step.
- Stitch all the way across the seam with stitches between 1/8" and 1/4" apart.
- Once you have reached the end of your seam finish it by stitching three stitches right in place.
- To add the next hexagon, place it face down where you are going to want to stitch it, and repeat the stitching process.
- To complete the Y seam, fold your project in half, line up the seams, and sew the same way you sewed the other seams.
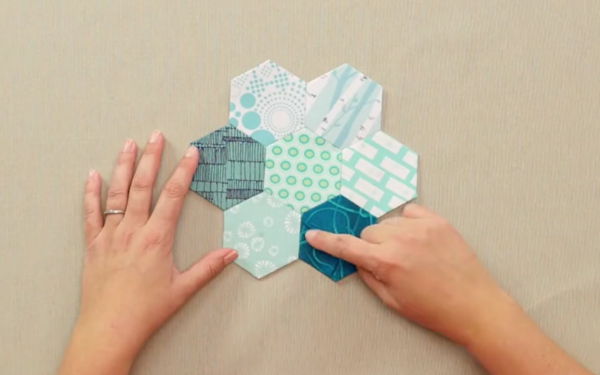
- Continue to add more hexagons all the way around.
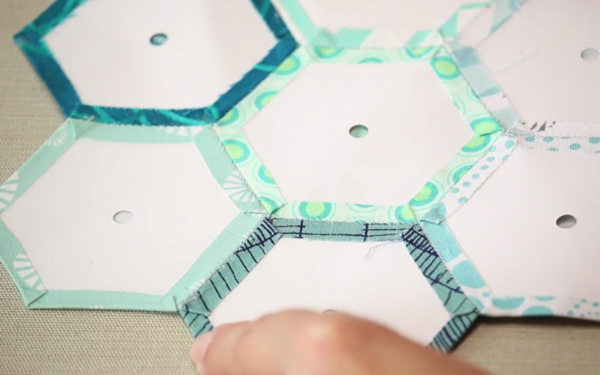
- To take out the papers: make sure you have your center piece completely sewn to all the other pieces of your patter, or make sure your pattern in completed. Then, pull back the fabric and slide your paper out.
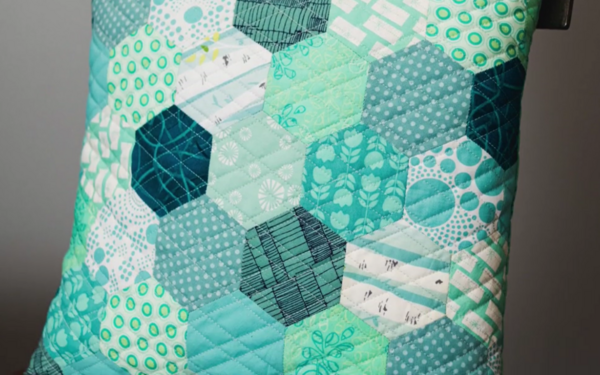
Use these hexagon pieces and designs to create placemats, table runners, quilts, bags, pillows, and much more!
Want More?
How to Square Up a Quilt Block >>
What is your favorite shape to use for quilting?
Let us know in the comments!
Read NextQuilted Doll Quilt Pattern
Thanks for your comment. Don't forget to share!
Sweetolyve
Nov 09, 2016
Thank you for this video tutorial. When I clicked on it I certainly was not expecting to see this sort of paper piecing. But it sure explained a lot for me. Your stitches brought back memories of my beautiful grannie who started quilting at the age of 5. She taught me how to use templates to cut out my pieces and how to quilt on a frame. She passed away not long after that. Thanks, again, for this tutorial.
Report Inappropriate Comment
Are you sure you would like to report this comment? It will be flagged for our moderators to take action.
Thank you for taking the time to improve the content on our site.