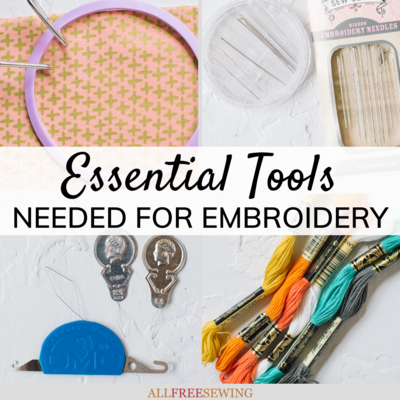
9 Essential Tools Needed for Embroidery
When it comes to embroidery tools and equipment, what do you need? Begin your embroidery journey by learning all the tools you'll need to complete beautiful works of art!

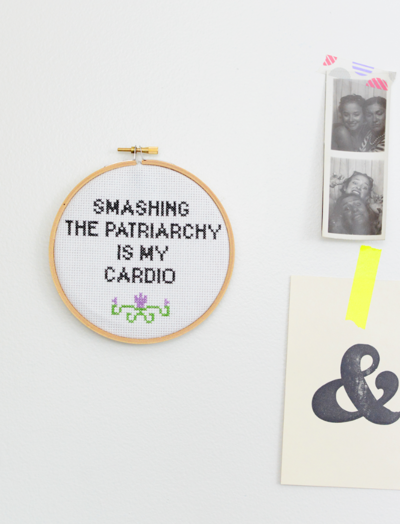
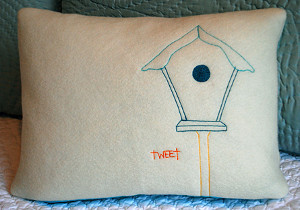
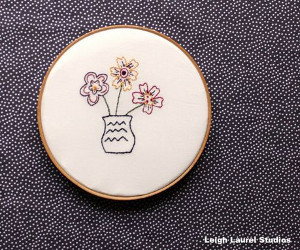
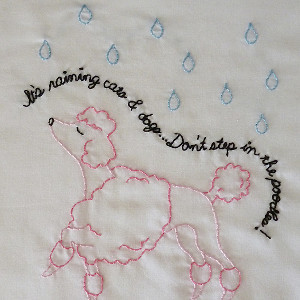
Embroidery seems to be all the rage these days, with beautiful displays of hooped art becoming part of modern home decor. Rightly so!
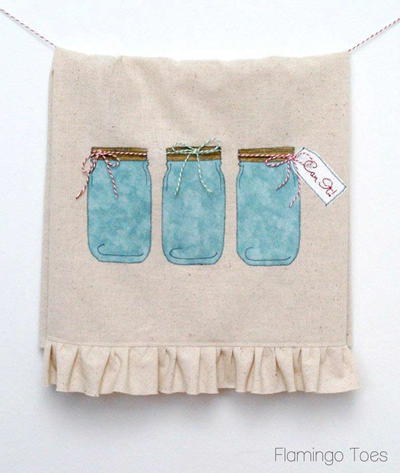
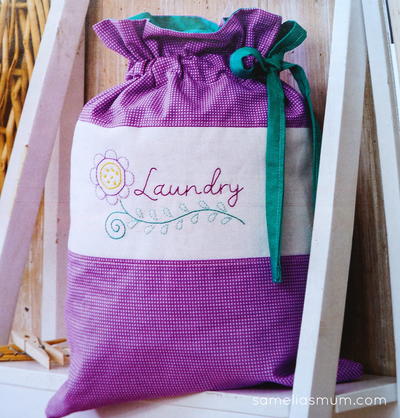
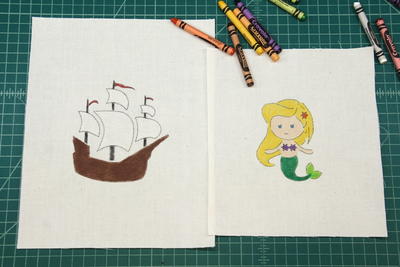
Add wildflowers to the back pockets of jeans, add a sweet owl to your shirt, or even embroider pumpkins on a towel or pillow. There's a whole world of art waiting for you to join in!
If you'd like to be a part of this trend, you'll need to know some information before you begin! You're in the perfect place to do just that. With this guide, I'll share with you the 8 Essential Tools Needed for Embroidery. I'll also include images of what these items are and definitions of what they do.
You can add awesome design elements to practically anything with this form of crafting. You've probably seen most of these embroidery tools but with names and pictures attached, it's much easier to understand what they are and do.
I'll also include some helpful starting pages for guidance and inspiration so you can begin with all the information you will need. Hopefully by the end of this embroidery guide, you'll be able to head to your local craft store to begin embroidering like a pro!
1. Embroidery Hoop
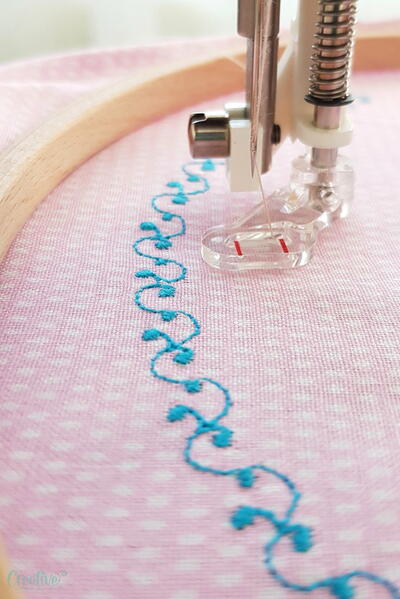
First and foremost, it is important to invest in an embroidery hoop that will be the appropriate size for your project. These hoops come in plastic and wood versions. If you're looking to create sweet wall art, a wooden hoop will give you a homier feel.
Depending on which project you're completing, you may not even need a hoop! If you're looking to embroider clothing, you'll instead use tracing paper to place your design on the fabric.

2. Embroidery Needles
If you're interested in embroidering, you'll need needles! Now, you may be asking: couldn't I just use my sewing needles? According to the website Needle 'n Thread, they're two different tools that look different.
Sewing needles have smaller eyes, whereas embroidery needles have longer eyes and sharper tips. Make sure when you're buying your needles that you focus on these elements in order to purchase the right ones!
The sharp end of an embroidery needle is perfect for tightly woven fabrics that you may use for your canvas. It will feel like a luxury to embroider with these needles in comparison to trying to work with sewing needles. If you're buying an embroidery kit, you don't have to worry about finding the correct needle.

3. Embroidery Floss
Embroidery floss is what makes the magic happen! It comes in a wide variety of colors. Each strand is made of six threads. It is made of cotton, but it can also come in other materials depending on which brand you purchase.
Now, what is the difference between embroidery floss and thread? Most of the time, floss will be included in embroidery craft kits. According to ETM Designs, the difference between the two is primarily about quantity.
If the floss is separated, each specific piece is known as thread. So if you go into a craft store and buy embroidery floss, you have both floss and thread!
You can also use crochet thread and lightweight yarn (lace, superfine, fingering yarn) for certain types of embroidery or projects.

4. Embroidery Floss Holders/Organizers
Embroidery floss usually isn't sold with a bobbin or holder, just one or two paper wrappers holding the long length of floss strands (as shown in the image above). Once you remove the wrapper and start separating, you will quickly realize that you won't be able to fit it back into the wrappers. To keep it organized and from knotting or separating further, it's best to have a thread holder.
There are plastic holders that you can buy. You can also make your own from cardstock, cardboard, foam, or similar thicker material that can be cut to your desired sizes. There are also free printables for bobbins/holders! Our friends at AllFreePaperCrafts have a few from Wild Olive that are not only functional but super cute.
Check out the Sweet Creatures Printable Bobbin Paper Craft (shown below) or the Precious Printable Thread Bobbins.

As a bonus, check out The Cutest Thread Organizer so that you can better plan and organize your embroidery floss and projects. This free printable makes it easy and fun!

5. Canvas / Fabric
If you're interested in creating needlework art, you'll need your canvas, just like a painter! Unlike a painter, however, this canvas is a thin, tightly-woven fabric that is placed within the hoop for embroidering. It can be cotton, linen, wool, or duck cloth depending on the thickness you need.
You can technically use most fabrics to embroider, even felt and fleece, but canvas is one of the best. Canvas is fitted inside the hoop and pulled taut to make stitching easier. If you'd like to keep the design in the hoop, trim off the edges of the canvas. Working with this material is both fun and doable, and you'll be sure to love it!

6. Embroidery Scissors
With all that embroidering you're going to be doing, you'll need a sharp pair of small scissors to snip off ends!
You can use a pair of larger craft scissors if you'd like, but I highly recommend you purchase a small pair of embroidery scissors. These are little and very sharp, and you're bound to have more accuracy with your cutting if you aren't using a large pair.
If you'd like to, you can even find small embroidery scissors that are shaped in fun ways. Add a touch of whimsy to your sewing kit with scissors shaped like swans or even horses!
Tip: With super sharp scissors, a case is recommended. You can make a scissors pouch, purchase one, or simply use a rubber cap to cover the sharp ends.

7. Needle Threader
Save your fingers and your eyes by using a needle threader! You may think that the longer eye of your needle would be enough to make the threading process easier, but I highly recommend investing in a threader. You'll save your eyes from eye strain whenever you use one.
If you're interested in learning how to use one, I've included an article at the end of this section that'll show you just that. Save yourself some time and put more effort into your stitches by not having to focus on threading.

8. Thimble
Like the needle threader, a thimble is going to save your fingers from unnecessary pain and frustration. There are a few different types of thimbles to choose from, along with ways to wear them. Some wear thimbles on their thumbs, some on forefingers, and others choose another finger.
It all depends on what digit you're using to push the needle and thread. As a guitar pick is used for strumming a guitar, a thimble serves a similar purpose while hand sewing. Our guide, How to Use a Thimble, goes over everything you need to know about using them.
So, why is it an essential tool needed for embroidery? Because embroidery involves such detailed handwork, you're using the needle a lot and that's going to cause pain after a while. A thimble is going to shield your finger from the needle point and eye. Once you try using a thimble, it's difficult to go back.

9. Crafting Light
A personal crafting light will definitely be helpful for looking at a small canvas! Don't stitch in the dark if you don't have to. Many have headband or neck attachments so that you can wear the light and focus it where it's needed.
A lamp may work, but it most likely will not cast enough light for your work. You can find these practically everywhere, and alongside the needle threader, it will definitely protect your eyes from eye strain.
If you work at a table or have a table next to you, a lamp that is in between a headlamp and a table lamp is an adjustable craft light. These powerful lamps are often portable and can be set up on any flat surface and adjusted where the light is needed most.

Want More?
35+ Free Embroidery Patterns and Tutorials >>
Any essential embroidery tools we're missing?
Let us know in the comments!
Your Recently Viewed Projects
Thanks for your comment. Don't forget to share!
debrassewing 04031 51
Nov 10, 2022
I AM LOOKING FORWARD TO GETTING STARTED ON LEARNING HOW TO DO SIMPLE HOOP NEEDLEWORK. THANK YOU FOR YOUR FREE LEARNING APPS TO COME. I AM 69 NOW AND DID A ONE TIME HOOP 30 PLUS YEARS AGO, AND AM LOOKING FORWARD TO DOING THIS LEARNING PROCESS.
KLC
Nov 14, 2022
Wonderful! How exciting, we hope you have tons of fun learning this new technique! - Krista, Editor at AllFreeSewing
Report Inappropriate Comment
Are you sure you would like to report this comment? It will be flagged for our moderators to take action.
Thank you for taking the time to improve the content on our site.